In our earlier guide on the home recording studio essential for beginners, we discussed the bare minimum equipment that you need to get started. If you want to record, edit and mix audio, you’ll need this equipment.
Exactly what equipment you should get is the subject of this guide. In this guide, we are going to take a look at exactly what items you should consider getting to set up your home studio, and which recording studio essentials you should ideally get to minimize the amount of effort and setup costs.
Home Recording Essentials (the bare minimum)
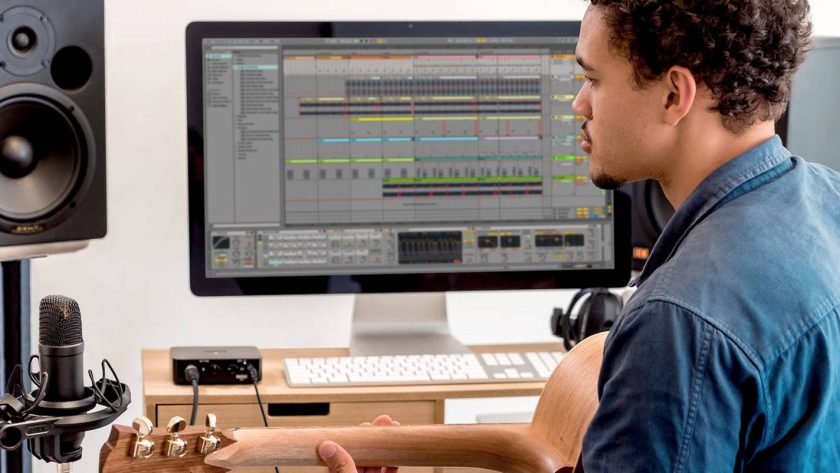
1. The Computer
Unless you intend to record with a tape recorder, a computer is a must to record.
While there is some debate on which computer is better for recording music, all you really need is a computer that can run your DAW software smoothly (without lagging or any glitches).
Ideally your computer should have these minimum specs:
- Quad core processor (i.e., Intel i5/AMD Ryzen or higher)
- 8GB RAM
- 500GB Storage
- Windows or Mac OS (the latest version)
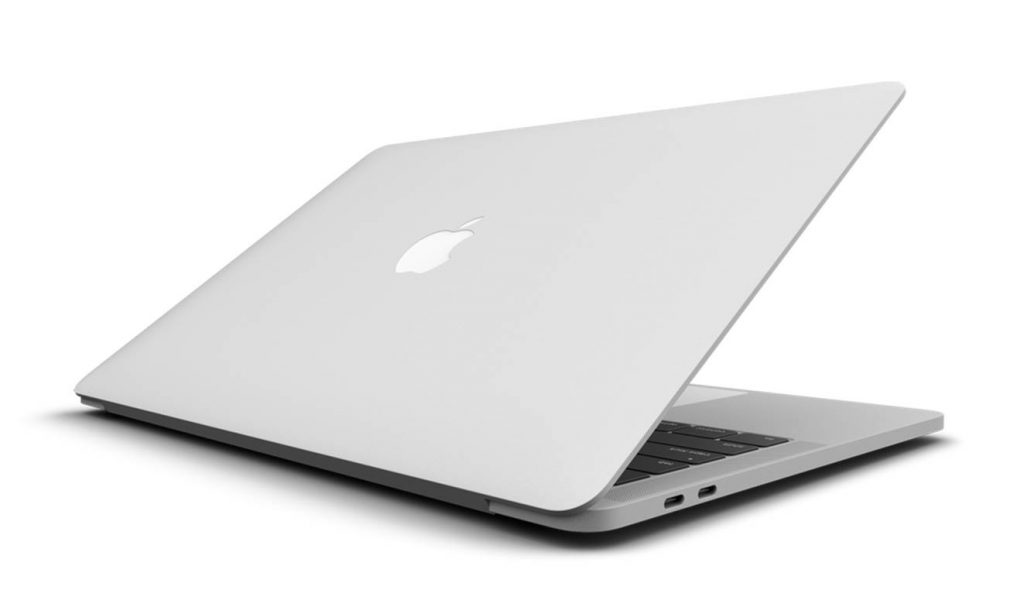
Bear in mind that some DAWs are operating system specific – such as Apple Logic Pro X only works on iOS platform and isn’t cross-platform compatible.
If you are planning to use Logic Pro X, consider going for Apple’s latest M1 Pro or M1 Max Macbooks that provide way more processing power for recording and multitracking.
Classic examples:
2. External Hard-Drive
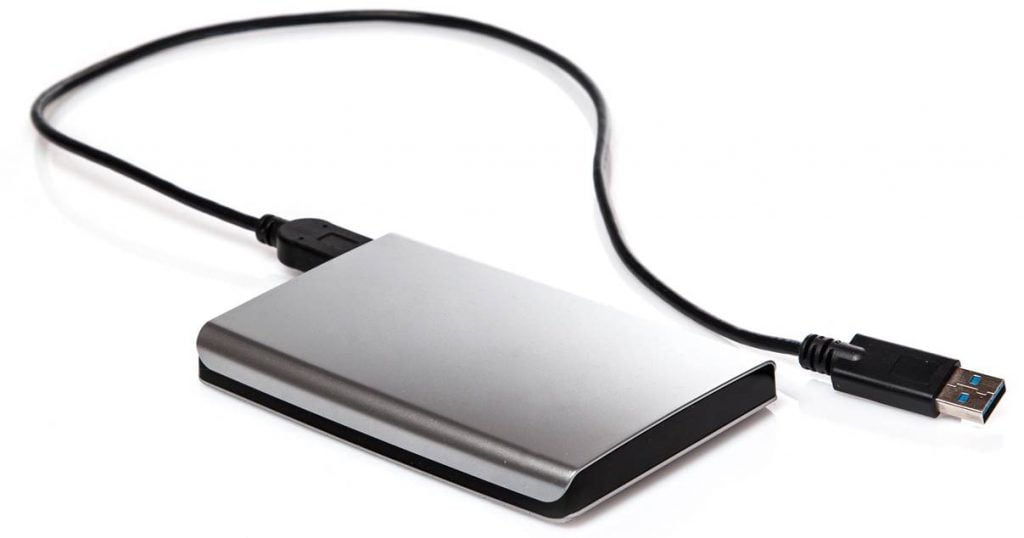
Backing up your work is essential.
Most beginners often overlook this, but an external hard-drive is going to be one of the most important investment decisions you’ll make for your home recording studio.
This is so that if you PC or laptop decides to die on you, you’ll always be covered with a backup of your work.
I’ve heard countless horror stories of musicians waking up one morning to find their months of hard work completely wiped due to a computer crash, or some fatal error with the DAW resulting in audio data being wiped out.
You can avoid all this trouble by simply investing in an external hard-drive, so you always have a failsafe if your computer fails or data becomes corrupt.
There are numerous small external hard drivers that are readily available for you to backup your work (backing up your work is always better than doing nothing).
Classic examples:
- WD 5TB External Harddrive
- Samsung T5 1TB SSD
- Toshiba Canvio 2TB Hard Drive
- Samsung 870 SATA III 1TB SSD
3. Audio Interface
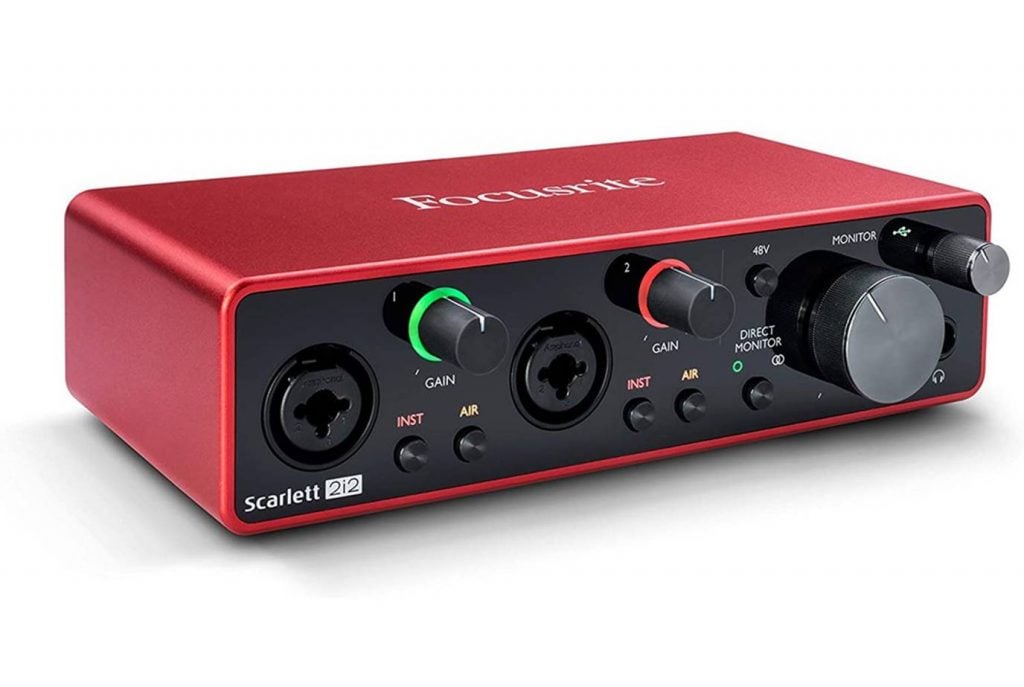
All recording studios need an audio interface.
An audio interface is a piece of hardware that has inputs that allow you to plug in an analogue signal (i.e., a microphone or guitar) and have them converted into a digital signal that your computer will understand.
Ideally you should choose an audio interface that’s compatible with your mics and equipment and with your computer. Most USB-type audio interfaces will do the job, but I recommend that you get those with built-in preamps to supply phantom power to your mics.
If you are a beginner just starting out, here are some of the best audio interfaces for beginners that I highly recommend (particularly the new Focusrite Scarlett Solo 4th Gen Audio Interface), which are worth checking out.
Classic examples:
- Focusrite Scarlett 2i2 (3rd Gen)
- PreSonus AudioBox USB 96
- Steinberg UR12 Audio Interface
- Native Instruments Komplete Audio 2-Channel Interface
4. DAW Software
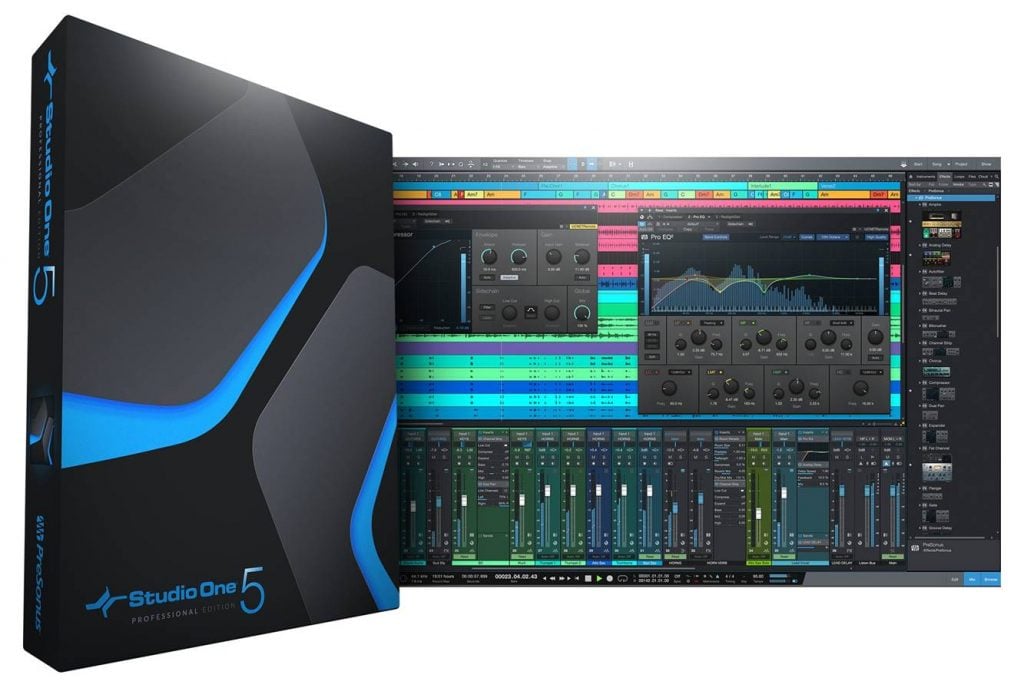
If you want to record audio on a computer, you will need a digital audio workstation. This piece of software is arguably the most vital component in your home recording studio setup, and does take some time to learn.
A DAW gives you the ability to do multitrack recording. Multitrack recording is simply the processing to recording multiple sources of audio (i.e., vocals, drums, guitar, piano, etc.) and mixing them together in the software to create a whole song. DAWs also come with effect plugins which you can apply to your audio during mixing to enhance your audio recording.
When most beginners start out, they tend to go for a free DAW (such as Audacity or GarageBand), which is basically junk and a waste of time.
Our recommendation is to start out with a proper “paid” DAW. While there’s a learning curve involved, you’ll end up learning how to record professionally and collaborate easier with other artists in the long run.
For a detailed guide on the best DAWs for beginners, check out this post:
Classic examples:
- Cakewalk by Bandlab (best free DAW, Windows only)
- Cockos Reaper – Mac/Windows
- PreSonus Studio One 5 Artist – Mac/Windows
- Ableton Live 11 – Mac/Windows
- Pro Tools – Mac/Windows
5. Studio Monitors
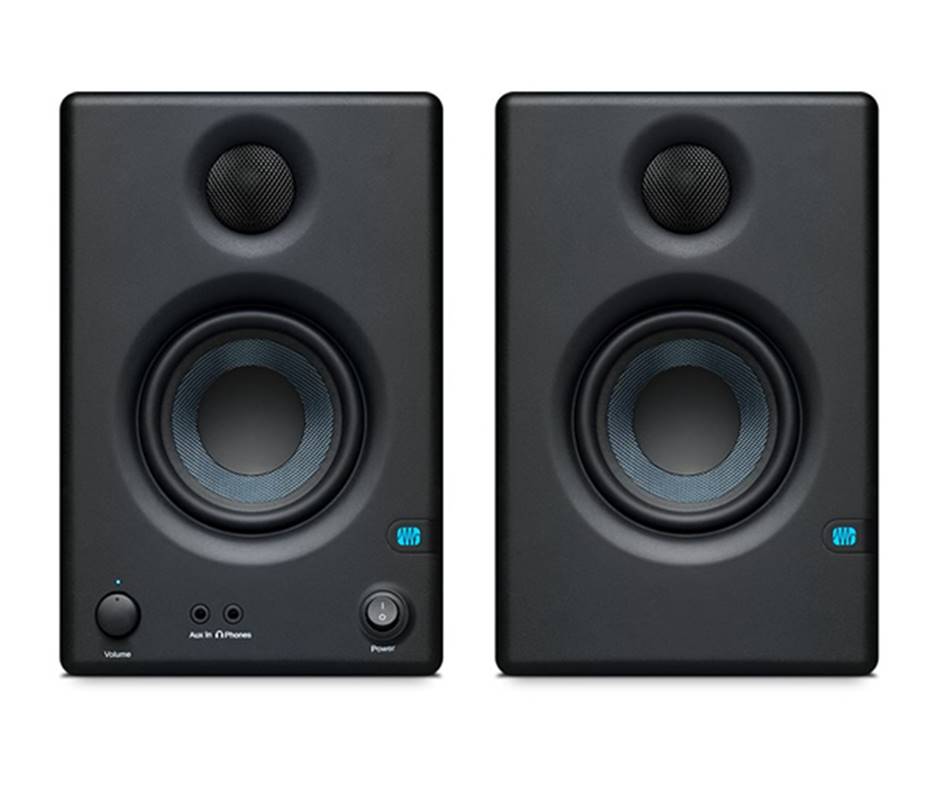
Studio speakers are the staple of every home recording studio.
When you are recording and mixing your songs, you want to get the most accurate representation of the sound. If you listen to your recordings through “ordinary” speakers, they may not be able to reproduce certain frequencies accurately, or accentuate some frequencies over the other. This leads to bad mixing decisions.
A pair of dedicated studio monitors is essential when mixing with your DAW. They don’t have to be expensive, and there are some pretty good affordable options out there (especially those from PreSonus).
Ideally you’d want to do mixing in an acoustically neutral room so you can hear the sound clearly. While most home musicians won’t have a separate “control room” to mix their music and most would end up doing the mixing in their bedroom, most of the problems with studio monitoring can be mitigated by acoustic treatment.
For beginners, the primary objective is to get a pair of decent studio monitors for mixing work.
Classic examples:
6. Monitor Isolation Pads
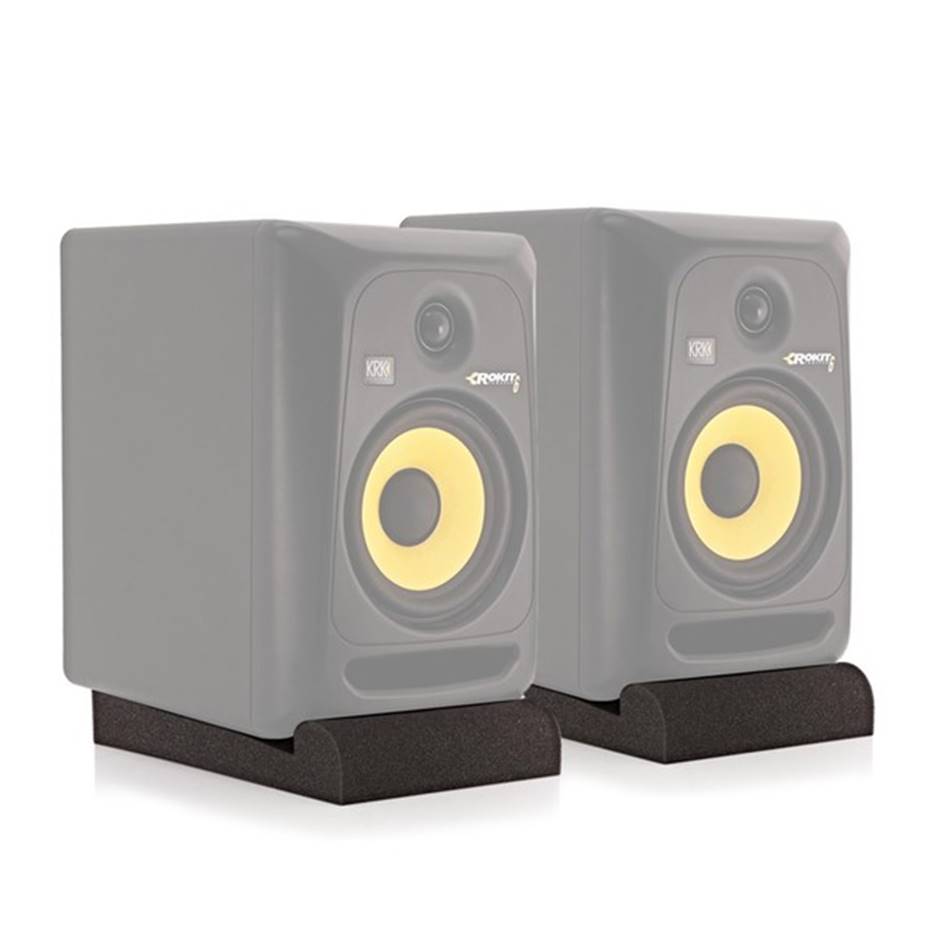
By placing studio monitors on your desk, this may create unwanted vibrations and add bass frequencies to your mix. There are effectively two ways to mitigate this – the first is to use dedicated studio monitor stands (expensive), or monitor isolation pads.
If you are on a budget, you can start out with the basic foam isolation pads. All you have to do is to adjust the angle of the monitors so that they are pointed towards your ears.
Classic examples:
- Sound Addicted Studio Monitor Isolation Pads
- Donner Studio Monitor Isolation Pads
- Pyle PSI04 Sound Dampening Isolation Pads
- Neewer 2 Pack Studio Monitor Isolation Pads
For a detailed guide on studio monitor placement in your room, check out this guide:
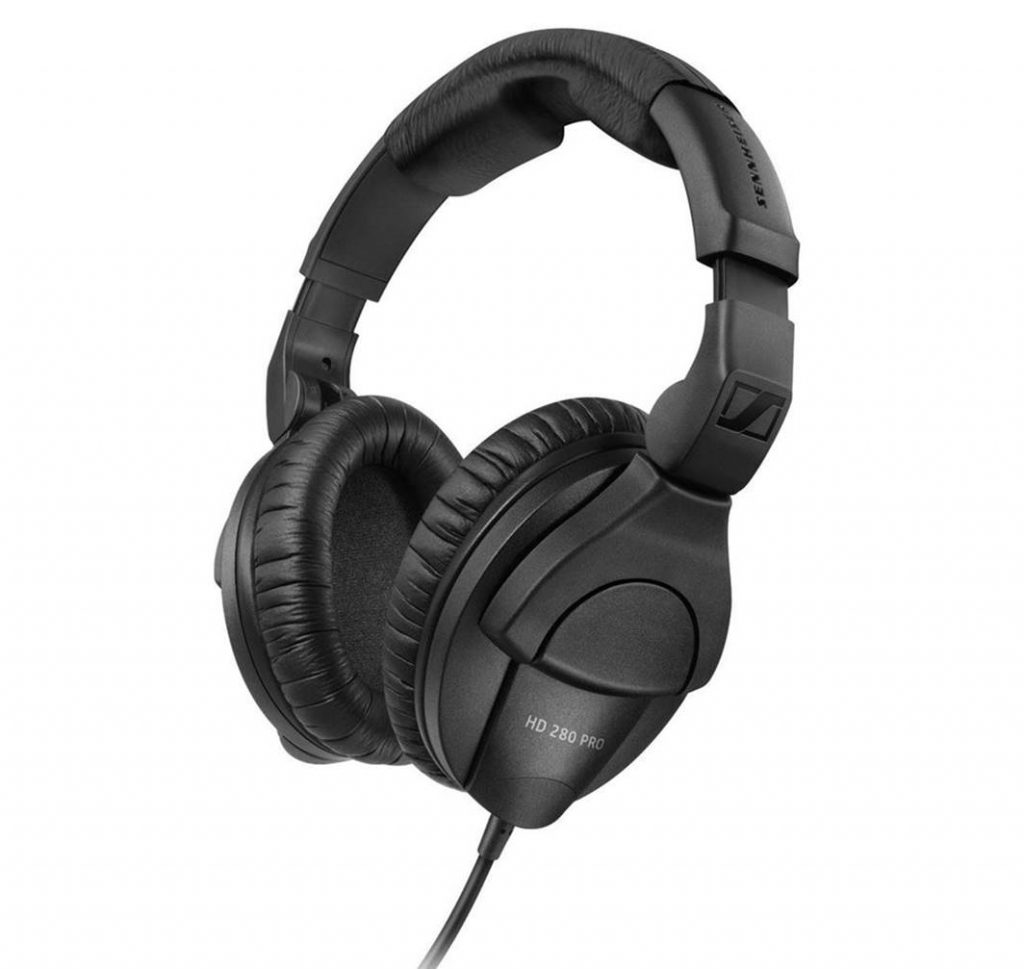
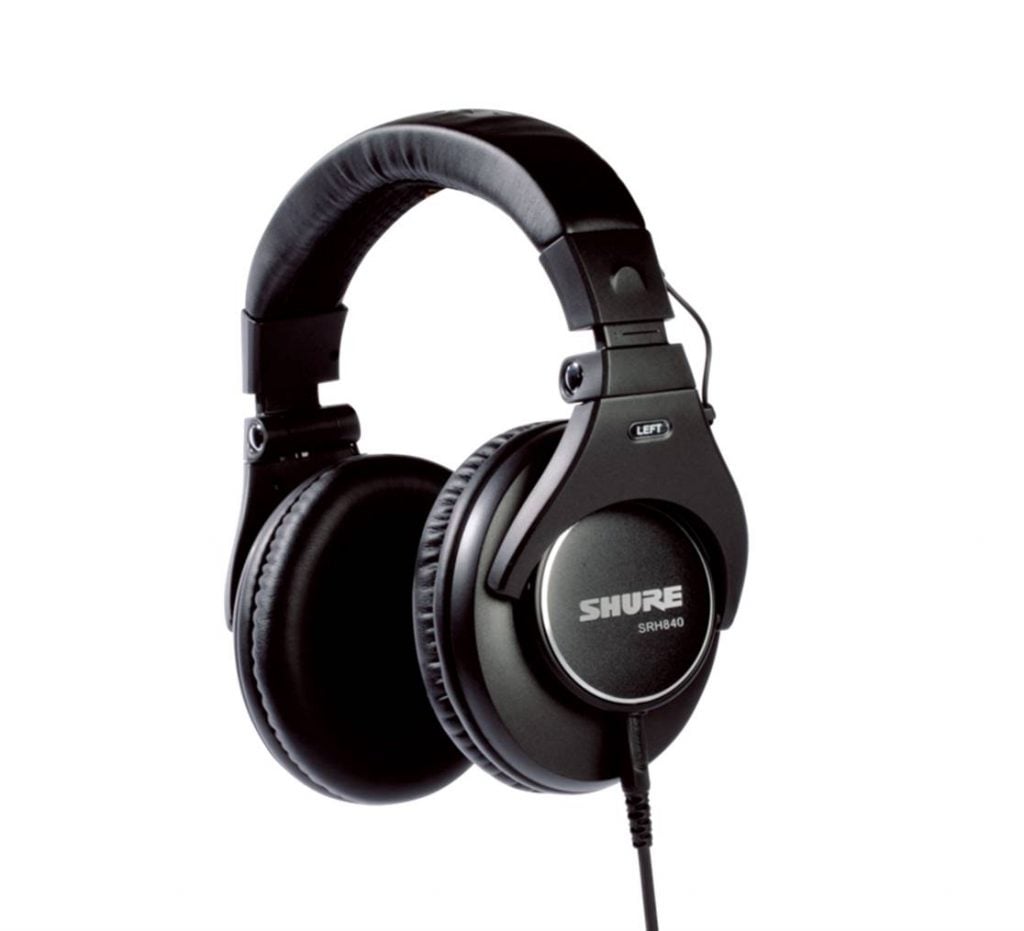
7. Studio Headphones
When you are recording music (e.g., lead vocals), you’ll need to listen to what you are recording, and any bed tracks that you are using to lay the tempo of the song.
Studio monitors aren’t suitable to do this as whatever sound coming out from them would be picked up and inevitably recorded by the microphone.
A pair of studio headphones is essential for monitoring during the recording session itself, although studio monitors would suffice post-production.
For beginners, I highly recommend the Sennheiser HD280 PROs. These are regarded as the classic “entry-level” studio headphones for beginners and have a really nice flat frequency response.
Classic examples:
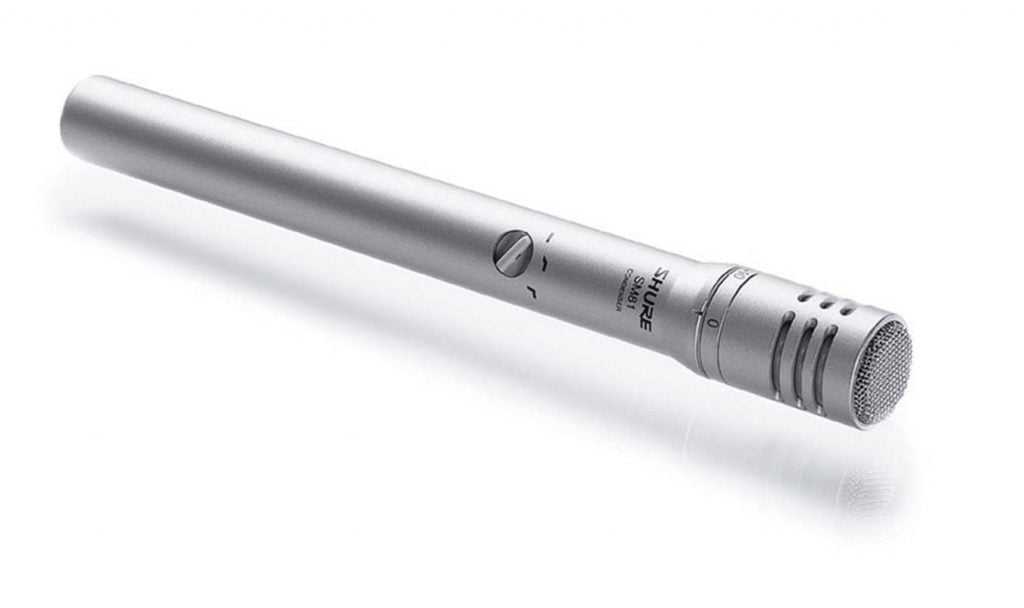
8. Microphones
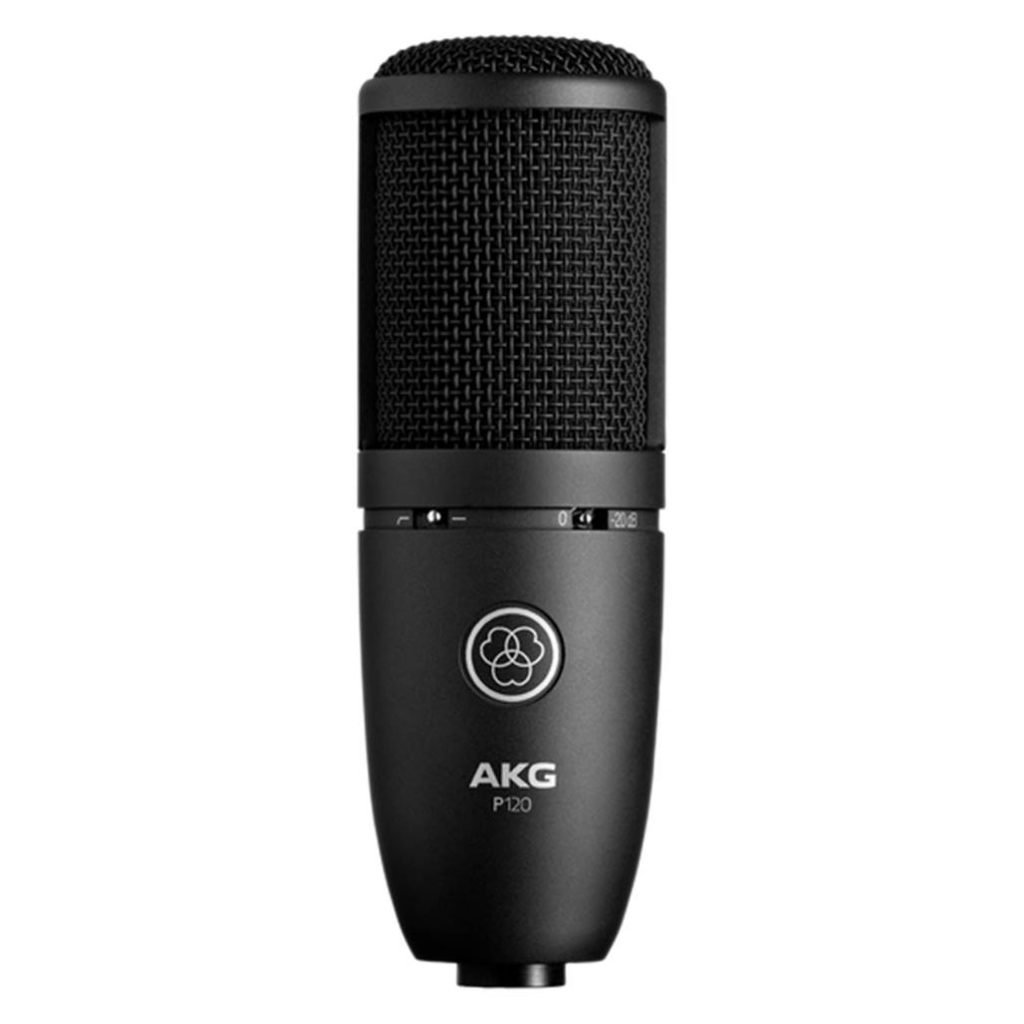
Your studio microphone is arguably the most essential piece of equipment you’ll need in your home recording studio, otherwise you would have nothing to record with.
Mics are important not only for recording vocals, both as instruments such as acoustic guitar, piano, drums, guitar amps, etc.
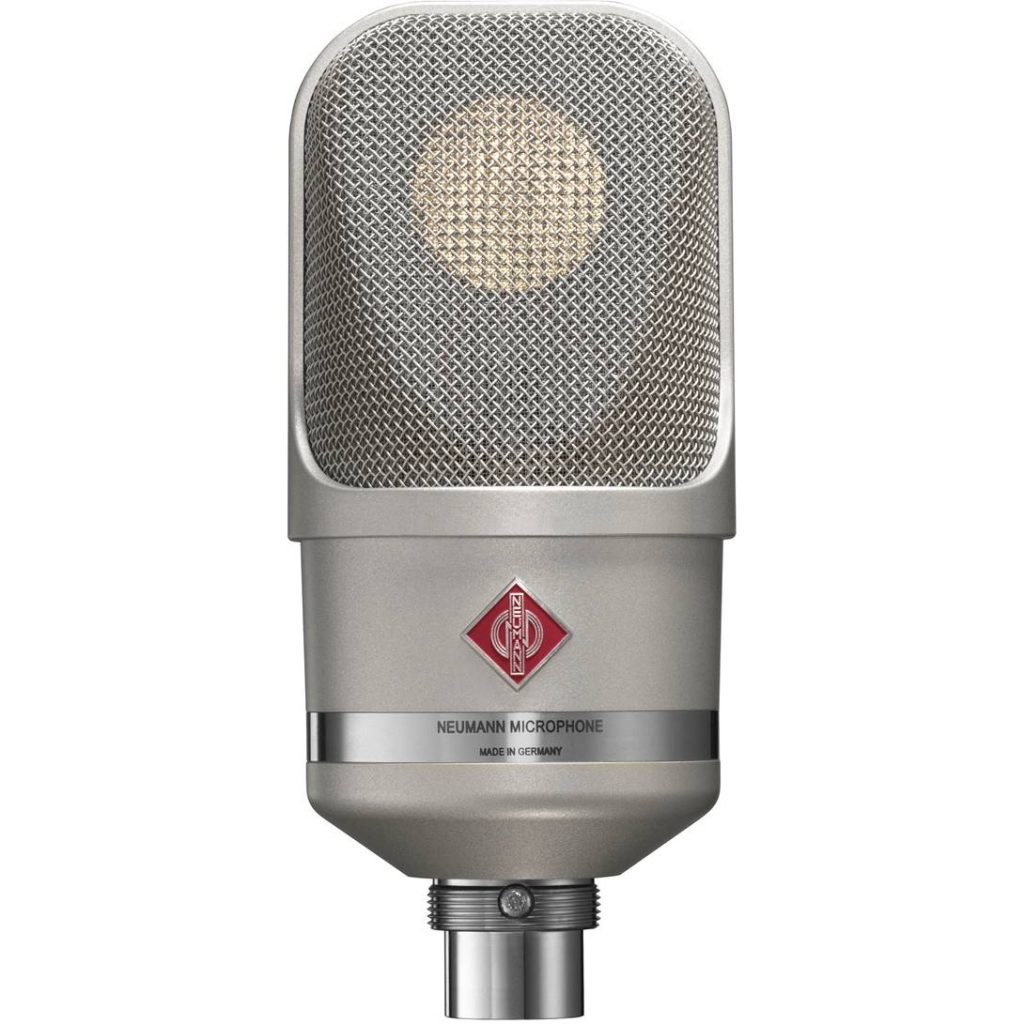
There are essentially two types of mics that you need to know at the beginner stage – dynamic and condenser mics. Condenser mics are further subdivided into large diaphragm and small diaphragm, the former being better for recording vocals and the latter for acoustic instruments.
As you’d expect, there are a tonne of different microphones out there. For beginners, I recommend just starting out with these mics as they are cost-effective and available on a budget.
Classic examples:
- Shure SM58-LC Dynamic Mic
- Shure PGA48 Dynamic Mic
- Audio Technica AT2020 Condenser
- AKG P120 Condenser
- Neumann TLM 103 Condenser
The subject on which microphones is best for recording vocals and instruments is a vast topic. For a more detailed guide, check out these posts:
- The Different Types of Microphones Explained
- The Best Microphones for Home Studio: Ultimate Beginner’s Guide
- The 10 Best Condenser Mics for Recording Vocals
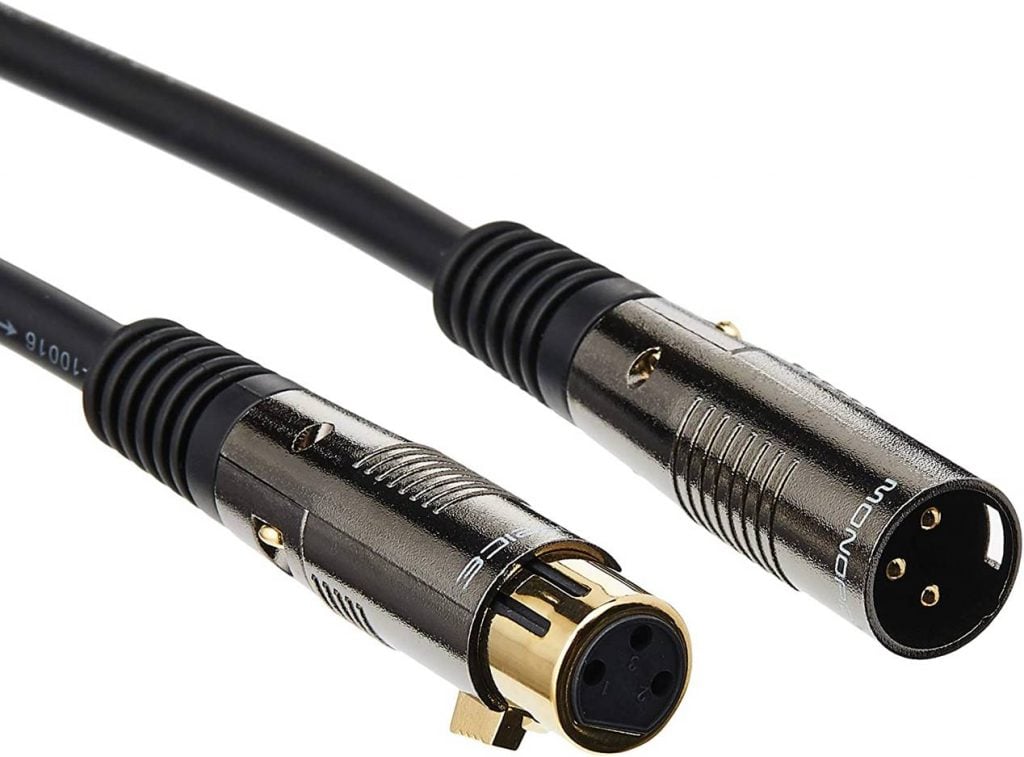
9. Cables
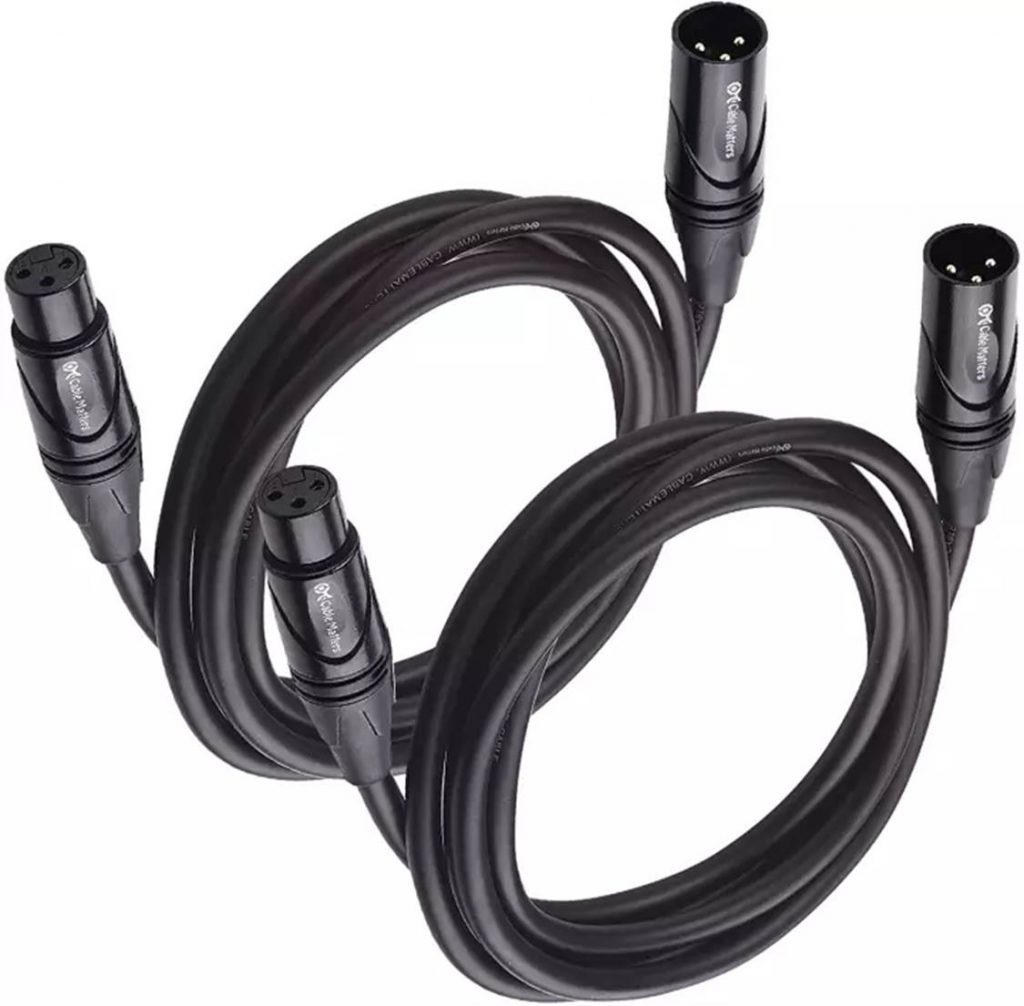
Your audio interface should come with all the necessary cables to get it connected to your PC and microphones. You’ll likely need to buy cables to connect your studio monitors and headphones though.
I’d also recommend getting a pair of 10 ft XLR to XLR (oxygen-free copper) cable extensions if you are recording in a larger sized room with multiple musicians so you can move around freely.
Many audio interfaces contain one or more XLR inputs with a built-in preamp, allowing you to connect your microphone or DI an instrument to it (in which case, you’ll need extra cables for your instruments).
Classic examples:
10. Pop Filter
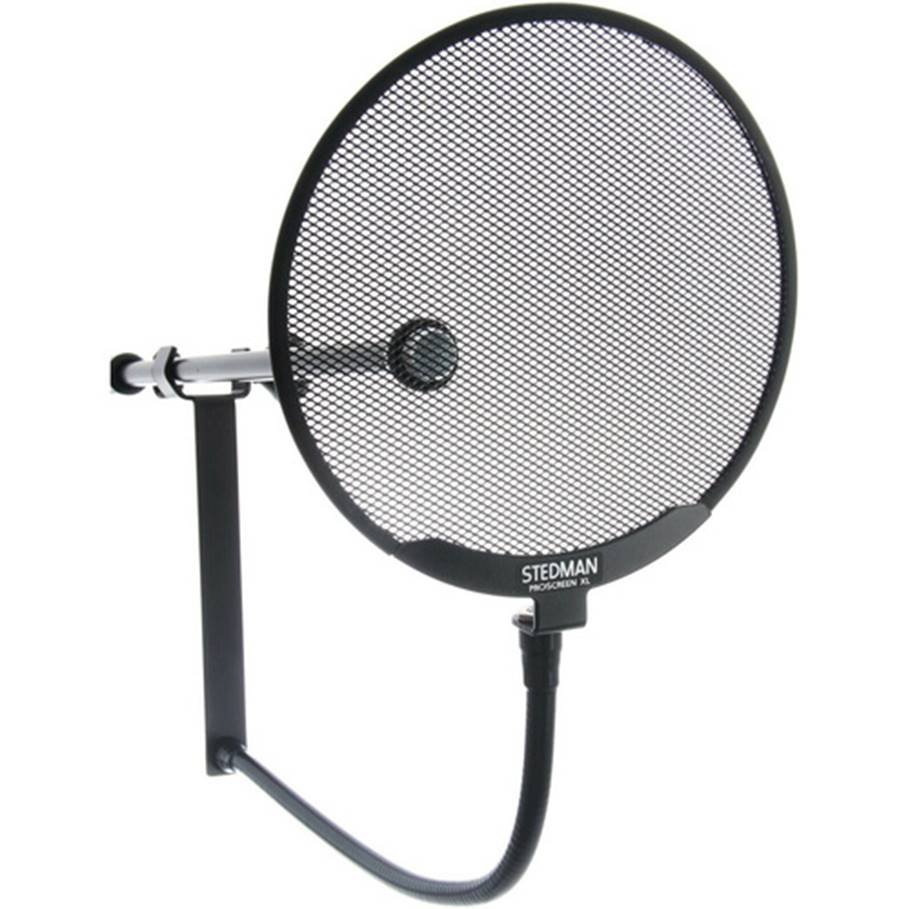
If you record a lot of vocals, a pop filter is an essential item.
Pop filters serve two functions. One, they get rid of the plosive sounds “P” sounds that can cause breathy spikes in your recordings. Placing a pop filter in between the vocalist and the microphone helps to prevent plosives from being recorded.
Some pop filters can help to reduce the proximity effect (or the amount of low-frequency bass thump) being recorded on a microphone. To do this, you’ll need to get a pop filter with multiple layers instead of just one.
Second, your pop filter protects your microphone against saliva droplets and moisture. This helps to ensure that your microphone lasts longer.
With that said, while the effect that plosives have on each type of microphone varies, and some microphones have more reaction than others (particularly large diaphragm condensers which are more sensitive).
Ultimately, you should get a pop filter that can effectively guard against plosive sounds to a desired optimal level.
Classic examples:
- Auphonix Pop Filter
- InnoGear Pop Filter
- Stedman Proscreen XL Pop Filter
- SeElectronics Studio Pop Screen
11. Microphone Stand
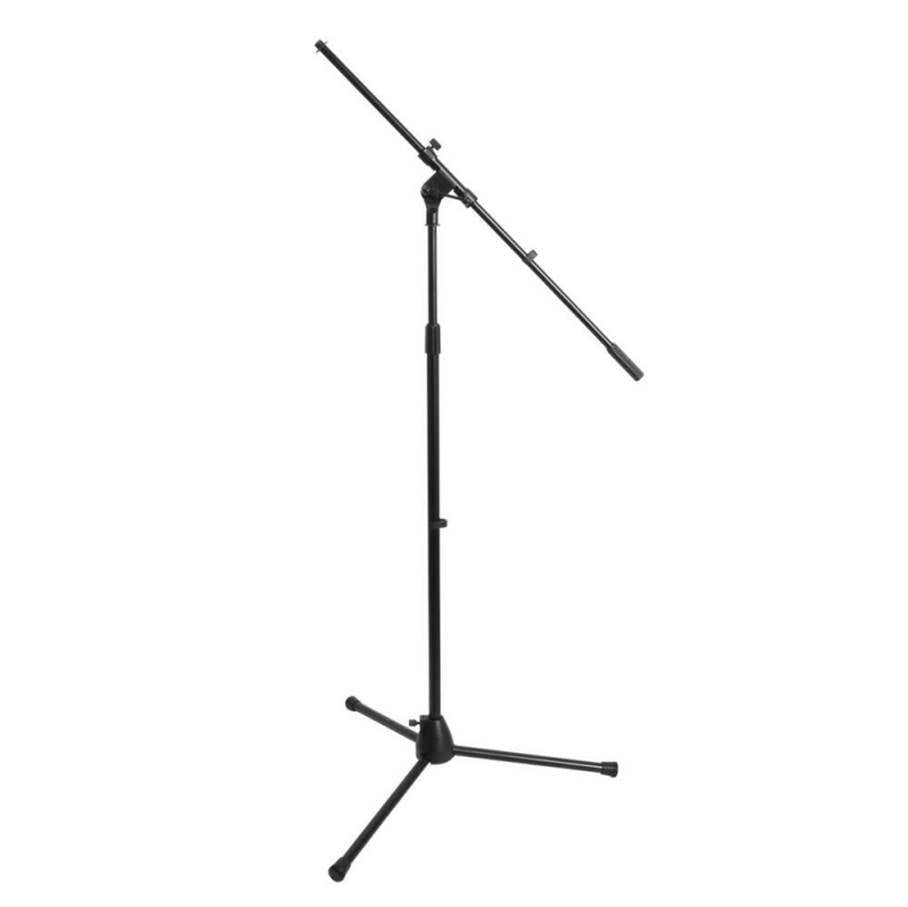
Holding a microphone while recording is not ideal.
This is especially important if you want to play and record and instrument (e.g., acoustic guitar) at the same time. You’ll need a mic stand to help position and angle your microphone towards your mouth or instrument for a more consistent sound recording.
I highly recommend getting mic stands with a “boom arm” that allows you to change mic positions. There are different sizes of mic stands available for different uses, for example shorter mic stands are used for miking guitar amps and taller ones for standing vocalists.
Either way, you should definitely invest in a good mic stand for your first home recording studio.
Classic examples:
- On-Stage MS7701B Tripod Mic Boom Stand
- Moukey Tripod Microphone Boom Stand
- Samson MK-10 Microphone Boom Stand
Good to have
Now if you have extra budget, I’d highly recommend going for these optional extras to boost your home studio’s recording capabilities and sound performance.
12. Acoustic Treatment
Every home recording studio needs to be acoustically treated.
This is because your home bedroom or whatever room that you are using to record isn’t built for recording in the first place…in other words, it isn’t acoustically optimized to deliver the best sound.
Some rooms have more flutter echoes and standing bass waves than others, and it’s very important that these sounds get treated or they might interfere with your recording quality and screw up your mix.
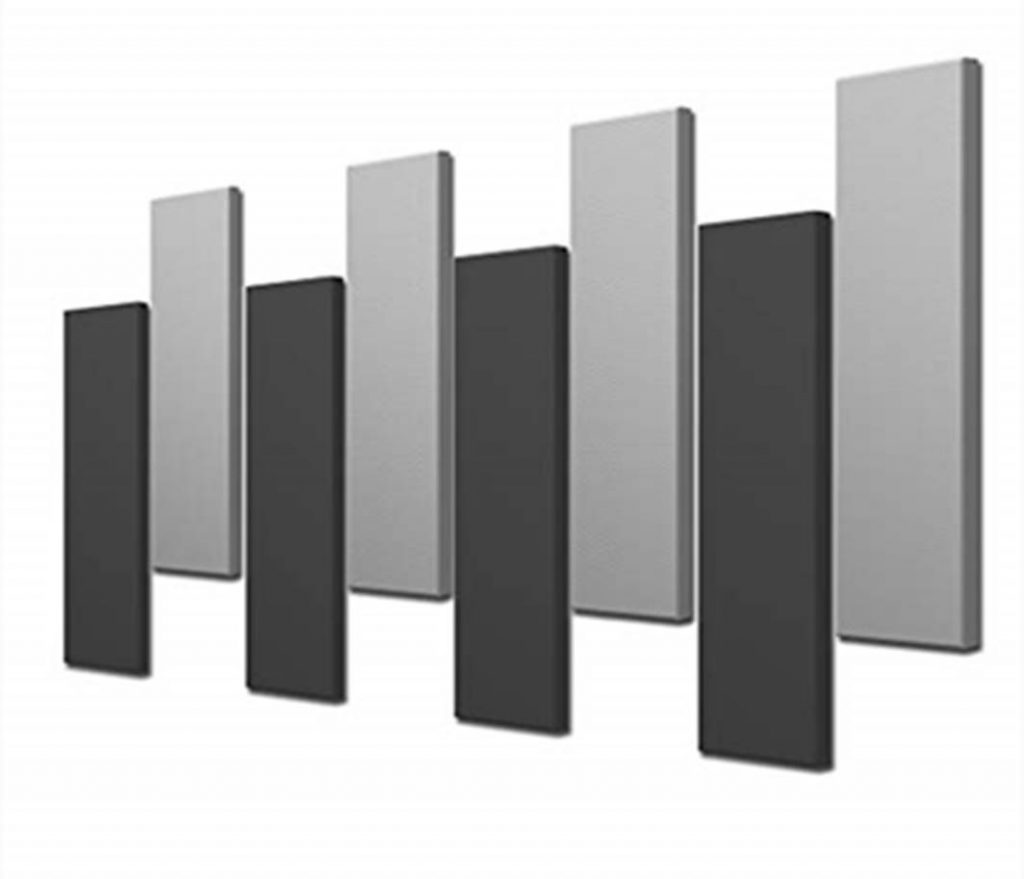
Bass is the very first thing you should treat in your home studio. These are the hardest to get rid of, and consequently interfere the most with your audio recordings. Bass can only be treated by applying bass traps – do not go around plastering your room with acoustic foam as all this would do is to eliminate high-frequency sounds and that’s it!
Bass Traps
Acoustic Panels
- Acoustimac DMD Stagger Acoustic Panels
- JBER 12 Pack Acoustic Foam Panels
- DEKIRU 12 Pack Acoustic Foam Panels
- JARDEON Hexagon Acoustic Panels
Diffusers
Before you buy anything…
When most beginners start out, they usually go and plaster their room with acoustic foam. Don’t make the same mistake! No matter how fancy the acoustic foam is, it doesn’t eliminate the low-end bass which should be the subject of your focus in acoustic treatment.
Upgrading your cheap foam panels to fiberglass or rockwool ones will give you a more balanced frequency response by eliminating the bass which is especially important when mixing.
With a home studio room, the general rule of thump is the more absorption, the better.
For a complete and detailed guide on how to treat your home recording studio, check out this post:
13. Extra Microphones
Your first microphone is the most important recording tool, but a second mic can greatly open up your recording options.
Having a second mic will not only give you more choices when it comes to how you want to record your music, it also opens the door to dual miking techniques and recording more than one musician at a time.
If you have picked the classic Shure SM57 as your first mic, I highly recommend picking up a large diaphragm condenser at this stage so you can compare the audio quality. You can play around with the sensitivity and proximity effect to create unique sound effects for your recordings.
Replacing individual mics with some of your own mics will allow you to experiment with more options and open up more creative techniques.
Classic examples:
14. MIDI Controller

A MIDI controller is an electronic device that sends MIDI data to your computer, and allows you to control all sorts of sound effects and virtual instruments in your DAW. We have compiled a list of MIDI keyboards that are suitable for beginners and come with DAW integrations with FL Studio or Logic Pro X to help you get started easily.
MIDI keyboards are especially useful for sampling and sequencing. However, even if you only record live sources, a MIDI controller can be programmed to your DAW for making adjustments to levels, pan and rhythm automation.
Classic examples:
15. Upgraded DAW
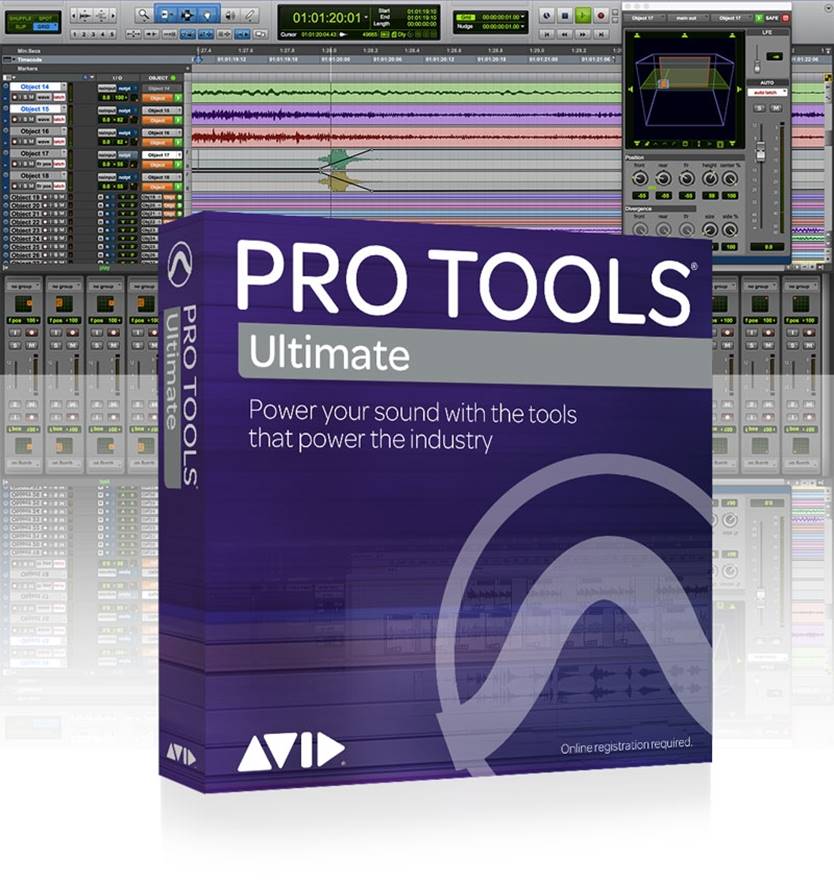
If you have started out with a free DAW or the lite version of Pro Tools or FL Studio, consider upgrading your DAW to unlock more features. While a free DAW may have everything you need to get started, these features may be limiting for more advanced music production.
I highly recommend that you consider upgrading to one of the leading industry standard DAWs such as Pro Tools or Logic Pro. This will open up more recording options and editing functions with built-in plugins and VSTs.
Also it helps to get to know the DAWs that are more widely used in the recording industry so that you can easily get up to speed if you are looking to work in a professional studio or collaborate with other musicians.
Classic examples:
16. DI Box
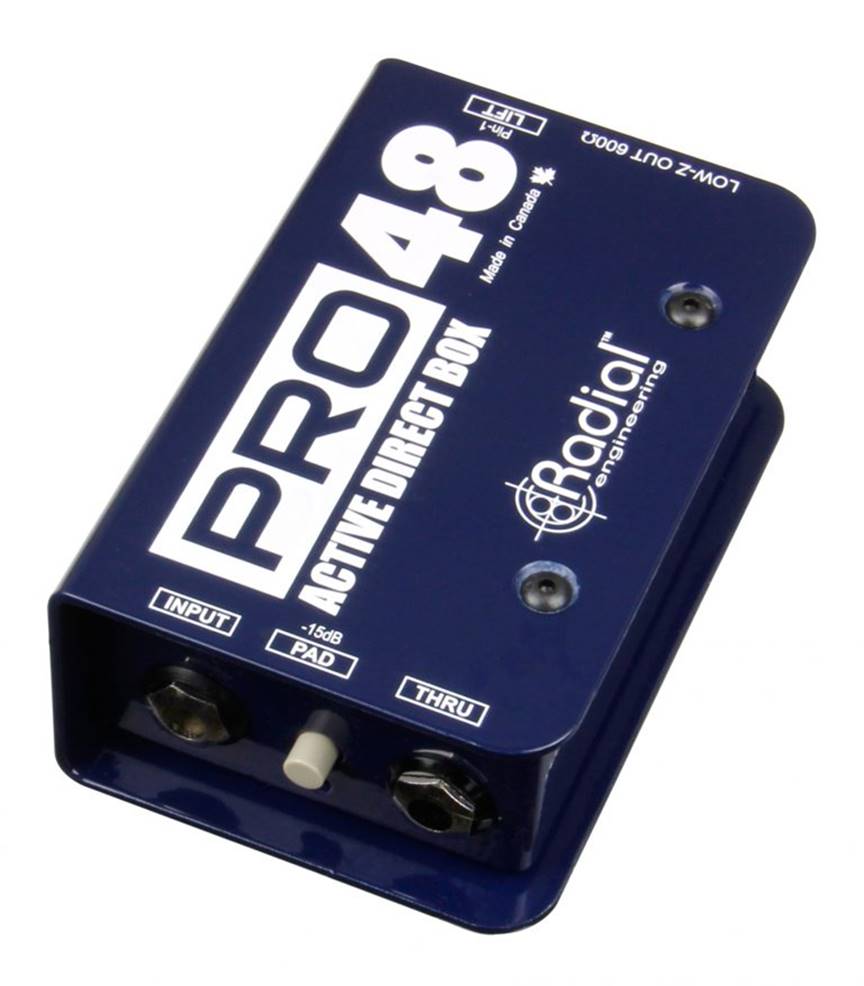
If you want to record an instrument directly into your computer (without using a mic) or going through an audio interface, you’ll need a DI box.
Now you might be thinking – why not just plug your guitar or bass directly into your audio interface’s preamp and start recording?
The short answer is that recording guitar or bass through an audio interface will produce a weak and distorted signal. The audio quality won’t sound good and there will be a lot of static noise which will interfere with your recordings.
A DI Box solves this problem by converting an unbalanced signal from your instrument into a balanced signal, reducing the overall noise level and giving your instrument signal a healthy boost.
For beginners, I highly recommend starting out with an active DI box and connecting it to an audio interface with phantom power. To do this, you need to connect the mic output of the DI box to the input of the audio interface. The signal sent will be the clean one from the guitar.
Classic examples:
17. Guitar Amp
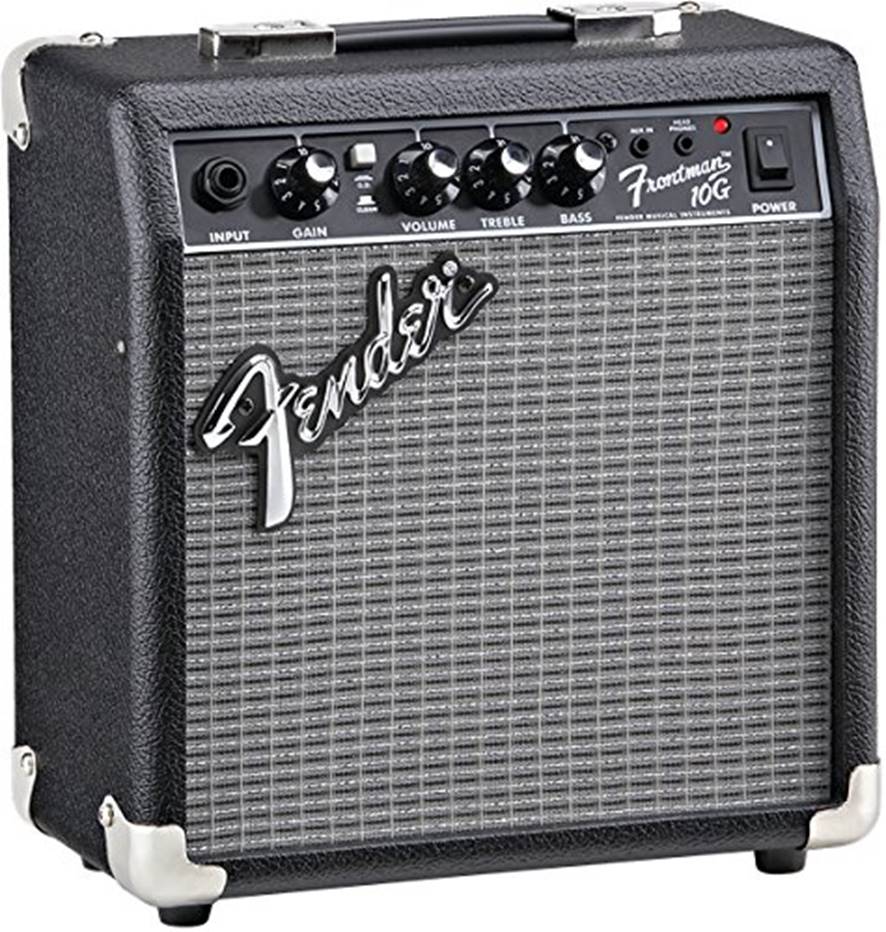
If you intend to record bass or electric guitars, you’ll eventually want to get a guitar amp to record the warm, natural sound of these guitars instead of just doing everything DI (direct insert).
The traditional way of recording a guitar amp is to use a dynamic mic and aiming it directly towards the amp with the help of a short mic stand. By doing this, you can record the actual sound of the amp and play around with different amp settings to get a unique musical tone.
Classic examples:
If you can afford them (for upgrading your studio)
Now if you are planning to upgrade your home recording studio to a more ‘professional’ studio, here are some items you can consider getting.
18. Extra Microphones
Getting more microphones in your home recording studio can open up numerous recording combinations, and you can experiment with the different tones (bright, neutral, warm) of each individual microphone together with its unique acoustic signature.
However, what mic you should get from here greatly depends on what exactly you want to record.
Do you record a lot of bass and electric guitar? Consider getting a bass mic such as the… Do you record a lot of vocals? Consider upgrading to …
Consider replacing individual mics with some of your own mics and experiment with the different sound effects and nuances.
Classic examples:
19. Extra pair of headphones
Having a second pair of headphones is useful if you are monitoring from within the control you. You can monitor your pair of headphones, while the vocalist has their own pair. This allows you to listen to what is being recorded without using speakers and avoiding any audio feedback into the microphone.
As always, you should get a pair of acoustically neutral headphones so that you can get the most accurate representation of the music and vocals being recorded.
Classic examples:
20. Spare cable and adapters
It always helps to keep spare cables and adapters just in case of any faults and breakages during a recording session. I recommend keeping a toolbox of adapters including 3.5mm jack adapters, XLR changes, headphone splitters so that you can easily connect to any replacement equipment if required.
If you are recording in a larger room, it’s always helpful to keep spare 10” XLR cables just to be safe.
Classic examples:
- Headsets Splitter Adapters – Headphone & Mic Plug Adapter
- USB Type C to 3.5mm Headphone Jack Adapter
- Monoprice 104752 XLR to XLR Cables
21. Upgrading your PC
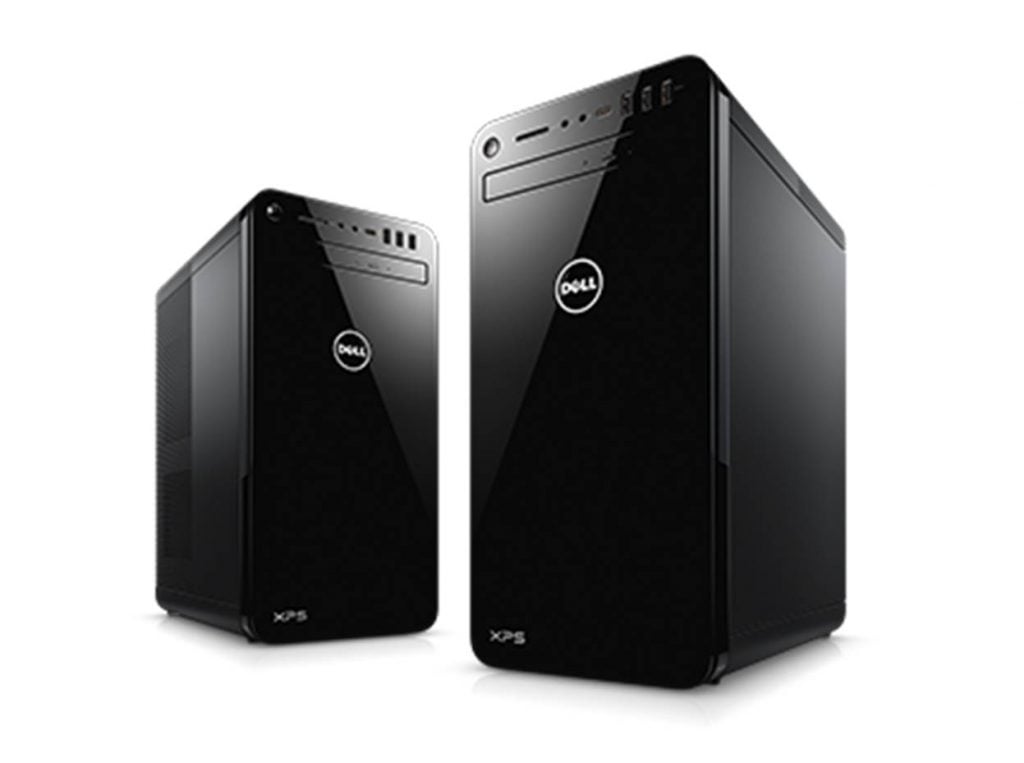
If you intend to upgrade your DAW or record with multiple musicians (lead vocalist, side vocals, instruments, drums) simultaneously, you’re going to need a PC with more processing power that can handle the load.
For this purpose it’s better to get a high-performance desktop PC with more RAM and processing power so that you can record optimally.
Classic examples:
- HP Envy Desktop High Performance PC (32GB RAM, 1TB SSD, Hexa-Core i7)
- Dell XPS 8930 High Performance Desktop Computer (Hexa Core i7, 16GB RAM, 1TB HHD).
If you are already using your own PC, consider adding more RAM (such as the Corsair Vengeance RGB 16GB DDR4 RAM) to your setup to boost performance.
22. Studio Desk
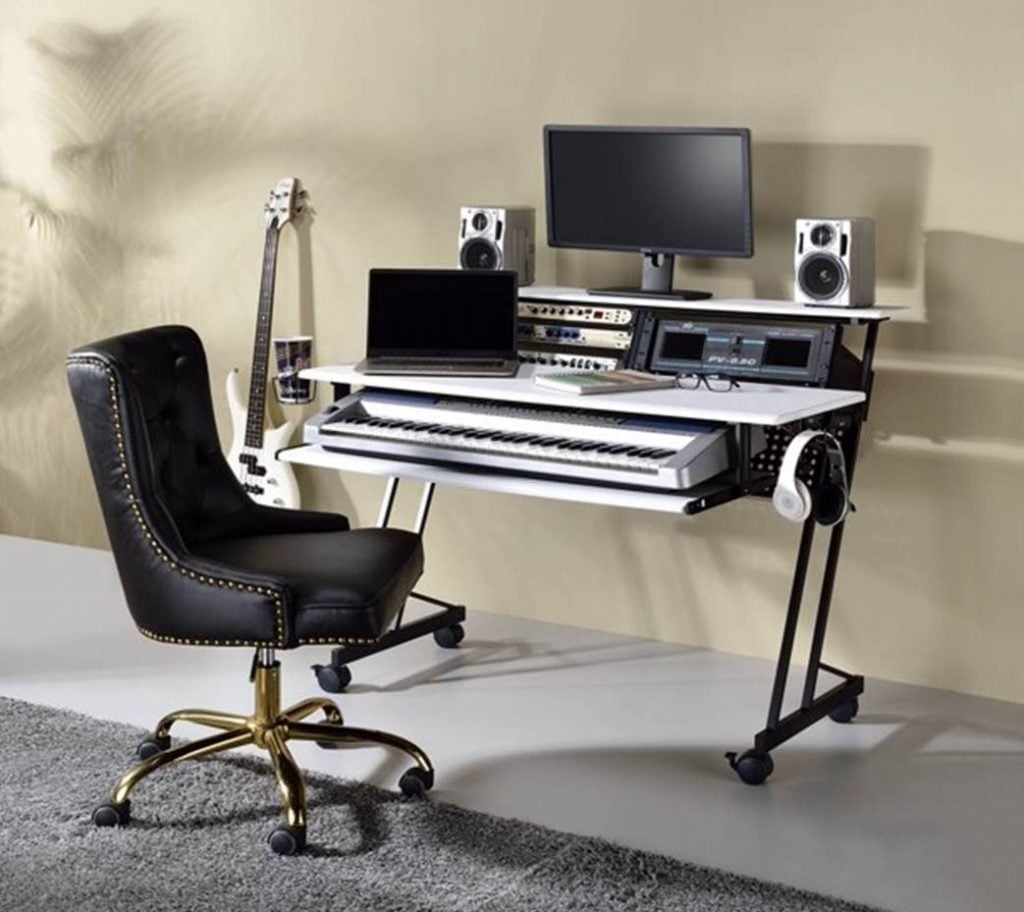
Having a studio desk brings a couple of advantages to your home recording setup. Most studio desks allow for adjustable table height and come with rack spaces for studio racks and extra storage with cable management.
All of these features can make your home studio look more professional and help to organize the layout of your home studio.
Classic examples:
23. Studio Chair
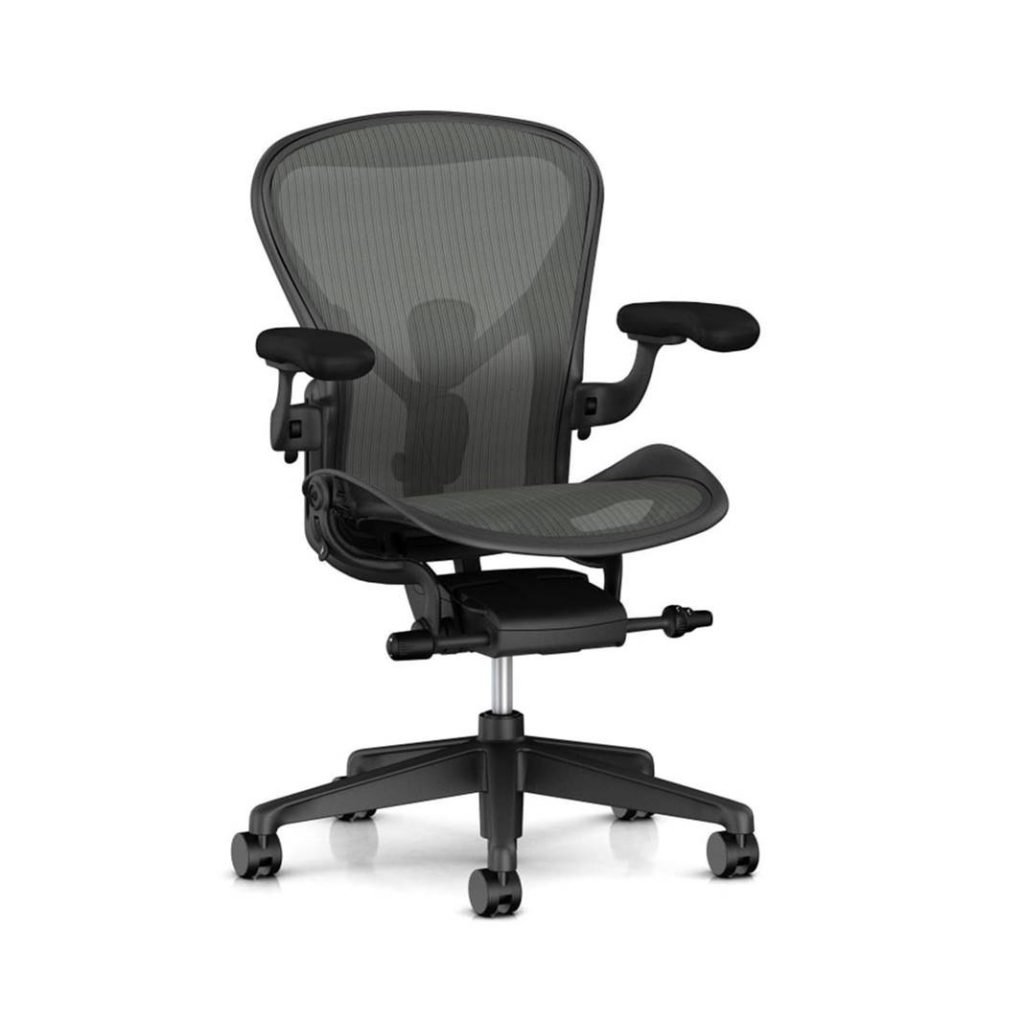
If you are recording long hours in your home studio, getting the right studio chair is one of the more critical decisions that you can make.
It’s quite easy to understate the significance of getting a good chair – not only will it bring more comfort to long hours of mixing and recording, but it will also spare you from backache and sitting discomfort in the longer term.
For starters, I recommend getting an office chair as they are ergonomically designed to be sat in for long hours.
Classic examples:
24. DAW Remote
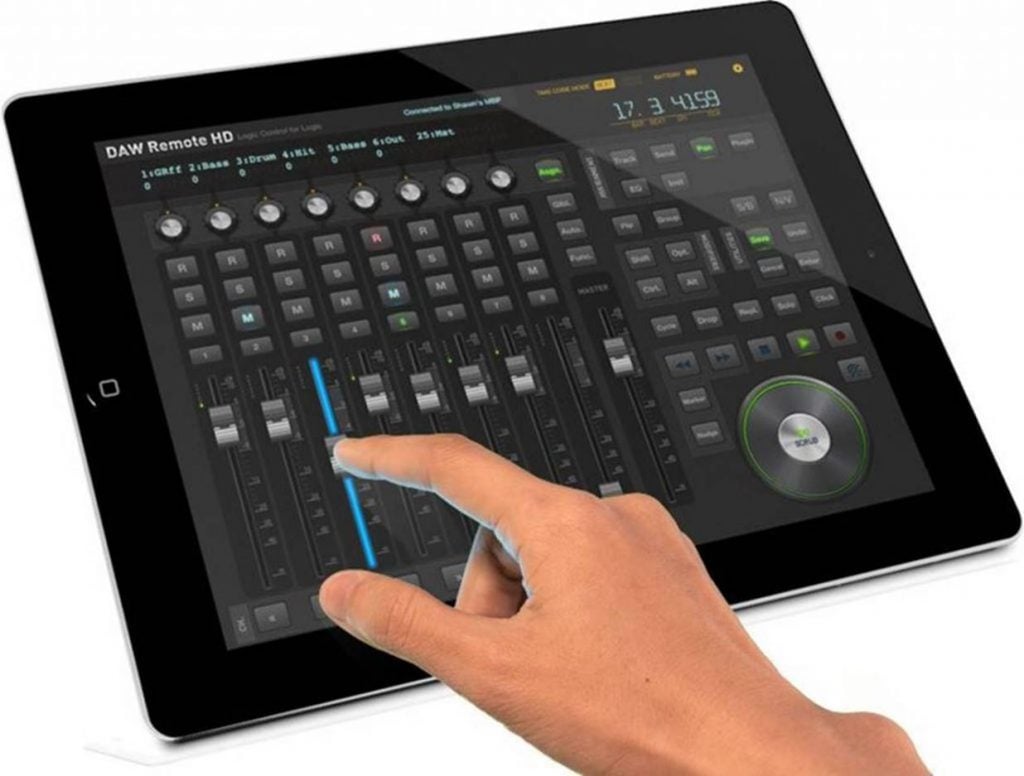
Sometimes it may not be practicable to record while sitting in front of your computer.
This is especially true if you you are recording with multiple instruments in your room – you would have spaced out your instruments within your room at different “zones” or locations, and it is not possible to play these instruments and control your DAW at the same time.
Enter the DAW remote…
The DAW remote works by controlling your DAW software remotely by connecting to a WIFI network, so you’ll be able to control your DAW workstation wirelessly while recording different instruments inside your room.
If you have a spare iPad lying around, you can convert it into a “DAW remote” by installing DAW software onto it.
Most industry-leading DAWs such as Pro Tools, FL Studio and Studio One are optimized to work with DAW remote software apps.
Next Steps
To learn how to choose your studio room and layout your studio room for home recording, check out these posts: