
Assuming that you are already working with some kind of recording studio setup and want to upgrade to a professional one, this is the guide for you.
In our earlier Chapter on how to upgrade your home recording studio, we gave an overview of what equipment you need to upgrade from a basic to an advanced professional studio.
Exactly what equipment you should get for a professional recording studio is the subject of this guide. Here, we will explore what equipment most professional musicians use inside a professional recording studio and how you can best setup this equipment in a home or studio setting.
This is an advanced guide, and is not meant for beginners first starting out with their home recording studio. If you are looking for a beginner’s guide, check out this article on the home recording studio essentials for beginners.
Professional Recording Studio Equipment List
1. The Workstation
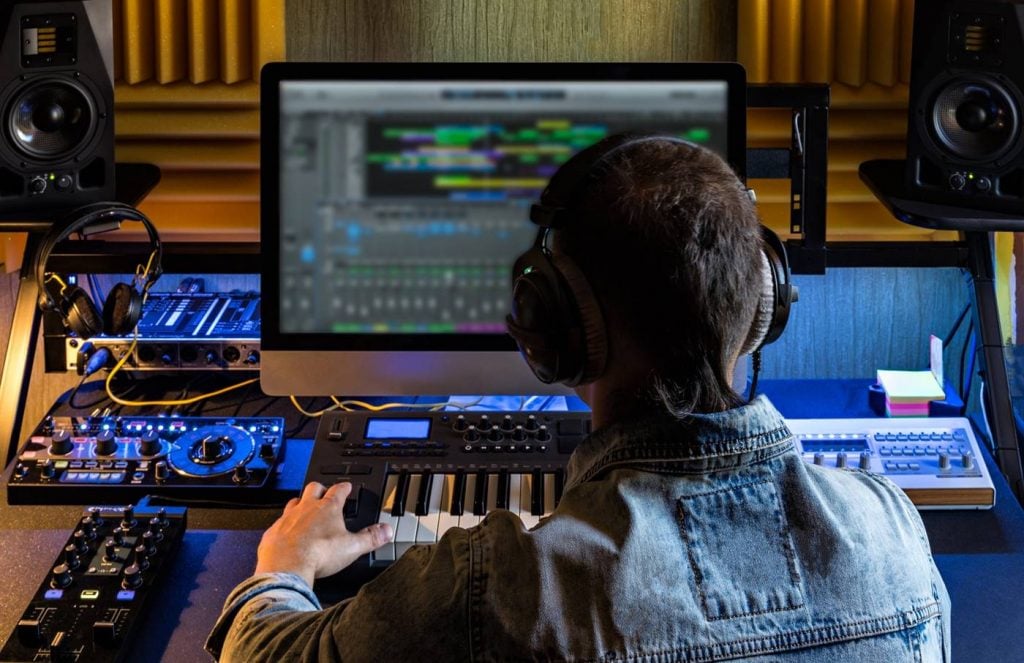
In a professional recording studio context, you’re going to have to throttle up the amount of CPU available for music processing – because you are going to need it.
Assuming that you will be having multiple musicians recording at the same time plus a professional audio engineering in the mixing room, you’ll need a computer that can handle all that processing power to record simultaneously.
Additionally, you will need load balances and power distributors to handle all the power to your CPU and studio recording equipment. We’ll touch on that below.
For now, you should upgrade your CPU and RAM capacities to handle all that processing power. At this stage, getting a motherboard with a cooling fan is definitely a must to prevent your PC from overheating.
Classic examples:
More CPU
More RAM
Cooling Fan
2. Backup HDU
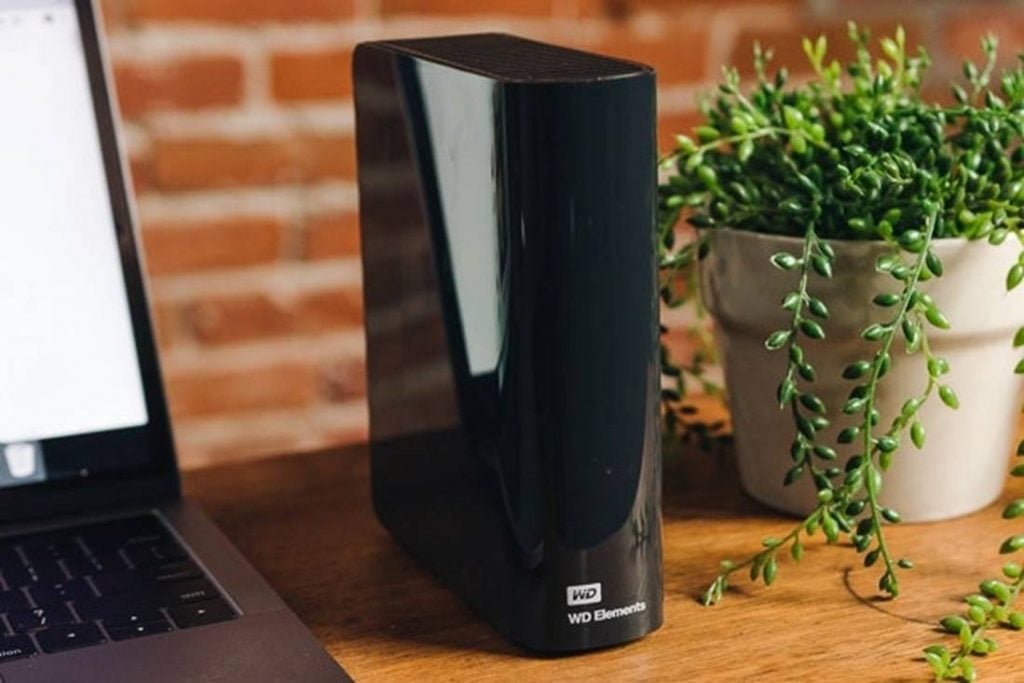
When recording professionally and doing multitrack recordings, having a backup hard drive unit to store all the recording data is the bare minimum.
This is especially important if you are recording with multiple artists or musicians at one time, because hours and days of hard work are at stake here.
Don’t let a hard-disk failure or power outage wipe out all your data. In a professional recording studio, having a dedicated data hard-drive backup system is the minimum.
Classic examples:
3. DAW Software
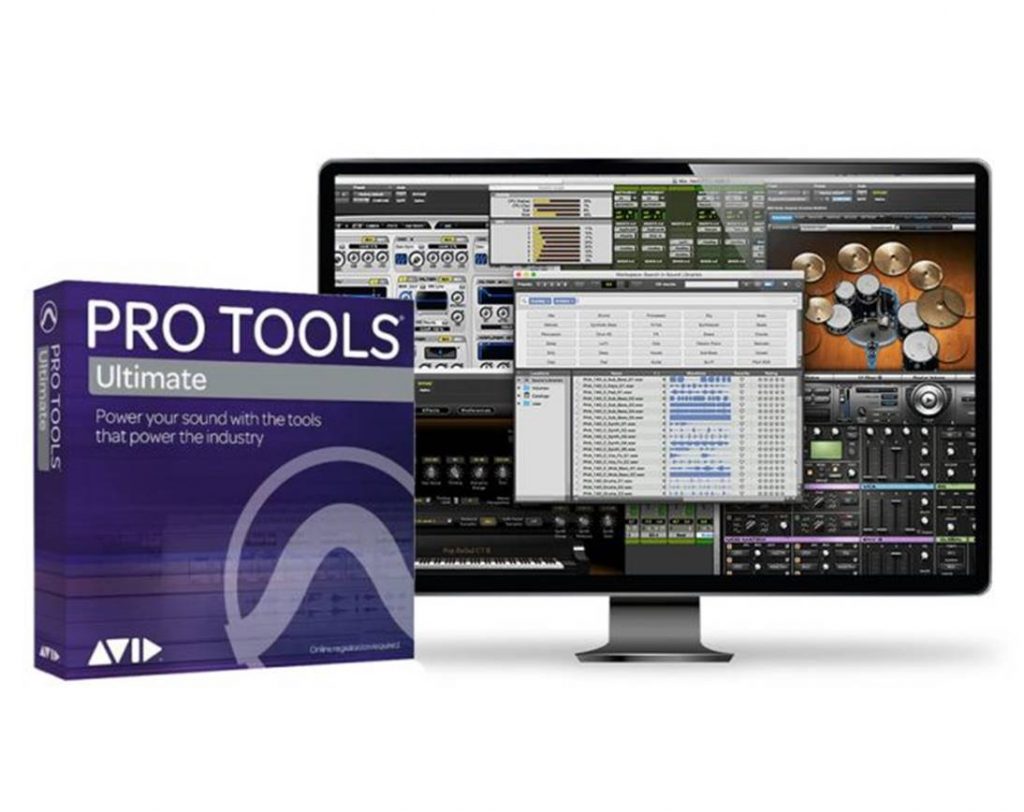
For professional recording studios, most of them would be using Pro Tools Ultimate (or some advanced version of Pro Tools). If you haven’t already done so, be sure to use Pro Tools to multitrack musicians simultaneously.
Other DAWs that are used in a professional recording studio include Ableton Live (usually better for live performances, although it has an intuitive interface for looping music), or Steinburg Cubase with its streamlined workflow and large range of effect modules.
Classic Examples:
4. Audio Interface
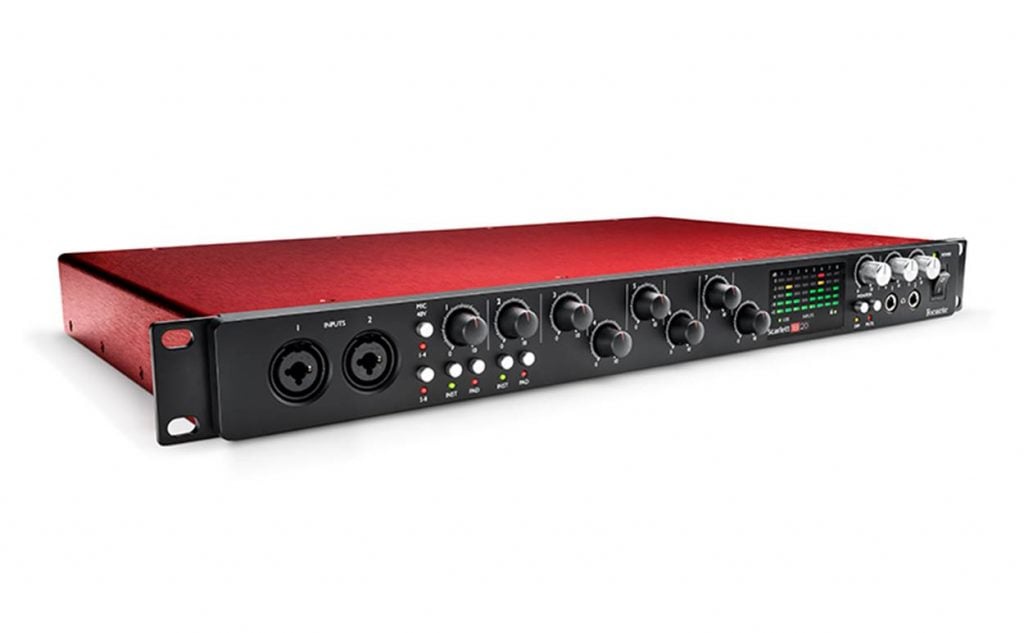
For professional recording studios, you’d probably need a rackmount audio interface where you can connect multiple microphones, instrument inputs and monitor outputs together. This is crucial if you are recording in a band so that you can control all your input channels from one centralized interface.
We also recommend getting interfaces with balanced line inputs for connecting synthesizers, drum machines and other line-level sources so that you can mix and apply sound effects as you track your music. Most rackmount amps will come with phantom power inputs so that you can connect condenser microphones. The industry standard is +48V of phantom power which is suitable for most use cases.
Professional interfaces should also come with mic preamps with expandable simultaneous inputs and outputs to handle all the audio source signals.
If you are working with a lot of large diaphragm condenser mics, we would recommend dedicated mic preamps for condensers with the highest impedance (e.g., if you are using Neumann or Shure) for a clearer signal and voice recording.
Classic examples:
In addition to a rack-mount audio interface, you might wish to consider getting a studio mixer if you need a lot of on the fly customization and the ability to adjust the EQ and effects immediately.
This is because when you are recording everything in a band with simultaneous inputs, adjusting individual tracks on your DAW can be time-consuming. A dedicated studio mixer with multiple input channels can be useful to adjust effects, faders and gain on the fly. Need to increase the gain on a particular instrument? Simply turn up the gain knob for that channel and you are done.
There is a debate on whether using an audio interface or a studio mixer is better for recording in a band. The general rule of thumb is that if you are doing live recordings, a studio mixer is generally a must, while an audio interface is the preferred option if you want to record tracks individually and then master them in your DAW.
For more on this topic, check out this post:
Monitoring Equipment
1. Studio Monitors
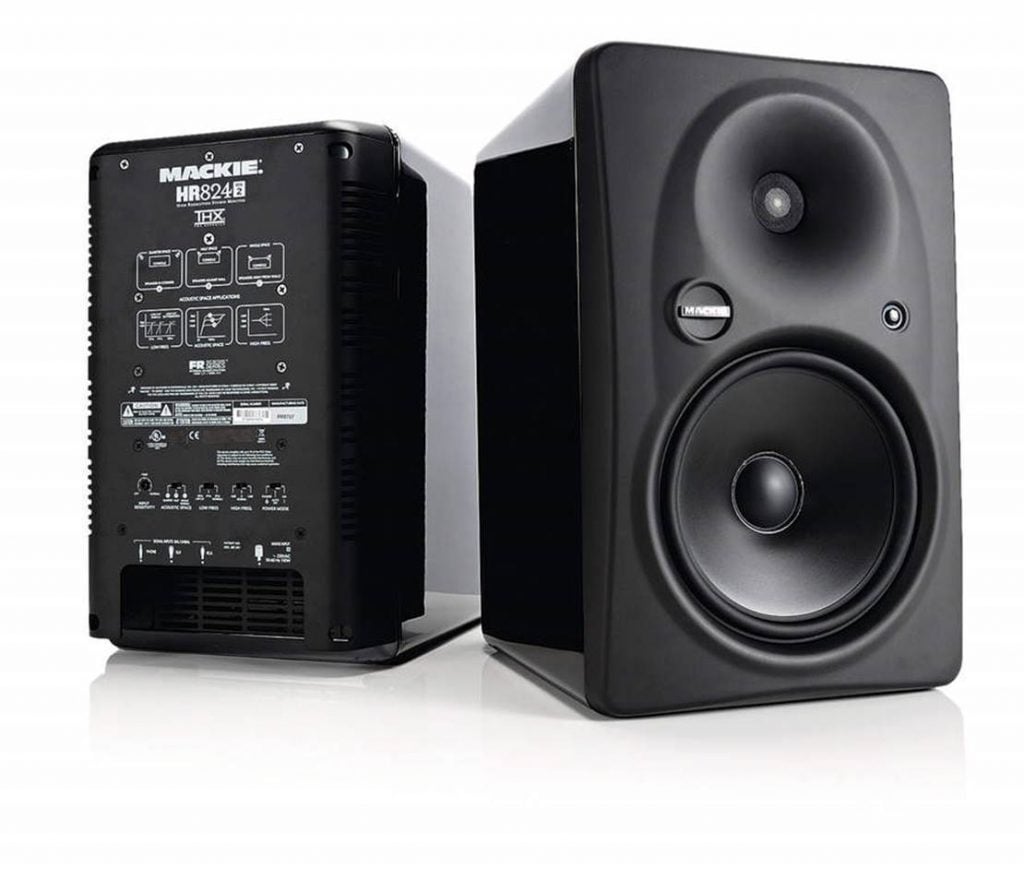
At a professional level, you should aim for studio monitors that can produce as acoustically neutral sound as possible. These studio monitors should have internal damping to eliminate midrange artefacts with balanced XLR, TRS and unbalanced RCA inputs for pure sound input.
I just recommend getting monitors with a built-in on-board amplifier for each driver with an active crossover design to ensure that the highs and lows are heard equally and clearly.
Ideally your professional studio monitors should be engineered to deliver ultra-linear frequency response for accurate mix translation and referencing.
One of the best ways of testing the frequency response of a studio monitor is to hook it up with a quality digital piano. Most studio monitors will not be able to replicate the lowest octave on a piano without the help of a subwoofer – a quality studio monitor should have no problem reproducing the bass without the help of a subwoofer.
Classic examples:
Both the Mackie HR924s and the KRK RP8 studio monitors are the industry standard when it comes to audio monitoring. They are designed to deliver ultra-linear frequency response and have an incredibly neutral frequency response for referencing and studio monitoring. These monitors are designed for demanding audio professionals and will not distort even if you push them to their limits. With these monitors, you get really clean highs, detailed midranges and low-end bass detail that you can capture even without a dedicated subwoofer.
2. Monitor Stands
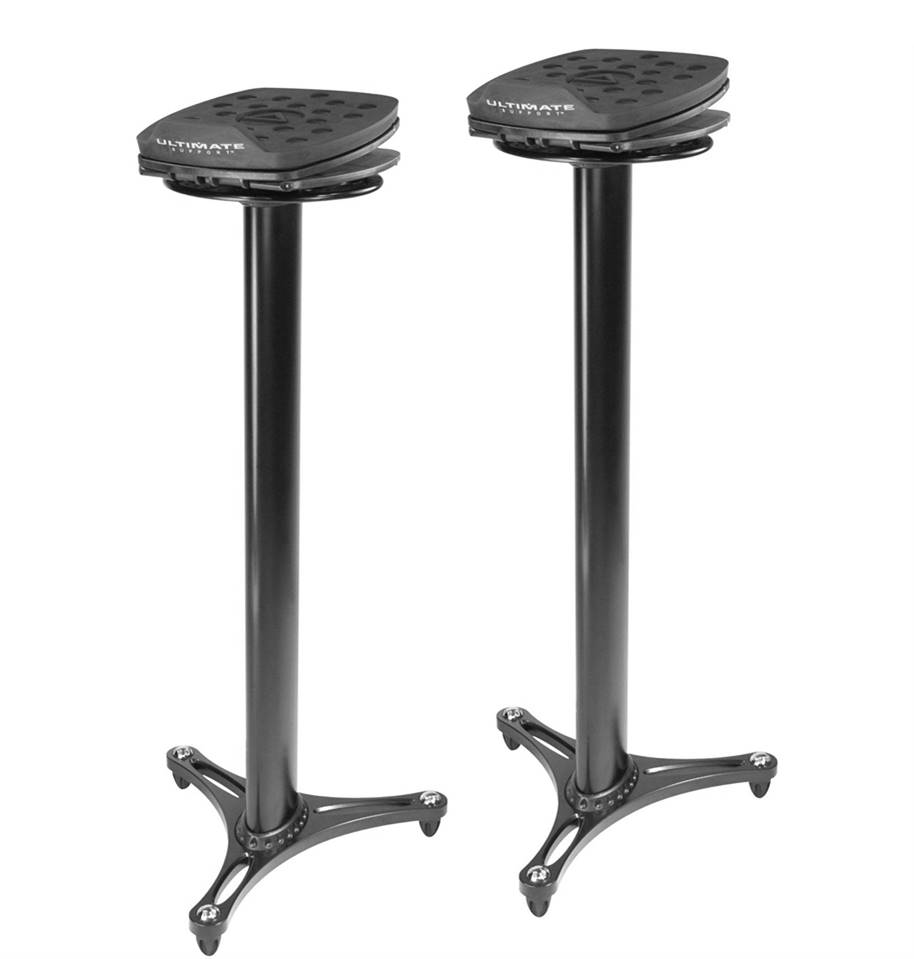
While this may be self-explanatory, a professional recording studio needs professional monitor stands.
A professional monitor stand should provide near-perfect sonic isolation and decoupling from the floor, desk and table for your speaker. They should be adjustable and able to position the studio monitors at ear level, and provide appropriate weight management.
The feet of the studio monitor stands should also be designed for maximum isolation so that internal vibrations from the speaker are not transmitted downwards.
In a mixing room, you should place the monitor stands at the ideal listening position or follow the 38% Wes Lachot rule if positioning in rectangular rooms.
Classic examples:
3. Monitor Isolation Pads
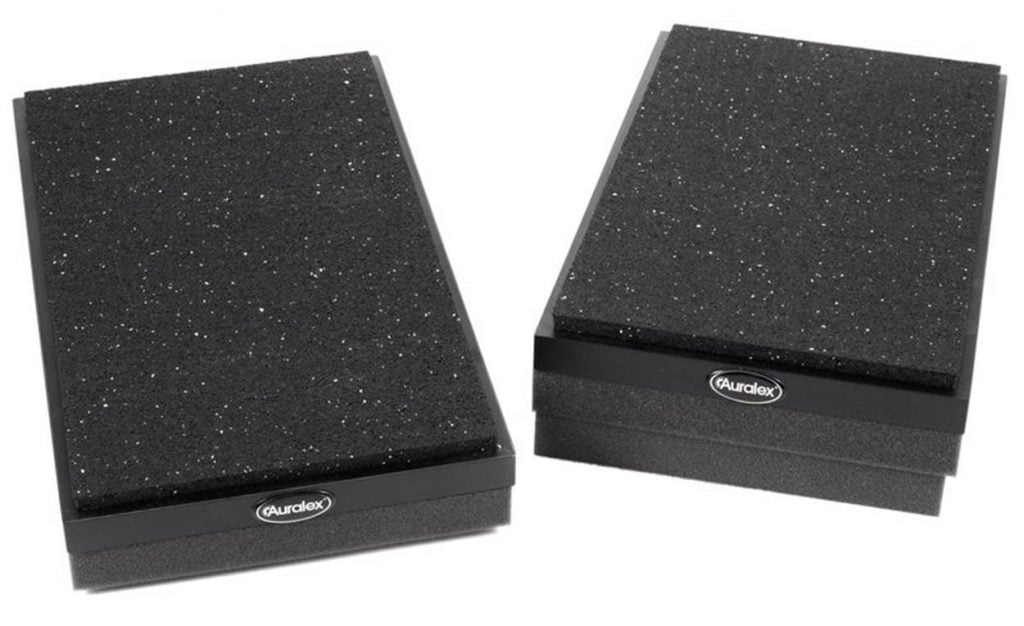
In addition to monitor stands, monitor isolation pads offer additional protection against vibrations and reduce the low-end vibration transfer to your desk.
Some of the very best isolation pads also offer multiple configurations which allow you to move the monitor isolation pads into a versatile array of angles for better sound positioning.
Almost every professional monitor pad also feature an anti-slip base pad which keeps the monitor safe and secure.
Classic examples:
4. Studio Headphones
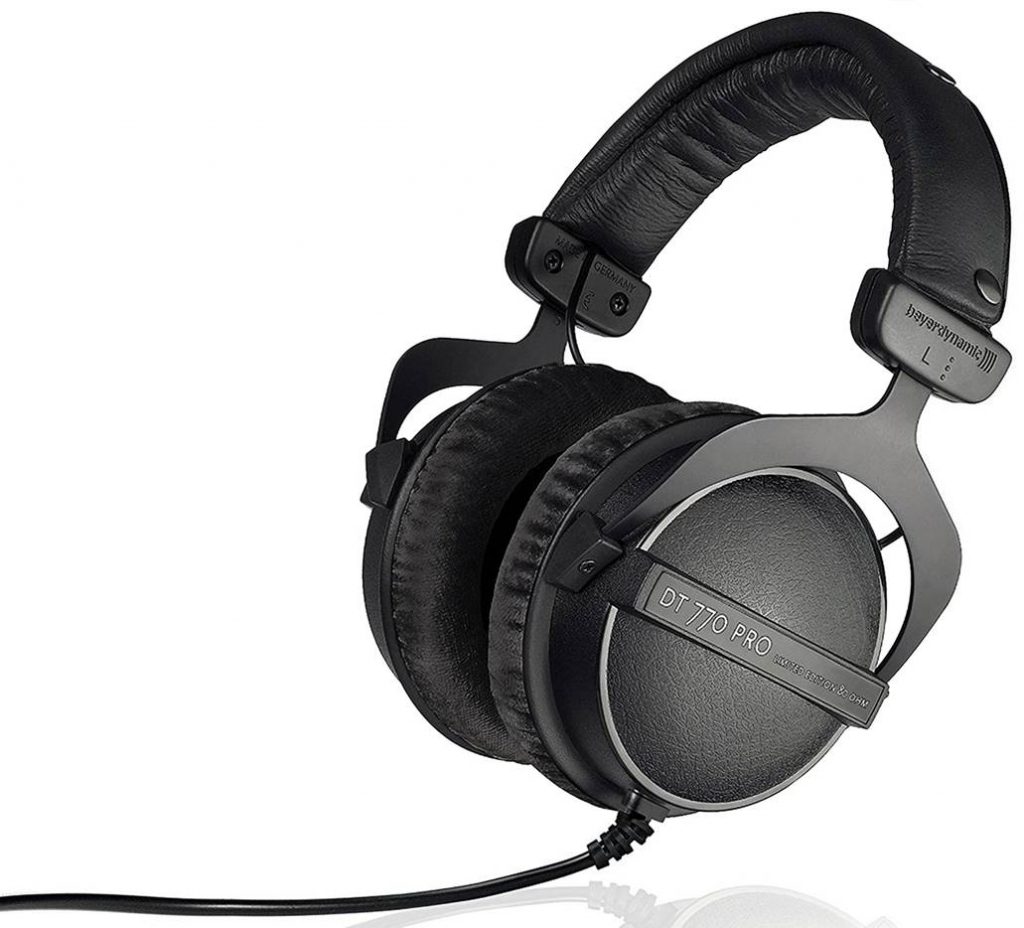
When most beginners start out, they go with something like the Sennheiser HD 280 PROs which is the classic option in the music recording industry.
If you are intending to get a dedicated studio headphone in your mixing control room, there are two more headphones – beyerdynamic DT770 and AKG Pro Audio K712 – that I recommend.
Apart from being recognised studio headphones in the industry, these headphones deliver something that most studio headphones don’t get right – the bass.
These headphones have improved low-end performance for better sound imaging, while providing an acoustically neutral and flat frequency response. The bass on these headphones stays where it should be as bass and does not muddy into the midranges and lower-midrange frequencies, delivering an ultra-clean sound.
These headphones are perfect for studio and stage recordings due to their pure, high-resolution sound performance for monitoring.
Classic examples:
When key consideration when using these studio headphones is to get an audio interface that can provide enough amplification for these headphones due to their relatively higher impedance. A rackmount audio interface will usually have headphone outputs that support high-impedance headphones, or if you need more headphone outputs, consider getting a dedicated rackmount headphone amp…
5. Rackmount Headphone Amps
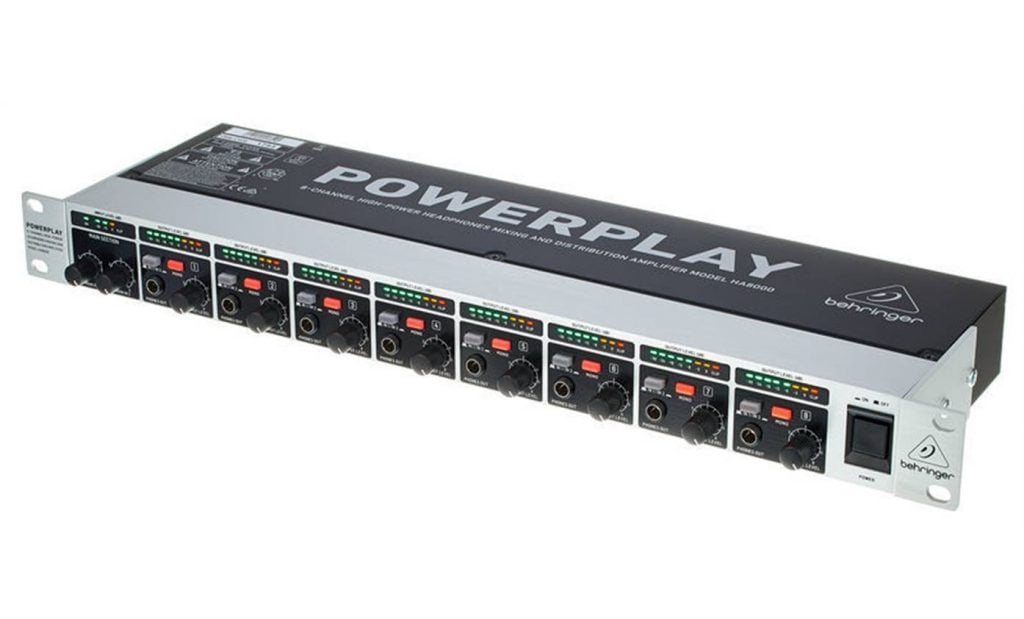
If you are recording with multiple musicians and vocalists, each of them may need a microphone to hear exactly how they sound like during the recording process. If you are mixing in a separate control room, you will also need a separate studio headphone for monitoring.
To power all these headphones, professional recording studios use rackmount headphone amplifiers to deliver balanced power output to all the headphones in the studio. Each channel provides dedicated amplification and a gain knob so that you can adjust the sound on each individual headphone output.
These headphone amps are usually mounted on a studio rack (hence the term “rackmount headphone amps”) and provide the best sonic quality for all types of headphones even at maximum volume levels.
Classic examples:
Recording Equipment
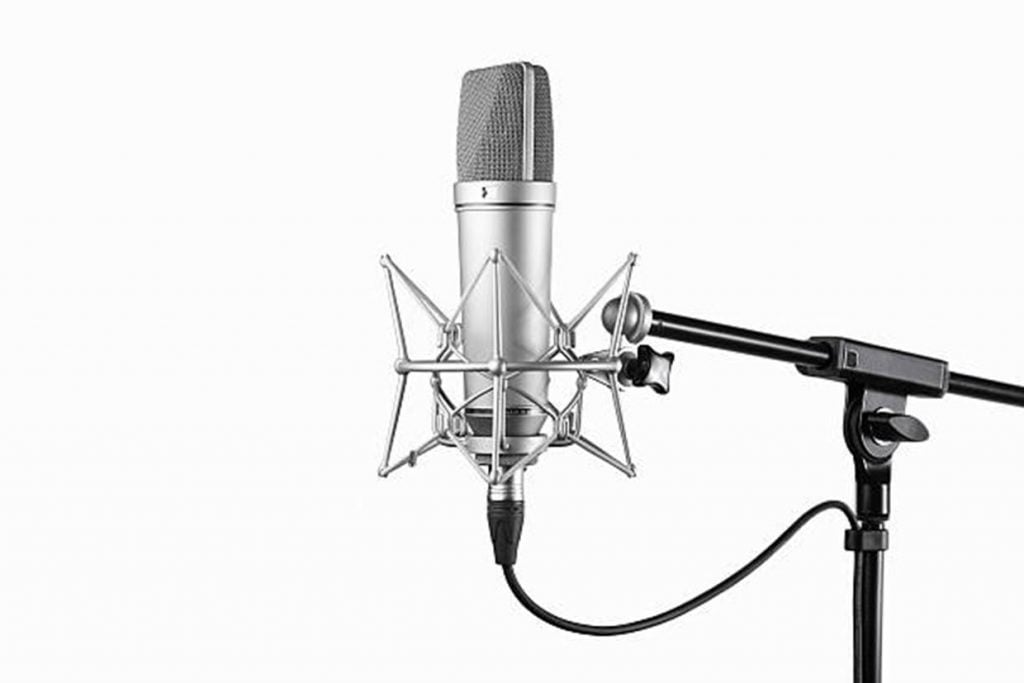
1. Microphones
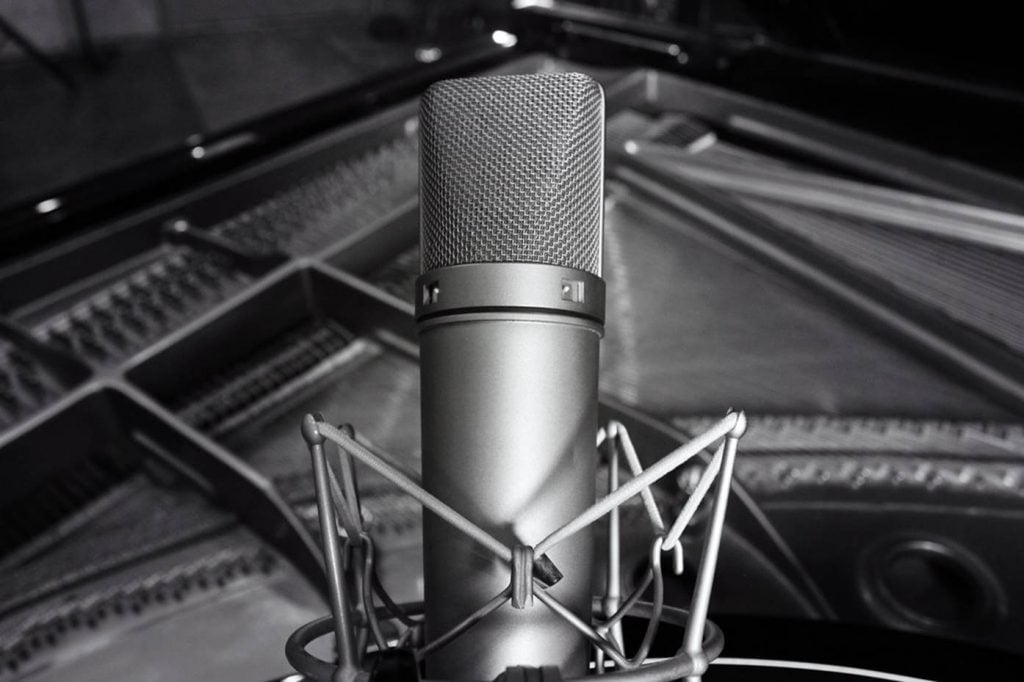
Most musicians would have started out with some kind of budget microphone such as the Shure SM58 LCs, but at the professional recording studio level, you’d want to go for something more “high-end” such as the Neumann or Sennheiser headphones.
There are also a few high-end AKG headphones that professional recording studios use on demand.
For condenser mics, the Neumann U 87 and Neumann KM 184 are the “classic” options that professional musicians go for. These mics have been the standard of the recording industry since 1967 and are used for their warm sound and well-balanced characteristics.
Apart from these, the Neumann TLM 103 is also a great mic for recording vocals.
If you are looking at the AKGs or Sennheiser, I would recommend going for the AKG Pro Audio C414 and Sennheiser e865. Both types of mics are suitable for lead vocals and have a lot of warmth and clarity to the sound.
The Rode NT1-1A and NT-5s are also great options if you want a more neutral, balanced sound signature for vocals.
Classic examples:
- Neumann U 87
- Neumann KM 184
- Neumann TLM 103
- AKG Pro Audio C414
- Sennheiser E835
- Rode NT1-1A
- Shure SM 58 (for additional vocalists)
The Neumann U 87 and the Neumann KM 184s are universally considered as top-tier microphones in the recording industry. These are the very best microphones that can capture every single detail, nuance, tonality and depth in your vocals. Because of their high-sensitivity, these microphones are great if you want every detail in your voice to be recorded with added depth and warmth. These microphones can make your voice sound really warm and engaging, and can really bring your music to live.
With that said, to record with these microphones you will need a room with proper acoustic treatment. Due to their high sensitivity, these microphones will pickup virtually any sound that comes within their cardioid pickup pattern. Consider getting a better pop filter when close miking with the Neumann microphones to improve the quality of your recordings.
2. Rackmount Amps
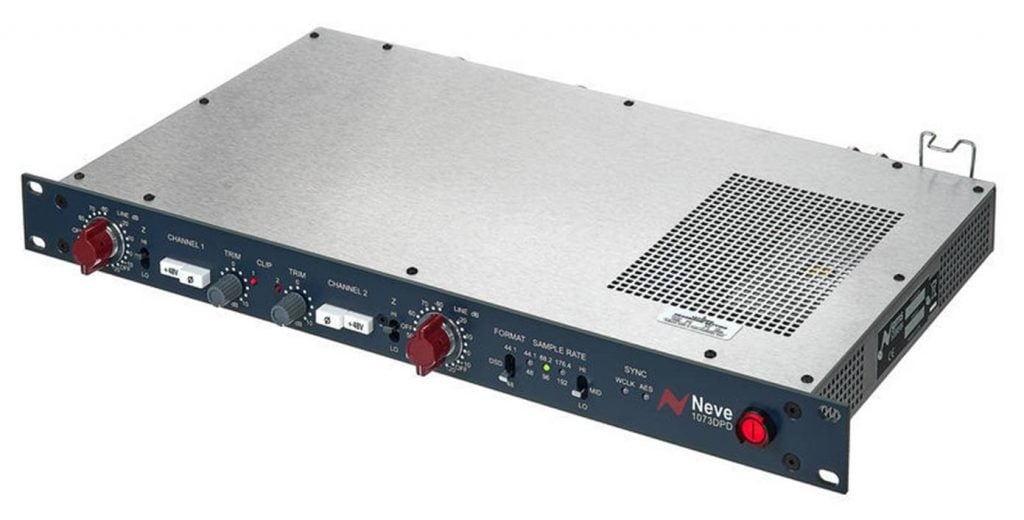
Every professional recording studio will require a professional outboard with microphone preamps. One of the the classic favorites in the industry is the AMS Neve 1073DPA stereo mic pre-amp. It has two rear-panel mic inputs and line inputs feed dual Class A gain stages, with adjustable gain control and selectable 48V on mic inputs.
That said, this high-end rackmount amp is going to set you back a couple of thousand dollars.
Some more affordable options include the Warm Audio WA273 Mic preamp, Audient ASP880 8-channel mic preamp, and the Focusrite Clarett OctoPre (8-channel amp).
But if you are just starting out with your professional recording studio, I highly recommend the Focsurite Clarett OctoPre because it is relatively cheaper and 8 mic preamps with 8 line outputs, and dual front-panel instrument inputs. You can do a lot of recording work with this rackmount amp and it offers pretty decent sound performance.
For more processing power, the Focusrite Clarett 8PreX is also a good choice.
Classic examples:
3. Pop Filter + Shockmount
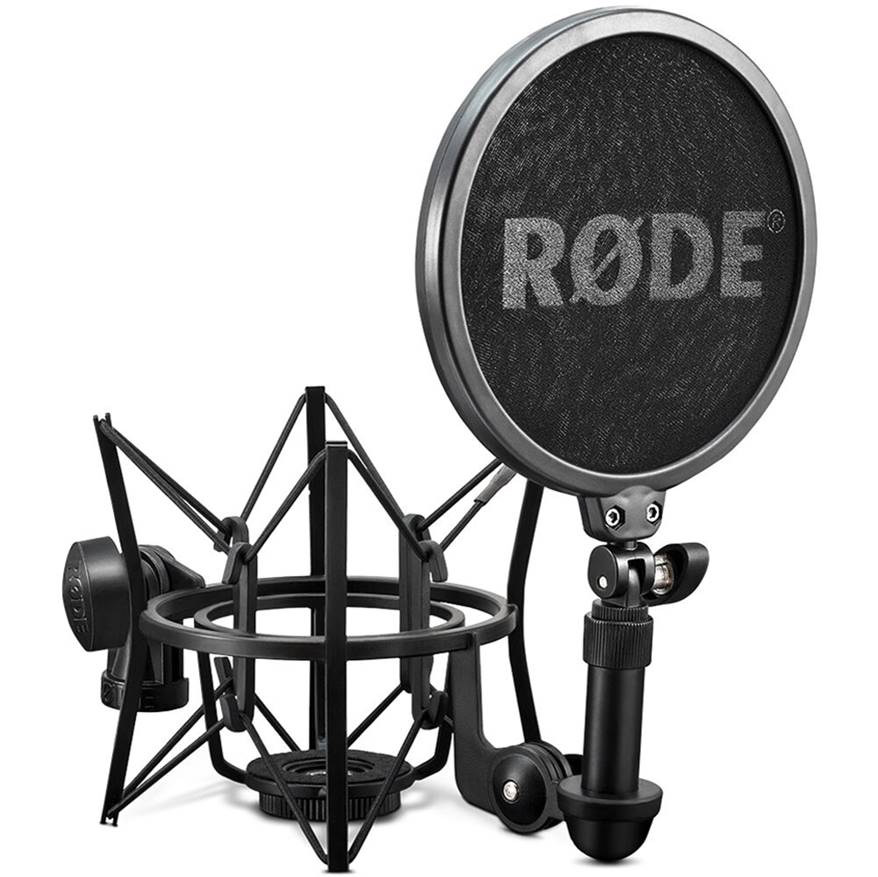
While this goes without saying, your microphones should be equipped with pop filters and shockmounts to remove vibrations and plosive noises from your recordings.
While you can buy these individually, I recommend getting both in a set so that you can save time setting everything up. It’s also more cost effective just to get both at the same time to avoid any compatibility issues later down the road.
Classic examples:
4. Mic Stands
There’s no need to fuss around for professional microphone stands. All you need is a microphone stand with an adjustable boom arm so that your vocalists can record with flexible positioning options. You should ideally go for a tripod base mic stand to provide additional stability and balance.
Be sure to get a mic stand with adjustable height so that you can quickly raise or lower the height adjustment when required.
Classic examples:
5. MIDI Controllers

For adding MIDI sound effects to your recordings, I recommend going with the AKAI Professional MPK261.
It’s one of the classic options in the music industry and does its job really well. It’s designed to be a full sized keyboard with easy setup options with Pro Tools or your favorite DAW software. It also has enough keys to play a range of melodies with pitch controls.
Alternatively, the Arturia KeyLab 88 MIDI is also a great choice with a lot of professional customization options.
Classic examples:
Instruments
1. Piano
Now assuming you are going to record piano (usually in a separate instrument room), there are some pretty good options to choose from.
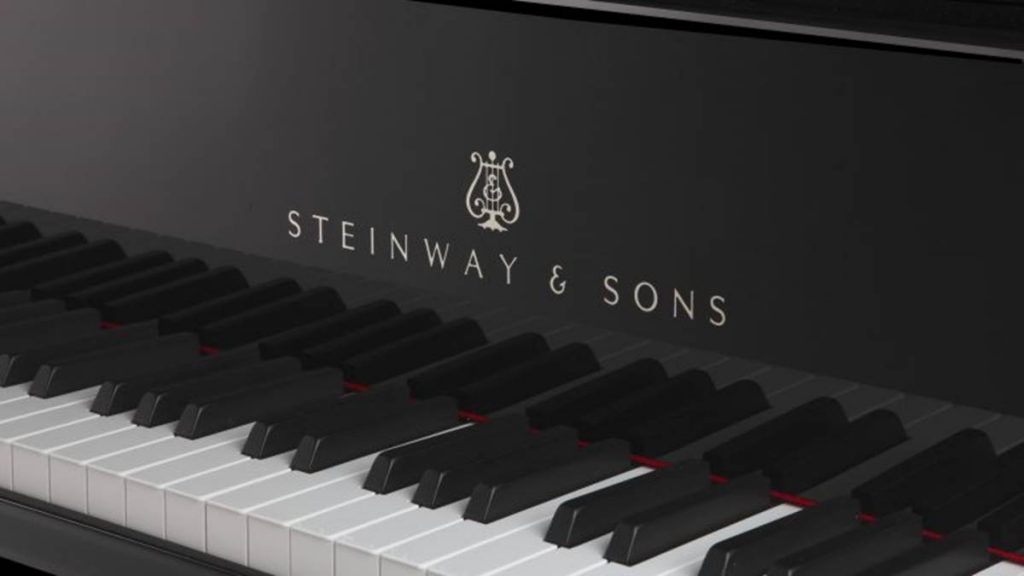
The Steinway & Sons Grand Piano is the classic option for professional studio recording, but it’s also crazy expensive due to its design and brand. But the sound of this piano makes a world of difference when you listen to it – it can really brighten up your recordings with beautiful piano strokes and sounds.
Personally, I find the Yamaha C3 Grand Piano a way more affordable option, with pretty good sound.
That being said, there’s nothing like a Steinway grand piano in a recording studio.
Classic examples:
- Steinway & Sons Grand Piano
- Yamaha C3 Grand Piano
2. Drum kits

For professional recording studios, the Gretsch Catalina Club is one of my personal favorites. These drums are beautifully crafted and sound great, and feature quality construction and hardware. The drums feature maple shells and walnut glaze finish which make them look absolutely stunning.
Other popular options include the Yamaha Stage Custom Birch 5pc drum and Pearl EXX725S 5-piece export drum set.
These are very good quality drums and the shells are manufactured very well and sound nice. The shells sound decent for professional recording studio use and live recordings.
Classic options:
- Gretsch Drums Catalina Maple 5-Piece Drum
- Yamaha Tour Custom Maple 5pc Drum
- Pearl EXX725S 5-Piece Export New Fusion Drum Set
3. Guitars
There are tonnes of guitar / bass / electric options out there, and you’d probably have an idea of what kind of instrument you want to use.
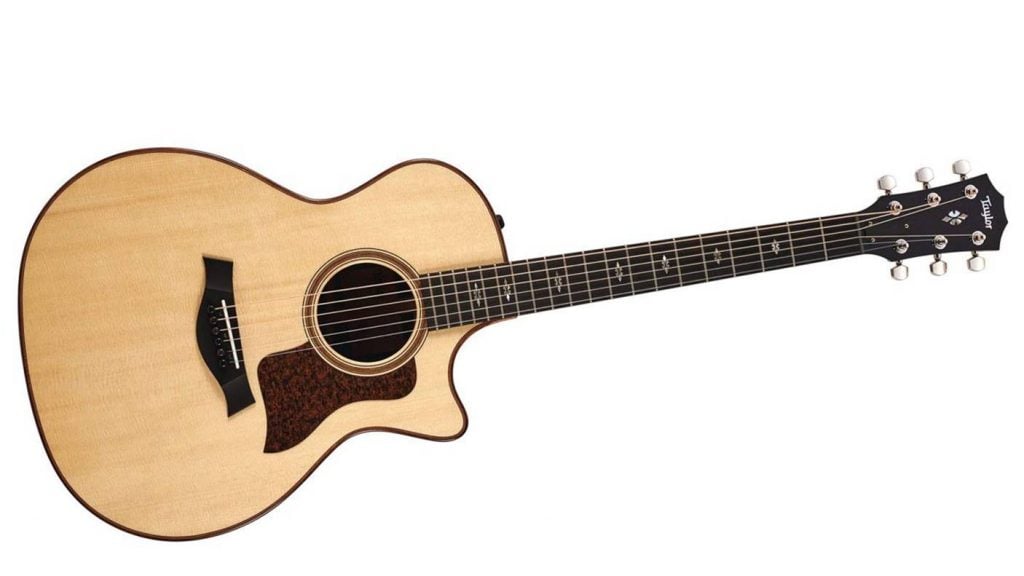
One guitar which I particularly like to use is the Taylor Guitars 714ce V-Class Grand Auditorium Acoustic-Electric Guitar. Honestly this is one of the best acoustic guitars that have used – the sustain is incredible and it takes hard strumming better than any of my previous gutiars.
The tone is awesome and loud, and is even better than some of the high-end Martin guitars that you see in professional recording studios.
Classic examples:
4. Guitar Amps
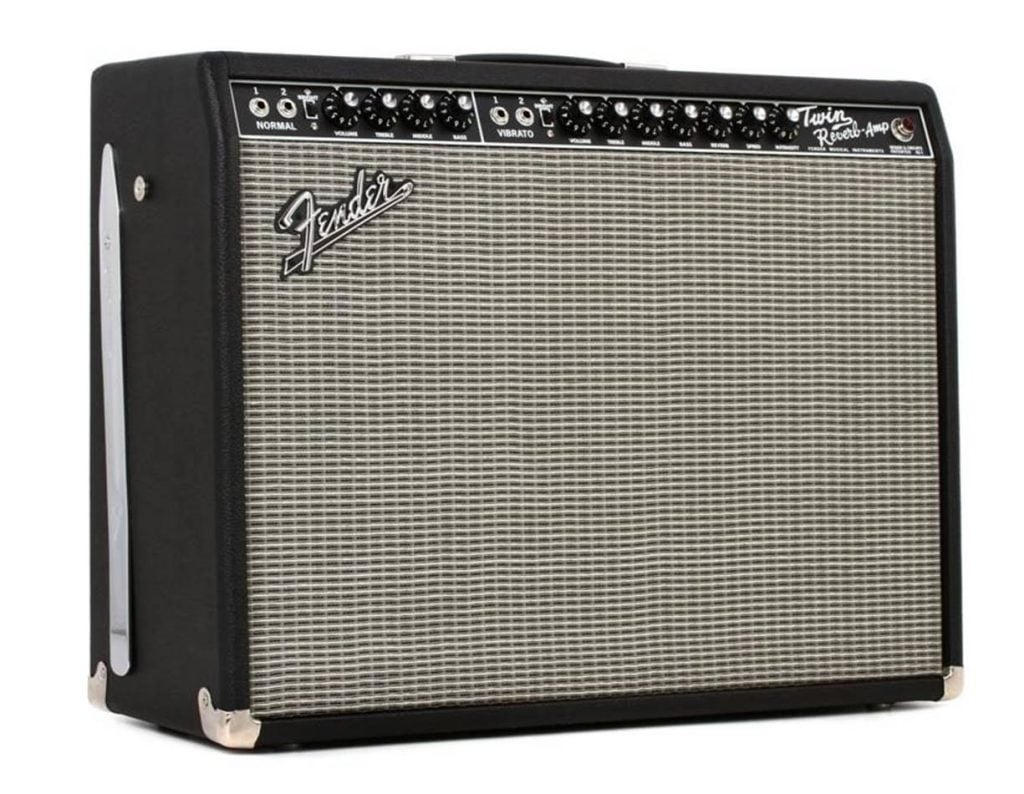
If you plan to record electric or bass, the Fender 65 Twin Reverb Guitar Combo amp is one of the most legendary amps on the market.
The amp delivers 85 watts of the purest and cleanest sound you’ll ever hear from a guitar amp, with the legendary all-tube Fender reverb for spaciousness and splash and crash.
I personally like this amp a lot – it gives you nice and warm reverb, and the tremolo is tube-driven which gives it a vintage “old-time” feel. It also works well with pedals. It also has 2 different sounding sections and you can use the reverb and tremolo on each.
Classic examples:
5. Guitar Pedals
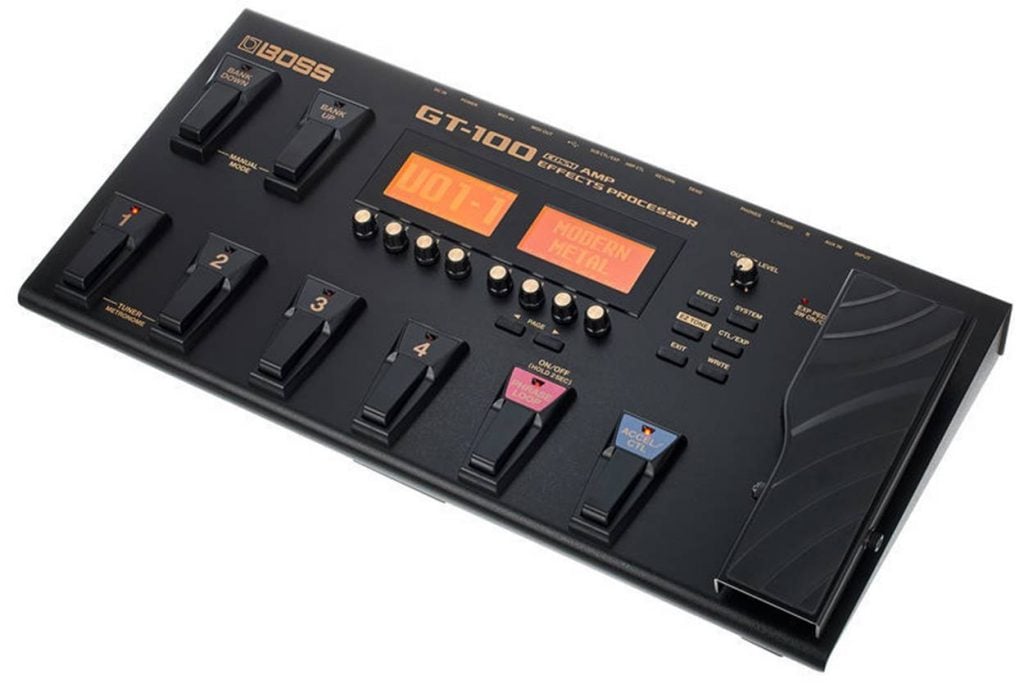
For guitar pedals, I recommend going with something like the Boss GT-100 Guitar Multi-effects Pedal. This pedal is loaded with every sound effect that a musician would need; you can have two different delays and with the touch of a pedal, it will switch to a different amp model and setting. It also connects to your computer and make all the presets on your computer rather than on the pedal.
The sound that you get with the amp modelling is incredible. All you have to do is to plug the GT-100 into your computer with USB connection and you can record with amazing quality right into any recording software (including Pro Tools and Reaper).
Classic examples:
Sound Effects
1. Sound Mixer
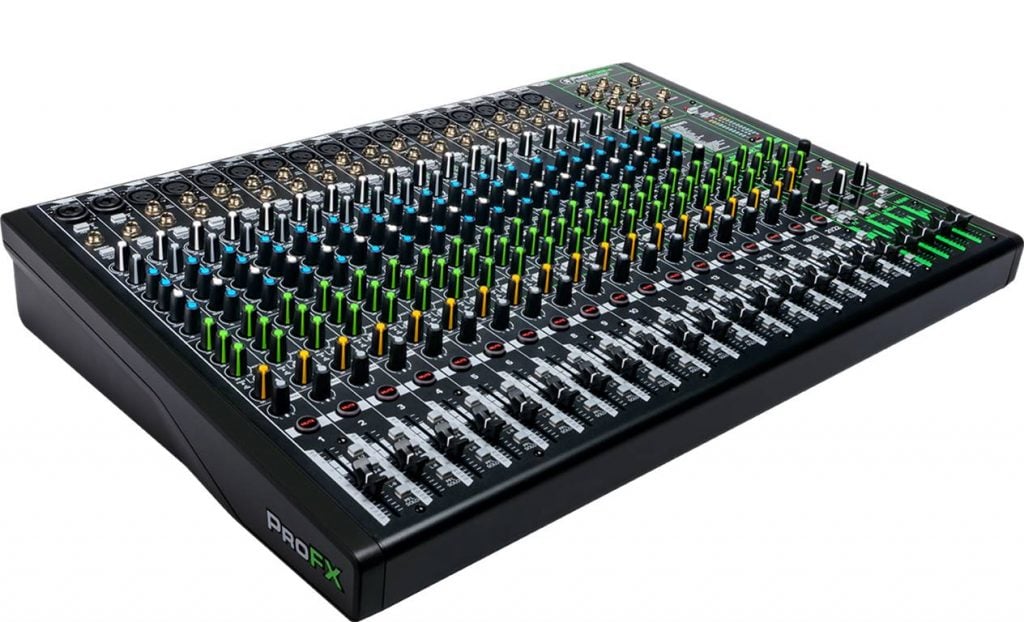
Most professional recording studios with audio mixers (or mixing boards) which allows you to adjust various incoming microphone signals to make the highest quality output possible.
Professional mixers allow you to adjust levels of optimization, enhancing elements with equalization and for monitoring sound. It provides a more “hands-on” approach to adjust sound during recording, rather than AFTER recording (i.e., post-production) where you do this on your DAW.
Classic examples:
2. Sequencers
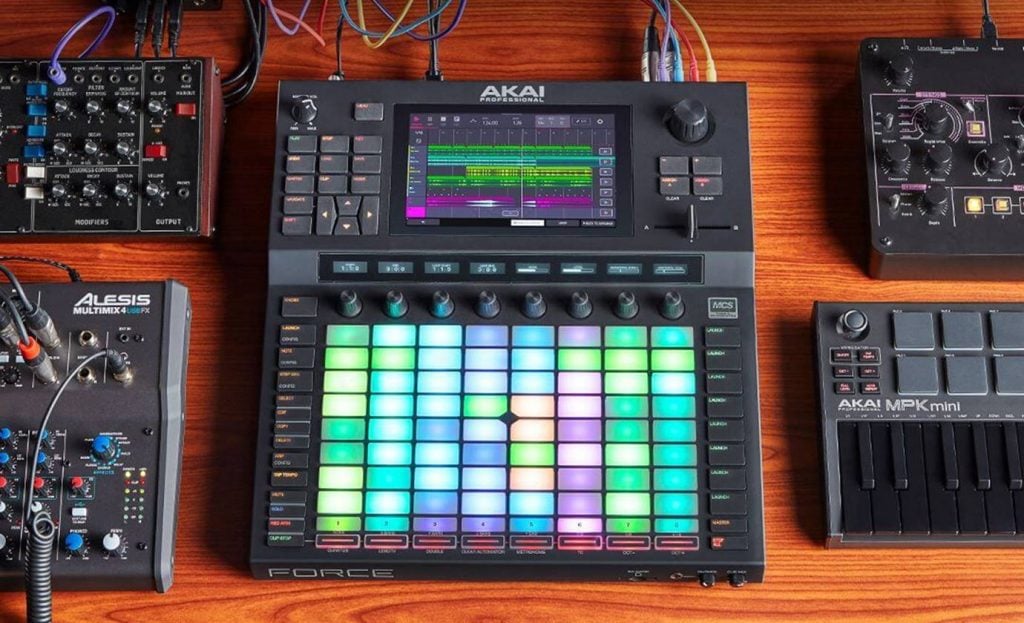
Sequencers are used to combine drum beats, notes and patterns into one music production kit. They also connect to your DAW recording software so that you can adjust sounds effects including the pitch, tempo and sync patterns.
I highly recommend the AKAI Professional Force sequencer. It is relatively straightforward to use and comes with 4 configurable CV/Gate outputs and MIDI in/out which integrates with your studio and live performance setup.
Another great option for tone, drum kit and looper audio track types is the Roland MC-707 Groovebox.
Classic examples:
3. Drum Machine
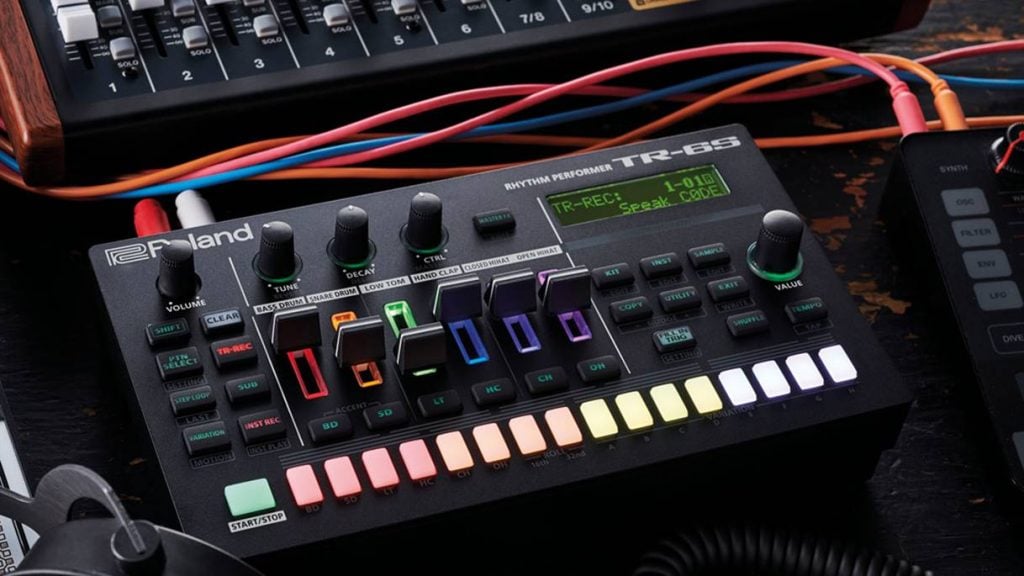
Now if you aren’t planning to use a live drum kit in your professional recording studio, the next best option is a professional drum machine.
This can be used for advanced drum sequencing and adding rhythm sounds to your tracks. They usually come with a large preset sample library with mix and match sounds for hybrid drum kits.
Classic examples:
Power Management
1. Power Conditioner
If you have too many pieces of equipment plugged into the same electrical power circuit, this would cause noise and interference with your recordings – which will be definitely unacceptable in a professional recording studio.
Power conditioners work by eliminating noise completely and provide power surge protection for your precious recording equipment – think of it as an added insurance for your recording gear.
Here are some classic examples that you can use to regulate your power output and provide stable voltage to your recording gear and instruments.
Classic examples:
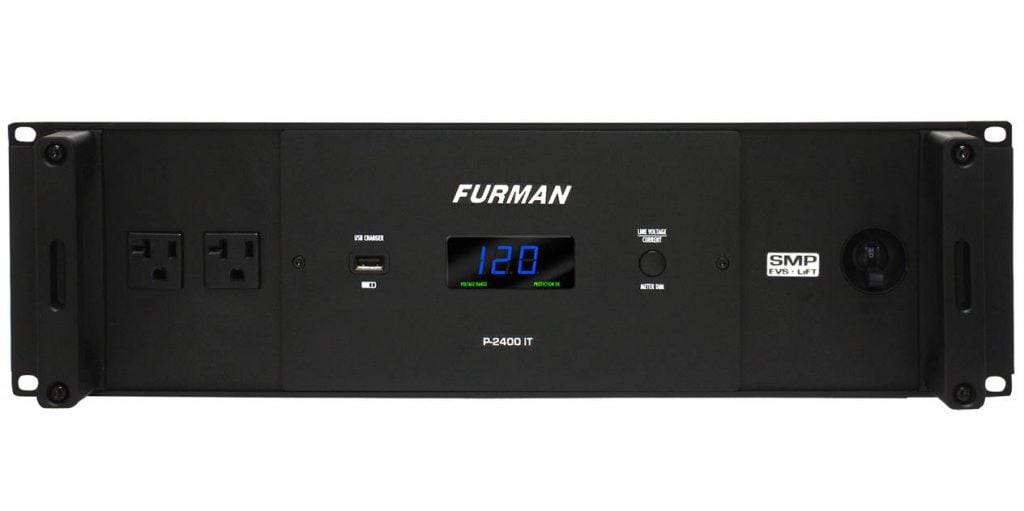
2. Power Distributors
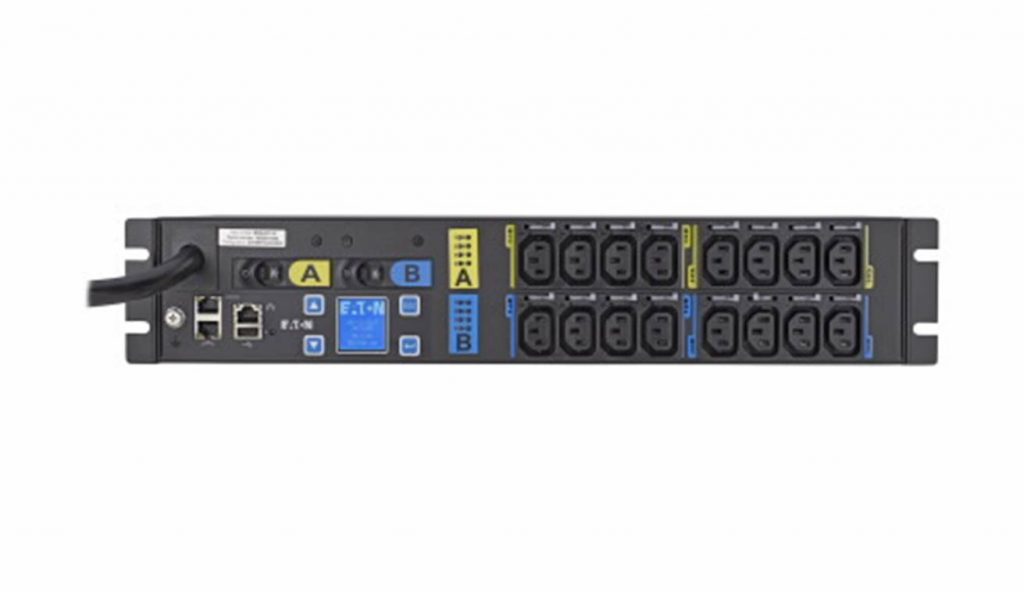
Power distributors work just like power conditioners, and come with a few more advanced options such as power filtering, overload protection more control over unused outlets.
These work like a full scape power management system to ensure that every piece of equipment in your recording studio is supplied with balanced power without creating any noise. It also protects your gear from electrical surges which can potentially damage your equipment.
Advanced power distributors come with more electrical outlets than a standard power conditioner.
Classic examples:
3. Snake Cables
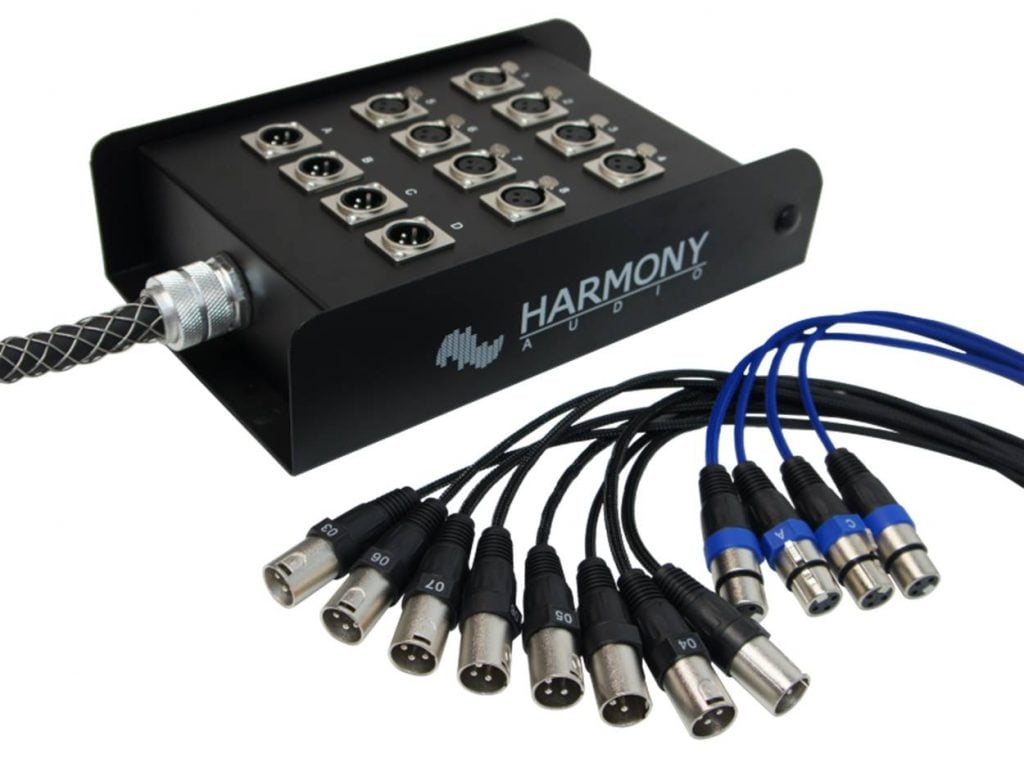
To prevent too many cables from running around in your professional recording studio (i.e., between your live room and mixing room), snake cables are a MUST to have.
In a professional recording studio context, snake cables are used to connect instruments and microphones to the control or mixing room.
Snake cables contain anywhere from 4 to 64 individual audio cables inside a common outer jacket, and are used when multiple audio signals need to be conveyed between two systems. This is more efficient from a logistics standpoint to have cables contained rather than multiple cables being run through the studio.
Classic examples:
4. Master Clocks

When combining or interconnecting digital signals from different equipment or sound sources, it is important that the audio samples from each device arrive at exactly the same time, so that their data can be mixed together accurately on the DAW.
If they don’t arrive together, samples from some sources will be missed, or clicks or glitches may be heard.
The golden rule is that one device has to be the “master” clock for the entire system, and every other instrument and equipment should be “slaved” to that master clock to ensure that everything generates samples at exactly the same time and rate.
Master clocks are often too overkill for basic home recording studios, and can potentially run into thousands of dollars.
Classic examples:
5. Studio Rack
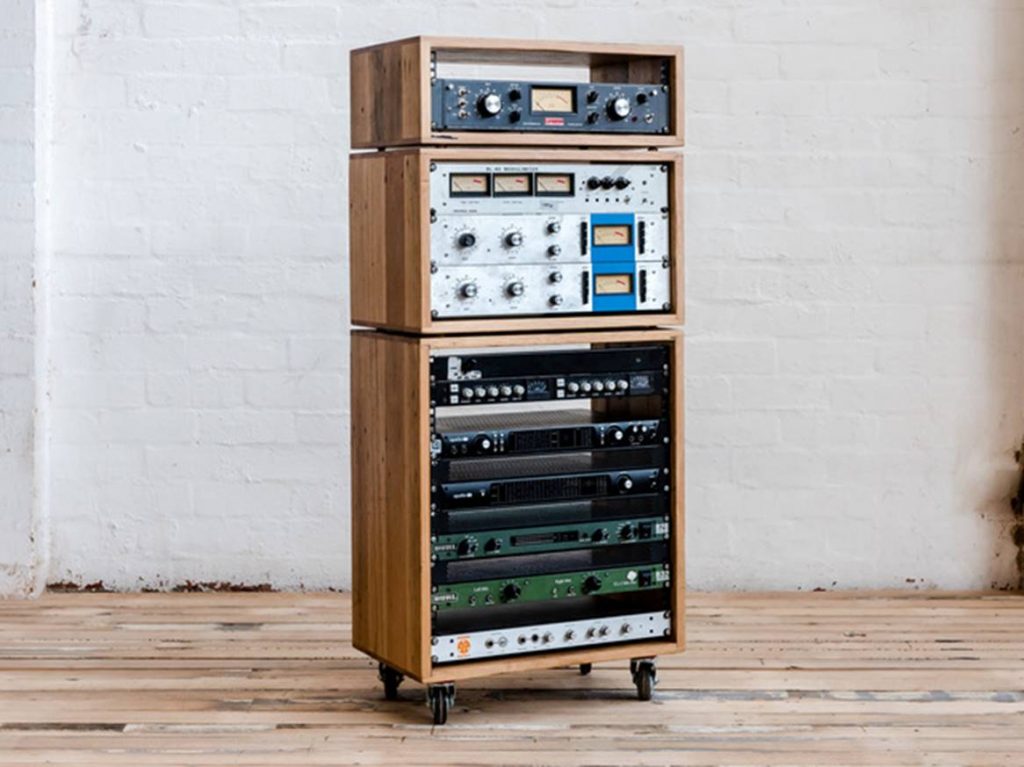
For storing all your rackmount amps, power distributors and rackmount interfaces, you’ll definitely need to use a studio rack.
Now the thing about studio racks is that you should ideally get something that is cooling and airy, because the equipment inside the rack are going to generate a lot of heat.
Equipment that generates a lot of heat should be placed at the top (so that the heat is dissipated faster), while items that generate less heat should be placed at the bottom of the rack.
The order in which you should place your professional recording studio gear is as follows:
- Power conditioner – this is usually placed at the top as all power runs through them and they generate a lot of heat
- Multi-channel preamp – this tends to generate quite some heat because they boost microphone signals
- Headphone amp – these powered headphone amps can be placed below the multi-channel preamp
- Rackmount audio interface – this is usually placed at the bottom as they generate the least heat
Classic examples:
Next Steps
Having the best equipment is not enough – no recording studio is complete without acoustic treatment and soundproofing, as these factors will heavily influence the quality of your audio recording. The techniques for acoustic treatment in a professional setting are beyond the scope of this article, but to learn more about basic acoustic treatment techniques, check out these posts: