Before you start recording at home, the very first step is to choose the best room to record.
Ideally you’d want to record somewhere in your home that is quiet and spacious. Smaller rooms tend to have more flutter echoes, and you should actively try to avoid rooms that have poor acoustics or background noise.
This guide is designed to help you get a sense of what kind of room is better suited for your recording needs.
Step 1: Choose a Large quiet room
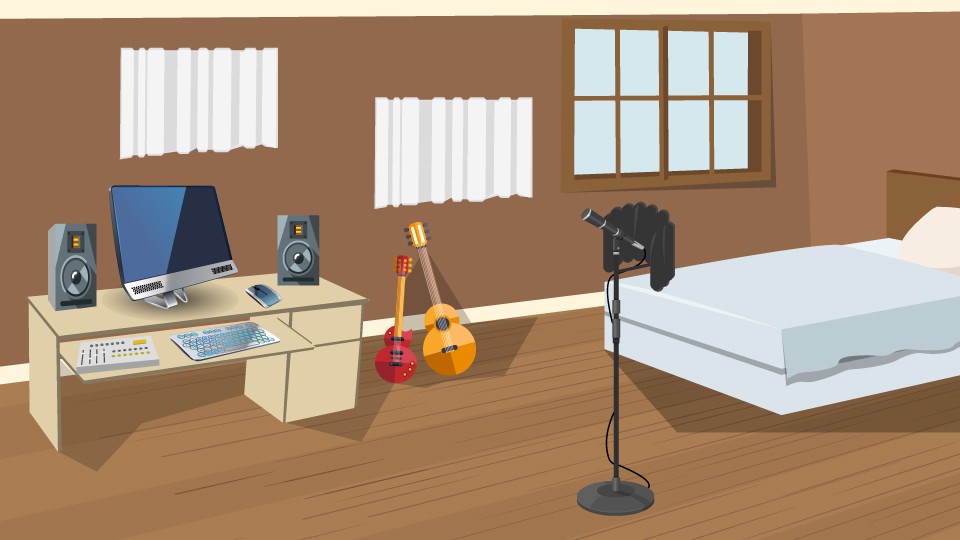
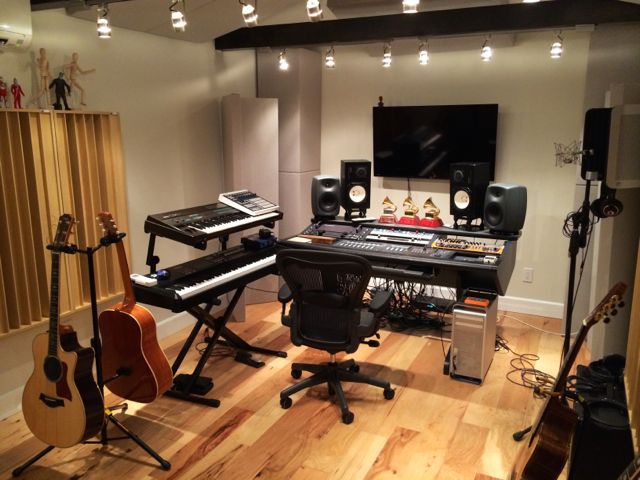
For most musicians on a budget, many home recording studios exist solely within the confines of one room. This single room is the “control room” (where you do the mixing) and the “recording room” (where you record vocals, instruments, etc.) at the same time.
Assuming that you are going to do mixing and recording in a single room at home, you should choose a room that is quiet and with larger room dimensions.
This is because smaller rooms tend to have more reflective sound issues and are harder to treat acoustically.
While acoustic treatment can help to alleviate some of the problems with poor room acoustics, it is NOT a substitute for a room with poor acoustics!
You’d want to find a room that is least problematic so that you can effectively eliminate the remaining sound issues with acoustic treatment.
1. Rooms to avoid
When choosing a room for your home recording studio, you should avoid:
- Symmetrical rooms (i.e., square and cube shaped rooms)
- Rooms that are too small (i.e., they allow sound to build up and sound too loud)
- Rooms that are noisy (i.e., rooms with footsteps, outside noises)
Rooms that are symmetrical tend to have poorer acoustics because they allow sound waves to reflect off walls and ‘build’ up on a continuous path.
This problem is particularly acute for cube-shaped rooms, where you’ll notice more flutter echoes and reverberations. You should avoid these rooms where possible.
2. The Ideal Room
Instead, we recommend going for a room that is:
- Asymmetrical with slopped ceilings
- Large, well-furnished with some carpeting
- An irregular-shaped room is usually preferable (e.g., hexagon, polygon)
You’d probably realize that it is nearly impossible to find an irregular shaped room in your home with good acoustics.
So, I recommend just going with a large rectangular room instead.
A classic example:
One thing I should mention is that your ideal listening position should be 38% of the length of the long walls, and you should be sited facing the center of the room. The reason is that this positions you in a spot devoid of nulls and peaks with regard to frequency build-up.
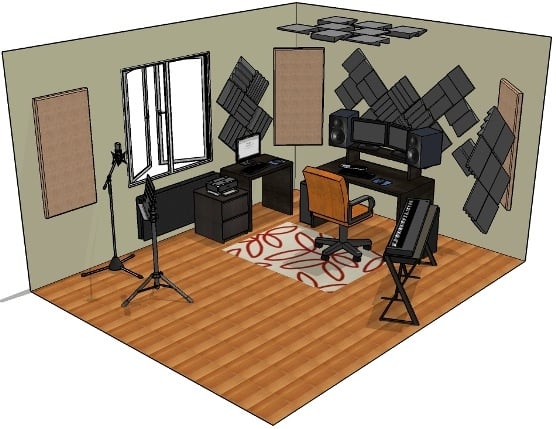
If you are using a larger room, furnishing such as bookshelves can help to absorb sound reflections. A room with curtains, tapestries and wall-coverings may help to absorb sound better than a bare wall.
Ultimately, you would want to find a space where you can mix, record and produce sound in an acoustically neutral room as possible.
Next step…
Step 2: Test your room acoustics
Whether you are mixing, recording or practising with your instruments, you want a room that provides an accurate representation of the sound played.
In other words, you want to find a room where sound waves don’t overlap as much…you would preferably want a room that is acoustically neutral.
You can test out your room acoustics through 3 simple methods, and treat problematic areas later on as you setup your home recording studio.
1. The simple walking test
Walk around your room and notice the sound of your footsteps.
How do your footsteps sound?
- If they sound loud and echoing, this room will likely be difficult to work with
- If they sound subtle with a short reverb, this room is likely easier to work with
You may also wish to move furniture around and notice how the acoustics have changed inside the room.
It is generally a good idea to walk around a couple of rooms in your house to tune your ears to different room acoustics.
2. Studio speakers test
Play a song that is well-balanced and allows you to hear the entire audio spectrum (high frequencies and lows).
Walk around the room while listening to the song. If the song differs in audio frequencies with noticeable effect at different positions, this will give you an indication of your room acoustics.
Note that the corners of a room are known to accumulate bass frequencies, so it is worth listening to the corners of the room as well.
In an ideal studio recording room, the song should sound relatively neutral and the same at any point in the room.
3. Clapping Test
Clapping allows you to test for flutter echoes inside your room and their intensity.
Close the door and walk to the middle of the room and start clapping.
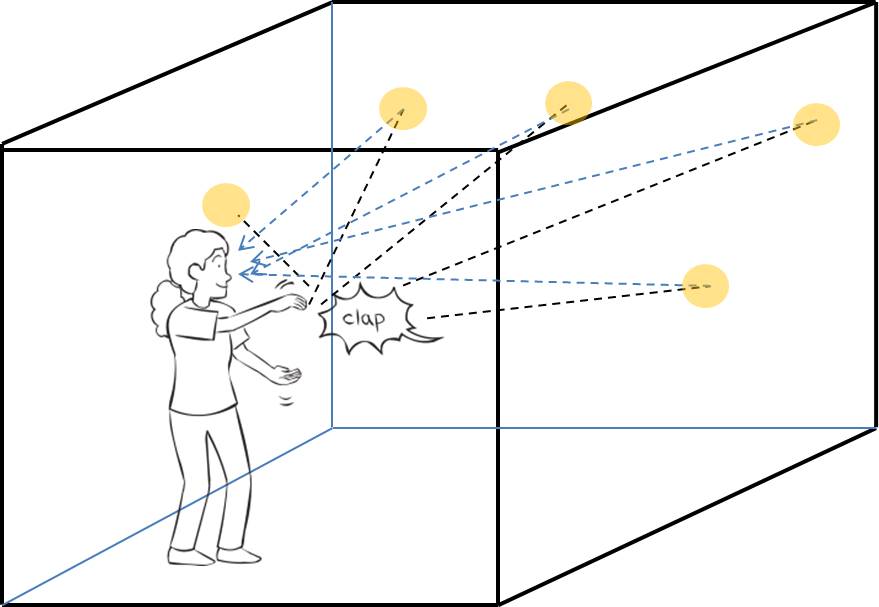
While clapping, if you notice that:
- The flutter echoes are intense and loud – your room will require a LOT of treatment
- The flutter echoes are subtle and without any echo – your room is acoustically much easier to treat
Unless you are using a cube-shaped room, your room acoustics will sound likely somewhere in between…
You may have to test multiple rooms in your home to get an idea of each room’s unique acoustics and identify problematic areas.
The ultimate goal here is to find out where the problematic areas of your room are so that you can treat them and reduce standing reflections.
Next Steps
Once you have identified a room to record in, the next steps are to consider acoustic treatment and how to layout your room.
We will consider these points here: