In this chapter we will cover the 10 essential things you need to set up a home recording studio from scratch.
Setting up a proper home recording studio often involves a few stages.
The first stage is to find a room to actually start recording. This process involves finding a room in your home or apartment that can allow you to record the best quality vocals with better acoustics. We have a handy tutorial guide here on how you can find the right studio room for recording.
Once you have found a suitable room, the second stage is to get all the essential equipment you need to start recording your first tracks. Most beginners start out with the bare minimum equipment, and then progress on to more expensive setups as they go along. If you are recording solo, there is no need to spend big bucks to get expensive out-board equipment if for instance, what you want to record can be achieved using a simple audio interface.
The third stage includes buying more advanced gear and equipment and applying acoustic treatment to your room (which we will touch on in the later guides). This is usually when you need to expand your recording studio setup to include more band members, or want to improve the quality of your audio recordings with higher-end microphones or outboard gear.
While professional home recording studios can run into thousands of dollars, you really don’t have to spend that kind of money to get started.
In fact, it is possible to set up a decent home recording studio on a conservative budget. If you are just getting started with recording music at home, I recommend going with the bare minimum equipment first so that you can gradually upgrade your gear along the way and minimise compatibility issues that you can run into down the road.
So when you first start out, you really just need…
The 10 Essential Items
A home recording studio essentially consists of these 10 essential items:
- A Computer (Desktop/Laptop)
- Audio Interface
- Microphones
- DAW Recording Software
- Studio Headphones
- Studio Monitor Speakers
- Microphone Stands
- Audio cables
- Pop Filter
- MIDI Keyboard
A tutorial diagram on how to set everything up is included at the end of this post…
First item…
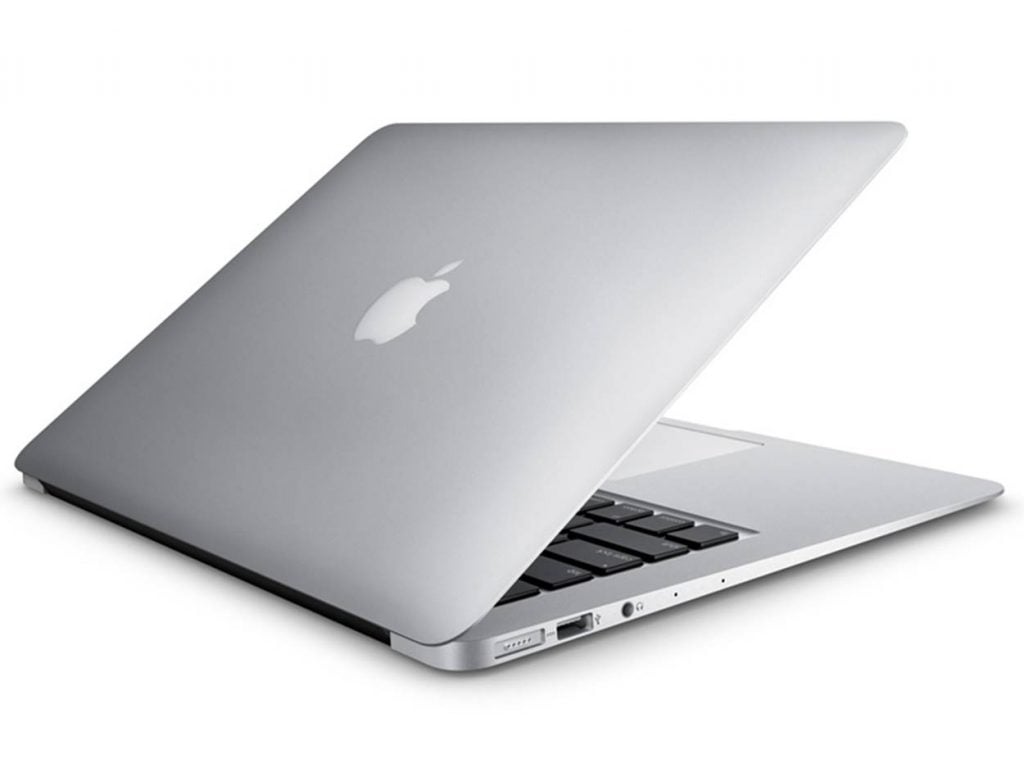
Essential Item 1: The Computer
You’ll need a laptop or PC to run your DAW software.
The most important consideration here is whether your existing PC/laptop can handle the DAW of your choice, or whether it is OS compatible.
Some DAWs such as Apple Logic Pro X are only compatible with Mac computers, whereas DAWs such as Pro Tools can be used with Windows and/or Mac.
If your budget allows, I highly recommend going for a Macbook Pro (2021) or Macbook Air (2020) with the latest M1 Pro or M1 Max chip, as these Macbooks have more processing power for recording and multitracking. With Apple’s M1 chip, the Macbook perform substantially better than other laptops with faster DAW processing speeds. They also come with considerably more RAM as compared to windows laptops.
If you are running on a windows-based DAW, the latest Surface Laptop 4 is also a pretty good choice as well, although some tests have shown that the Macbook Air M1 still outperforms the Surface Laptop 4.
There is a lot of debate among musicians whether one should get a PC or laptop for studio recording. This really depends on whether you need more processing power that a PC would presumably have to offer, or whether you require the portability of a personal laptop.
The latest MacBooks do offer considerable processing power (especially the ones with the M1 micro-chip), and can even provide more processing power than what a PC has to offer. Personally, I like to record using my laptop because you don’t really need an extra powerful PC to run DAW software, unless you are recording in a large band.
If you prefer getting a larger screen so that you can adjust things on your DAW, consider getting a large computer monitor which you can connect your laptop or PC to.
Either way, you’d want to get a computer or laptop with enough processing power and RAM.
Classic Examples
- Macbook Pro 16 inch (2021) M1 Pro
- Macbook Pro 14 inch (2021) M1 Pro
- Macbook Air (2020) M1
- Surface Laptop 4
Next item…
Essential Item 2: The Audio Interface

The audio interface is essentially the device that connects your computer (which runs the DAW recording software) with the rest of your instruments.
It works by converting analog signals from your instruments to digital signals and sends them to your computer for audio recording.
Pro Tip: When purchasing an audio interface, we recommend getting an audio interface + DAW software combo.
Here are some practical reasons why:
- You won’t run into compatibility issues.
- You won’t have to purchase a separate DAW.
- You will save time and money.
For beginners, you don’t really have to get an expensive audio interface to get started. There are plenty of options on the market at a reasonable cost.
For example:
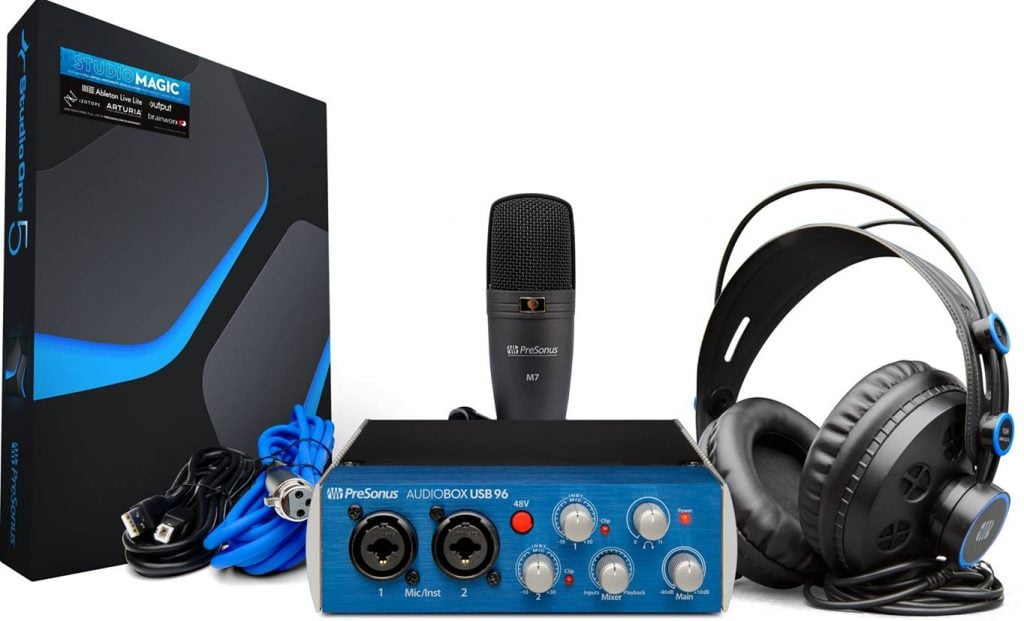
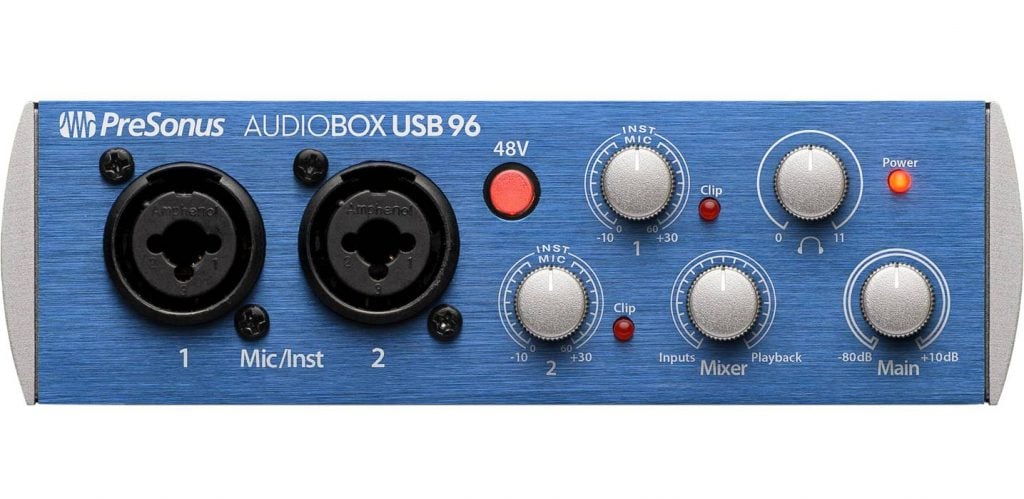
I highly recommend starting out with something like the PreSonus AudioBox 96 interface. They come with two microphone / instrumental level inputs and line-level outputs for you to connect them to your studio monitors. In addition, they come with enough on-board controls for you to adjust the gain and volume levels for each input channel.
If you are recording solo, all you will need is probably a microphone and an acoustic guitar – both of which can be connected directly to the audio interface and to your DAW. The PreSonus AudioBox 96 has been around for a long time and is one of the most widely used audio interfaces in the music industry, so there are also plenty of tutorial guides on how to use them.
While getting everything in a bundle can help you to save time and money, some musicians prefer to use their own DAW software for recording and a standalone audio interface.
Good budget standalone audio interface:
For a detailed guide on how to set up your audio interface, check out this post:
One final note is that you don’t necessary need to get everything in a bundle if you want to use a specific DAW (for instance, Reaper) or a particular condenser microphone (e.g., Neumann or Shure) that you prefer. The Audiobox USB 96 is widely compatible with almost all DAWs we have tested from our experience, it gives you plenty of customization options down the road without compromising audio quality.
The good thing about these standalone audio interfaces is that they also supply up to +48V of phantom power to your microphone, which is essential if you intend to use a condenser microphone to record vocals. To learn more about what is phantom power and why your microphone might need it, check out this post:
Next item…
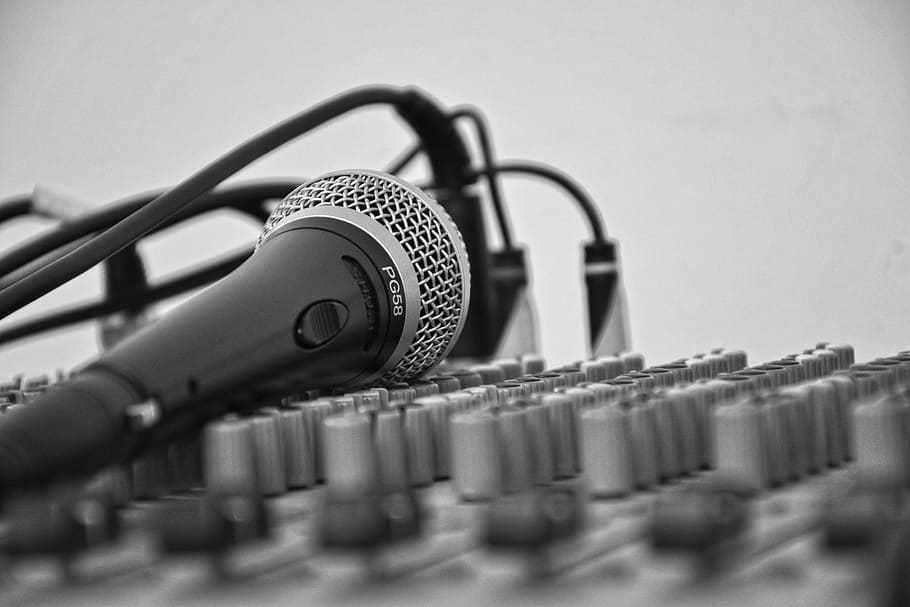
Essential Item 3: Microphones
Every home recording studio requires microphones to record instruments and vocals.
And as you start to progress in your home recording studio journey, you’ll start to accumulate more and more of them…
Generally speaking, there are 3 types of microphones:
- Condenser microphones
- Dynamic microphones
- Ribbon microphones
1. Condenser Microphones
For recording vocals, I would recommend going with a large diaphragm condenser microphone (LDC), simply because:
- They are great for vocals.
- They deliver better sound clarity.
- They work best for high-frequency trebles.
LDCs are side-address microphones, which mean that you sing into the side of the microphone and are very convenient for studio recording purposes.
One of the reasons why large diaphragm condensers are popular for recording vocals and acoustic guitar is the level of detail that these microphones can capture in an audio recording. They are built to deliver warm and crisp sound, and are great at capturing subtle nuances and tonality in your voice as well as the details in your acoustic guitar (such as the chiming and plucking of the strings, or a tapping of a guitar).
In short, LDC mics can make the sound source feel bigger, warmer and more engaging. They are also the same type of microphones that professional recording studios use to capture vocals due to their level of sensitivity.
One important thing to note about large diaphragm condensers is that these microphones are much more sensitive and can pick up a lot background and ambient noise around you. If you are recording in a room that is noisy or has a lot unwanted background noises, consider applying acoustic treatment to your room or using a dynamic microphone instead.
For beginners, I recommend these large diaphragm condenser microphones:
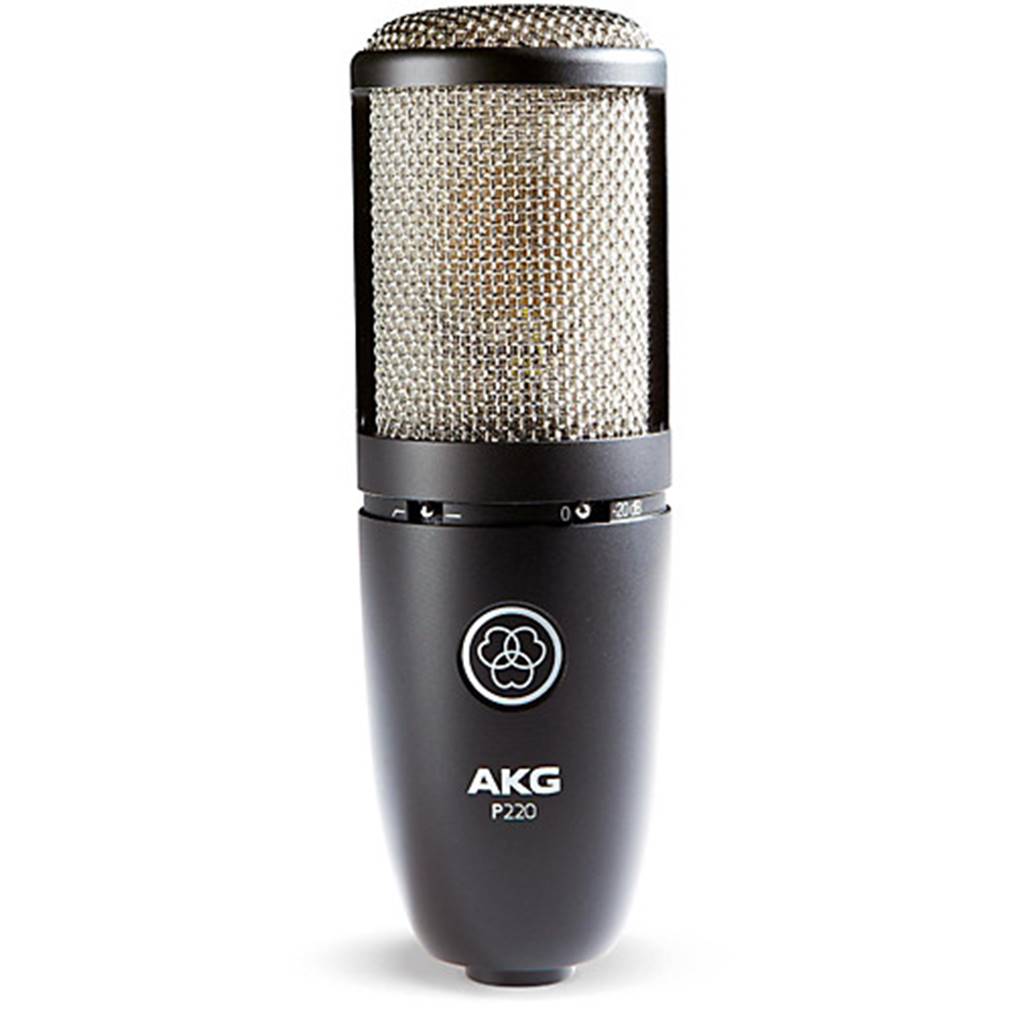
The AKG Pro Audio P220 and Samson C01s are particularly good condenser microphones that you can get a on a budget, and are some of the most widely used condensers in the recording industry especially for beginners. They are sensitive microphones that can capture a good level of detail and nuance in your audio recordings, and deliver really pristine and crystal clear sound for vocals and guitar.
For intermediate to advanced home recording studios:
The AKG Pro Audio C214 is a side-address large condenser microphone which is ideal for intermediate to advanced home recording studio setups. They are slightly more expensive than the modest AKG Pro Audio P220s, but are able to capture detail and tonality on a greater level than most condenser mics. This makes your vocals feel warmer and more engaging, and acoustic guitar sounds really crisp with a nice timbre on these microphones. The C214 is also a side address microphone which makes positioning much easier – especially if you are singing to the microphone with an acoustic guitar at the front.
An important note about large diaphragm condensers is that they require a power supply to work correctly. Check that your audio interface supplies phantom power for your mics.
For recording acoustic guitar, cymbals or piano, or other high-frequency instruments, we recommend small diaphragm condenser microphones, because:
- They are slightly cheaper that LDCs.
- They are designed to handle treble frequencies.
- They are top-address mics and can be directed at your instrument.
Some examples:

For recording drums and lower-frequency instruments, dynamic microphones are the preferred option as they are cheaper and designed handle low-frequencies.
2. Dynamic Microphones
Dynamic microphones are not as detailed in the treble frequencies as a condenser mic, and can generally handle high volume levels without distortion. This is because dynamic mics are less sensitive than condenser microphones and do not pick up as much detail at close proximity.
One of the most commonly asked questions is under what circumstances should you use a dynamic microphone. The answer is that if you are recording live vocals on stage, dynamic mics are generally preferred because they pick up less background detail that may go into the recording. If you are recording inside a room that is not acoustically treated, a dynamic microphone may help to reduce the amount of echo pickup that might otherwise be obvious on a condenser mic.
Dynamic microphones examples:
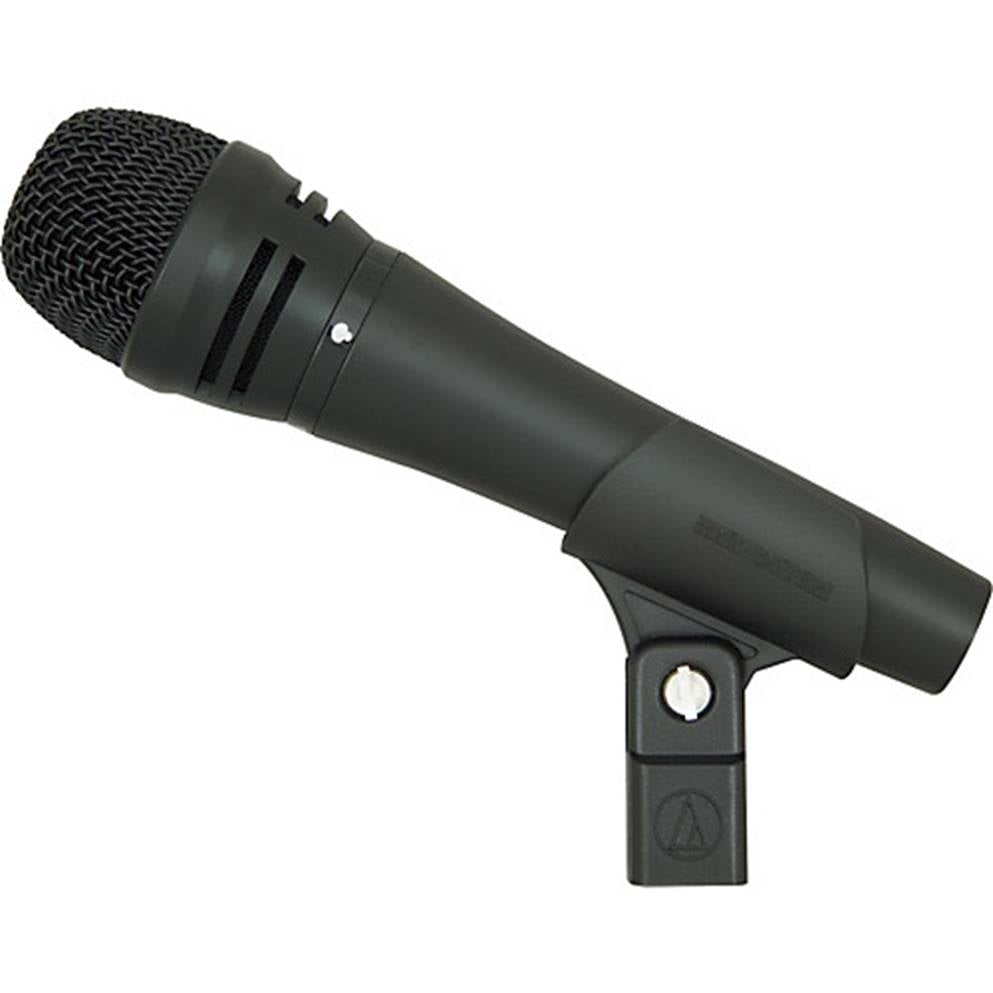
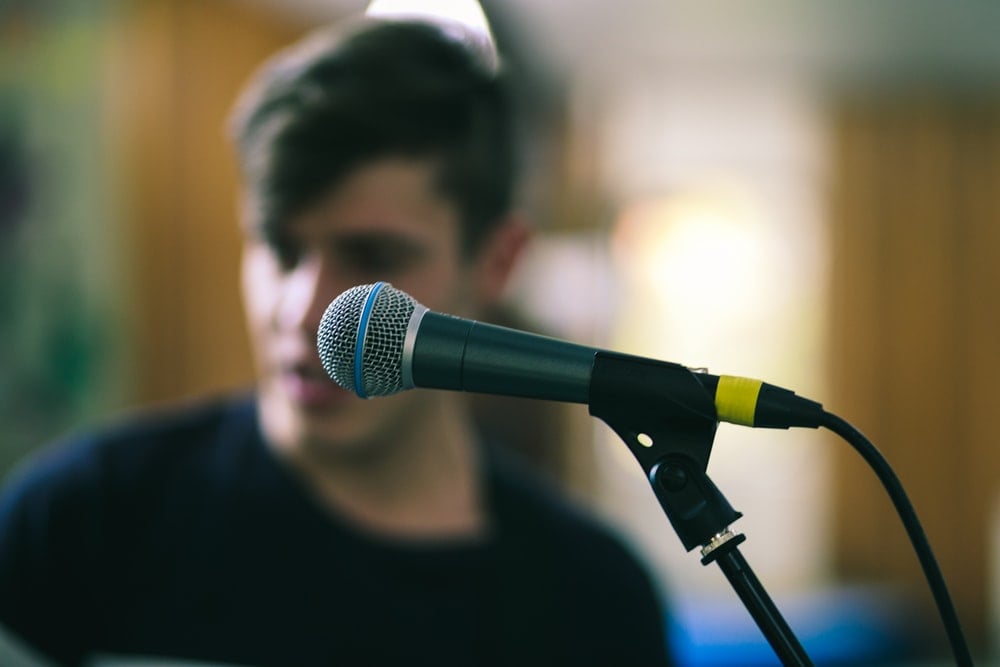
When most beginners start out, they usually go for something like the Shure SM58-LCs. These dynamic mics are generally good for recording vocals and are not as sensitive as condenser large diaphragm mics with a highly sensitive pickup.
One thing to consider if you are thinking between getting a dynamic mic or condenser mic is the amount of environmental pickup that you want. Condenser mics record much clearer vocals, but are sensitive enough to pick up side instruments or even unwanted environmental sounds (such as cars passing by, rain, or outside noises).
Dynamic mics, by contrast, are generally better for louder vocals and do not have a sensitive pickup. They work better if you are recording in a noisy environment so that you can reduce the amount of surrounding pickup.
With that said, the Shure SM58-LCs are almost universally regarded as the “go-to” microphones for home recording studio setups, and you won’t go wrong with these. Dynamics are also better for recording loud instruments such as drums or guitar amps, so consider them if you intend to record a combination of drums, guitars and amps in your home recording studio.
For a more in-depth guide on recording studio microphones types, check out this post:
Next item…
Essential Item 4: DAW Recording Software
The DAW, or digital audio workstation, is the software which you will be using to multitrack and mix your recordings on your PC or laptop.
Most DAWs come bundled with software and plugins, including:
- The DAW program (this will be installed on your computer for recording and production)
- Effect plugins (for reverb, compression or EQ)
- Virtual instruments (MIDI-controlled sounds for piano, strings and drums)
- Loops & Samples (software to loop audio files to be added to your recording)
- Samplers (you can use this to record or edit music samples)
While the best music engineers will spend thousands of dollars on DAW software, you don’t have to go to this extent to get a good DAW…
Most musicians think that a high-end DAW is going to solve your recording problems. But the truth is that poor recordings tend to be caused by poor acoustic treatment.
If you are not getting your DAW bundled with your audio interface, here are some good DAWs for beginners:
To learn more about the best DAWs for music production, check out this post:
One thing to note is to avoid the temptation to get a free DAW such as Garage Band. Free DAWs do not come with the same advanced features (including plugins) that a full-fledged DAW has to offer, and very often are not optimised to produce high quality audio recordings.
It is always highly recommended to start out with a paid DAW (e.g., Pro Tools, Reaper, etc) so that you can slowly learn and master how to use the DAW and its associated plugins. Learning how to truly use a DAW can take years of experience, so you’d want to start out with a proper DAW when you first start out and not waste precious time on a free DAW. While the learning curve may be steep if you are a beginner, it is definitely worth the time and effort in the long run.
There are also many communities of musicians who use a certain DAW (e.g., Reaper), so picking one and joining the community will give you a head start and help you pick up things faster as you go along. Most paid DAWs come with a library of synths and effect plugins to use, so you should also factor this into your considering when choosing the right DAW software to start recording.
Next item…
Essential Item 5: Studio Headphones
Headphones are the staple of home recording studios…
Studio headphones are designed to provide an accurate representation of how your recording sounds. This is because they have a flat frequency response, and provide a more analytical and detailed sound signature. They are crucial to ensuring that you can hear the other tracks/instruments that you are singing with, while isolating your voice from different sounds.
There are essentially two types of studio headphones:
- Closed-back studio headphones
- Open-back studio headphones
The main difference is that closed-back headphones focus more on sound isolation, whereas open-back headphones provide better soundstage and a more ‘spacious’ acoustic feel.
1. Closed-back headphones
For beginners, I recommend starting out with closed-back headphones.
Here are some reasons why:
- They are generally cheaper than open-back headphones
- They provide better sound isolation
- They don’t require amplification
For beginners, we recommend these closed-back headphones:
- Sennheiser HD280PRO (all time classic)
- AKG Pro Audio K92
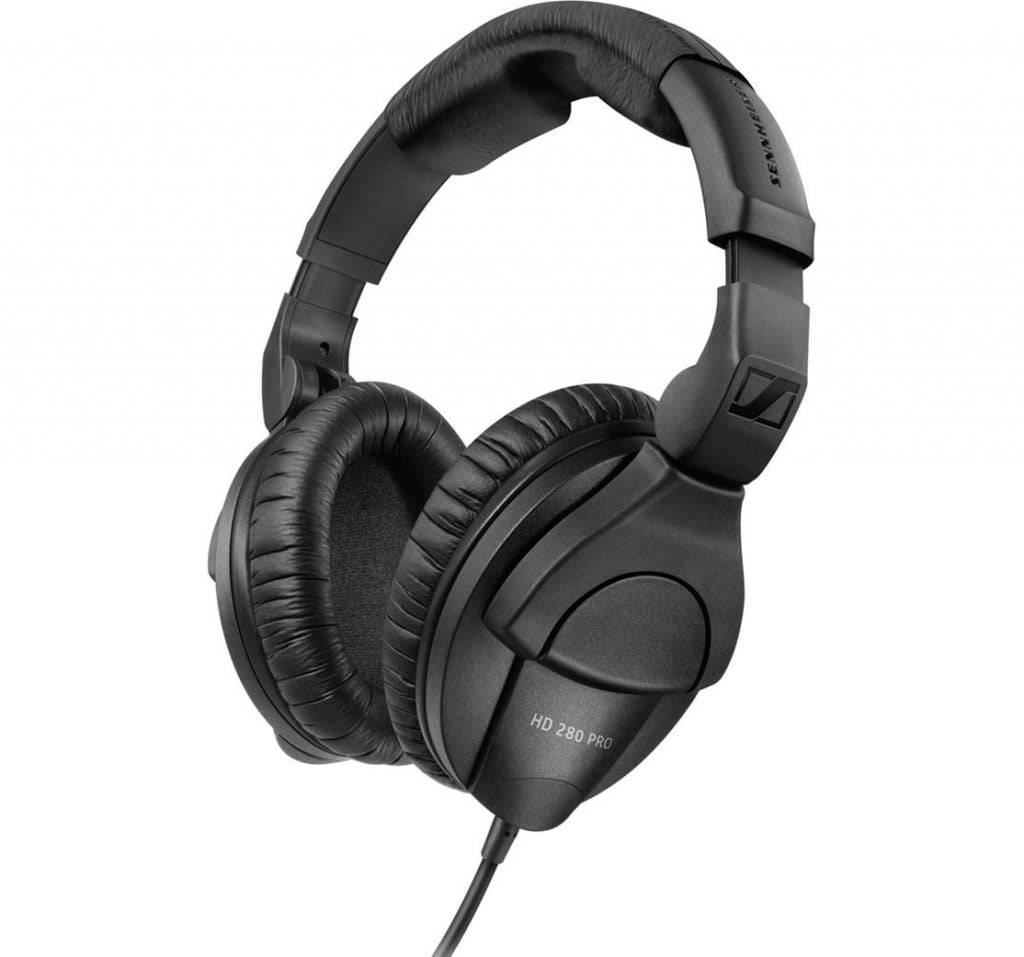
We highly recommend starting out with something like the Sennheiser HD280 Pros. These are beginner-friendly studio headphones that are some of the most widely used in the studio recording industry for audio monitoring. They are also very comfortable to wear, which is crucial especially if you are recording and mixing for hours on end.
2. Open-Back Headphones
Open-back headphones are often more expensive and require an additional headphone amplifier to power them due to higher impedance.
This is an added cost which you don’t really need for starter home recording studios…
While open-back headphones aren’t recommended for beginners, here are some good examples:
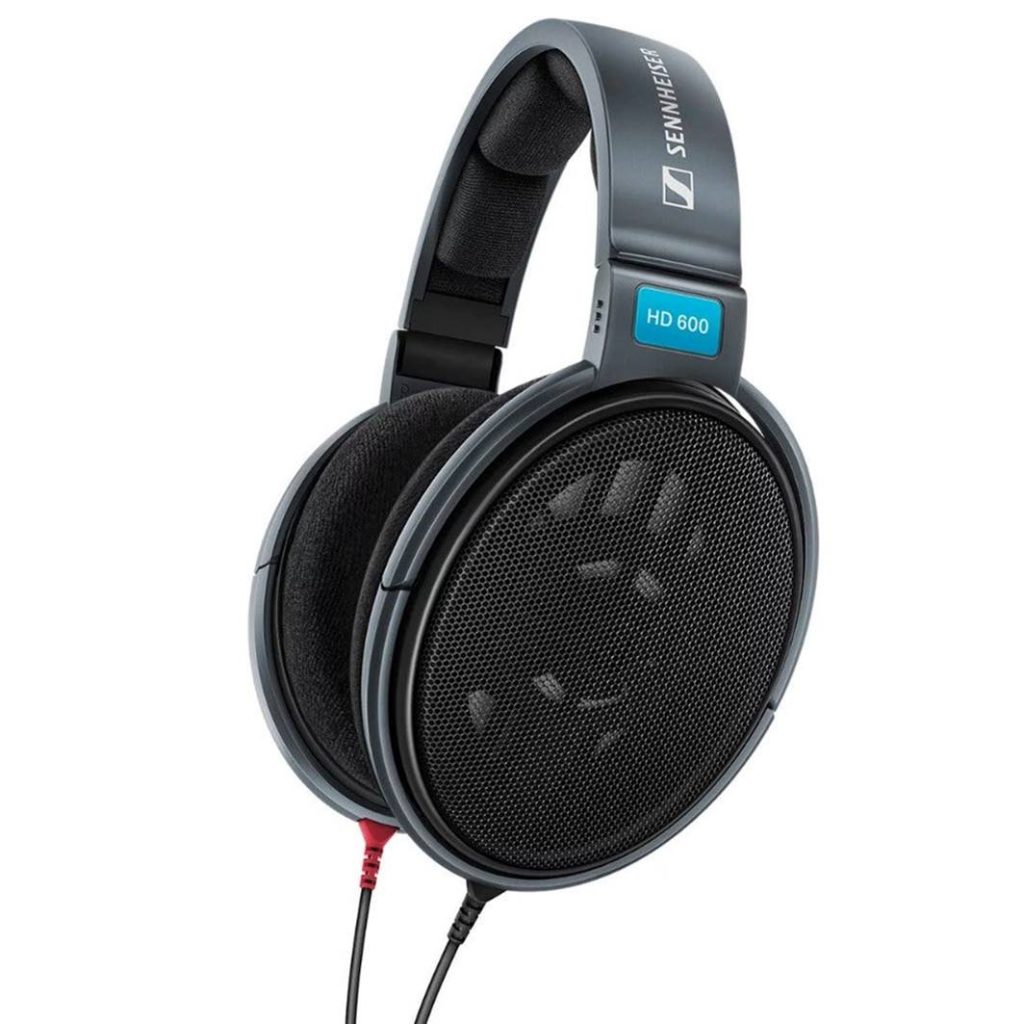
While open-back headphones generally have a more open and transparent sound signature, they tend to be susceptible from surrounding noises due to their open-back nature. This means that you need to be monitoring your mix in a very quiet room to avoid hearing any sound that may get into the headphone. Open-back headphones are great if you are mixing inside an acoustically treated room – the headphones will provide better separation and soundstage which you can hear in your mix.
However, if you are recording inside a room that isn’t acoustically treated like your bedroom, you should still consider going with a closed-back headphone such as the Sennheiser HD280 PROs which work really well and provide better sound isolation for studio monitoring.
Next item…
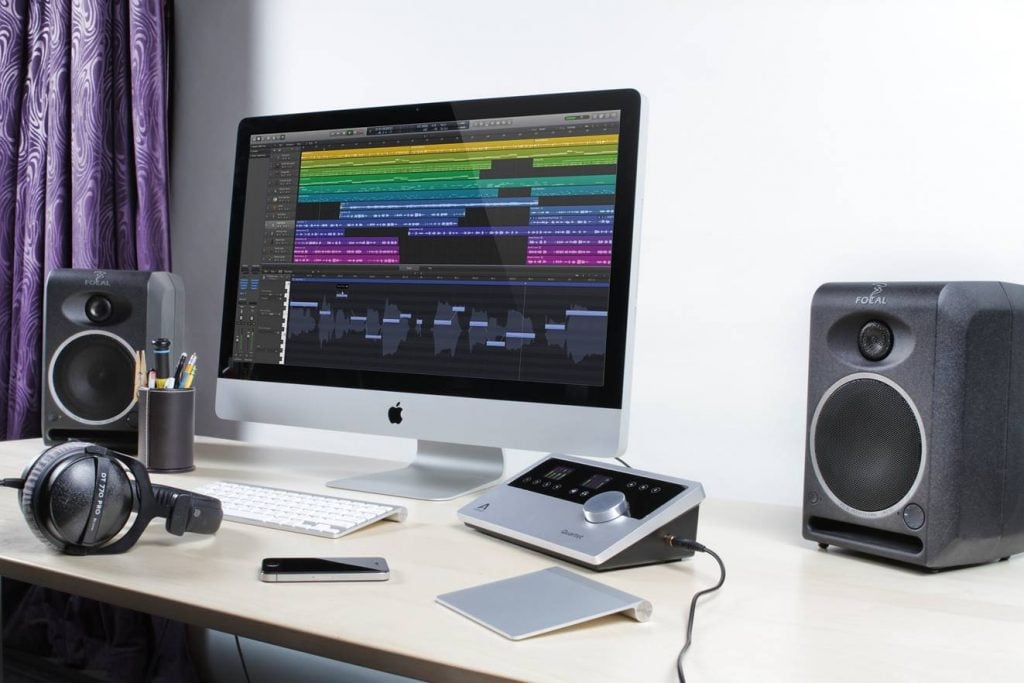
Essential Item 6: Studio Monitor Speakers
Studio monitors (speakers) are designed to provide well-balanced, accurate sound representation with a flatter frequency response. This helps you to make better mixing decisions when you edit your tracks down the road.
If you are mixing sound by yourself, you would probably be the only person listening to your mixes in your control room on the studio monitors.
There are essentially two types of monitors:
- Active monitors (powered).
- Passive monitors (non-powered).
Powered monitors have built-in amplifiers and do not need a dedicated amplifier. You can plug them straight into your computer output to get started.
For home studio recording, we’d recommend sticking with powered monitors to keep things simple.
Here are some recommendations:
Separately, it’s generally a good idea to have a cheap computer speaker to reference your music as well – this will let you know how your recordings sound on other speakers.
Most professional mixing engineers such as Michael Brauer and Chris Lord-Alge use this technique to make sure that their recordings sound good.
The idea here is to get studio monitors that can reproduce the sound as accurately as possible directly from the line outputs of your audio interface. A powered studio monitors does not require any outboard amplification and is essentially plug and play, which makes things a lot easier if you are just starting out.
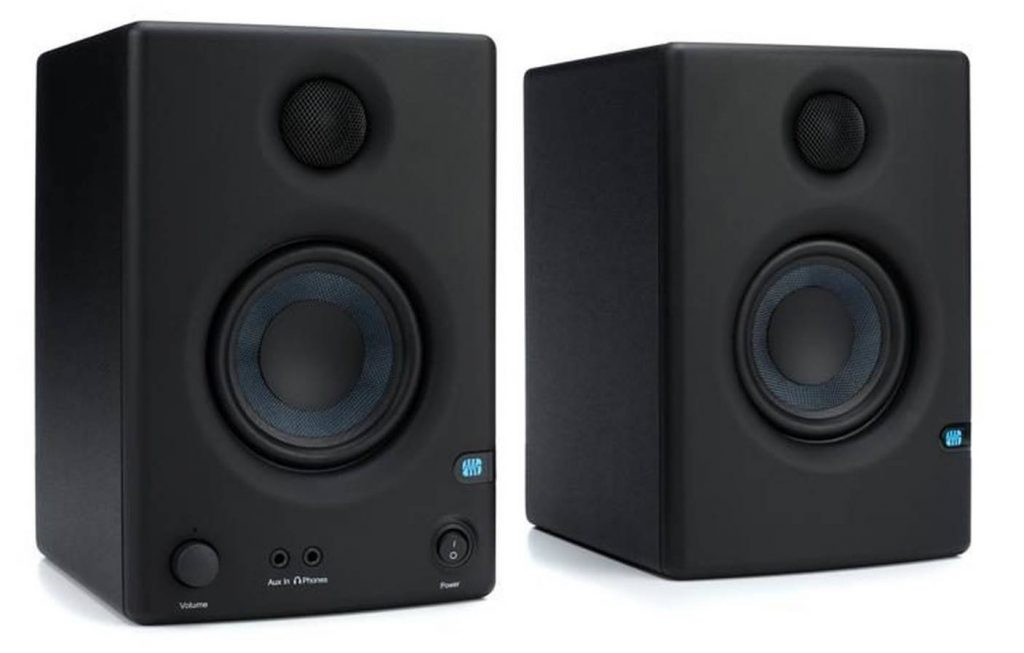
The Presonus Eris E3.5″ studio monitor are some of the most widely used in the recording industry. They can deliver really smooth and neutral frequency response. The highs and midranges are accurate and crisp, and the bass is controlled and tight. All the audio frequencies are accurately reproduced with precision and they do not emphasize one frequency over the other. They are some of the most well-balanced studio monitors we have tested and highly recommend them.
Next item…
Essential Item 7: Microphone Stands
If you have done any recording before, you would know that a microphone stand is one of the most essential components of a recording studio.
For beginners, it’s a good idea to invest in a decent boom mic stand rather than the standard vertical mic stand.
Some reasons why:
- It provides access to more spots and positions than a vertical stand.
- They are sturdy and less likely to be damaged easily.
- They are numerous reasonably priced options.
You’d want to get a mic stand that works well for you. Having a good mic stand makes a HUGE difference in the long run.
For home studio recording, go with the following options:

Next item…
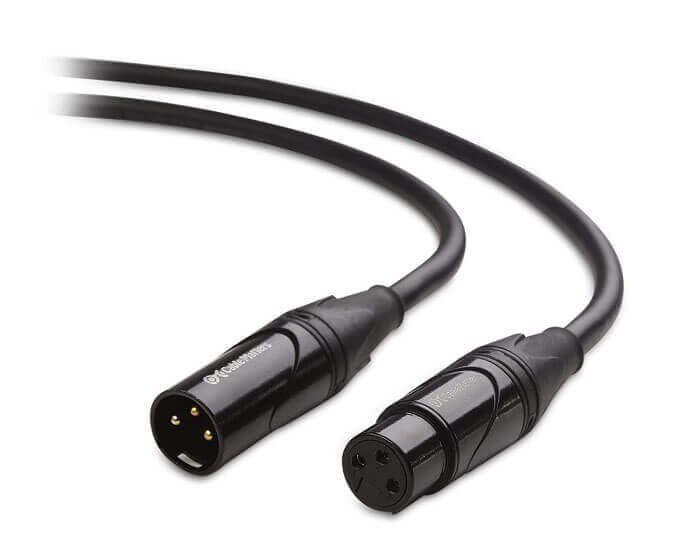
Essential Item 8: Audio cables
One often overlooked essential item is the audio cables…
Cables are dime a dozen, but for basic home recording studio setups, you only need the following cables:
- XLR cable for microphone
- TS cable for connecting instruments (if applicable)
- Speaker cables for your studio monitor
- Audio interface cables
Many interfaces contain one or more XLR inputs with a built-in preamp, allowing you to connect your microphone directly into it.
It really helps to purchase your audio interface in bundles with cables, so you don’t have to buy each individual cable separately for your mics and instruments.
For XLR cables, you want to get all-cooper cables with at least 10 feet length for room to manoeuvre around.
I recommend these XLR cables for home recording studio setups:
Although I work almost exclusively with Marshall XLR cables, there are plenty of other good options available for mic recording.
Next item…
Essential Item 9: Pop Filters
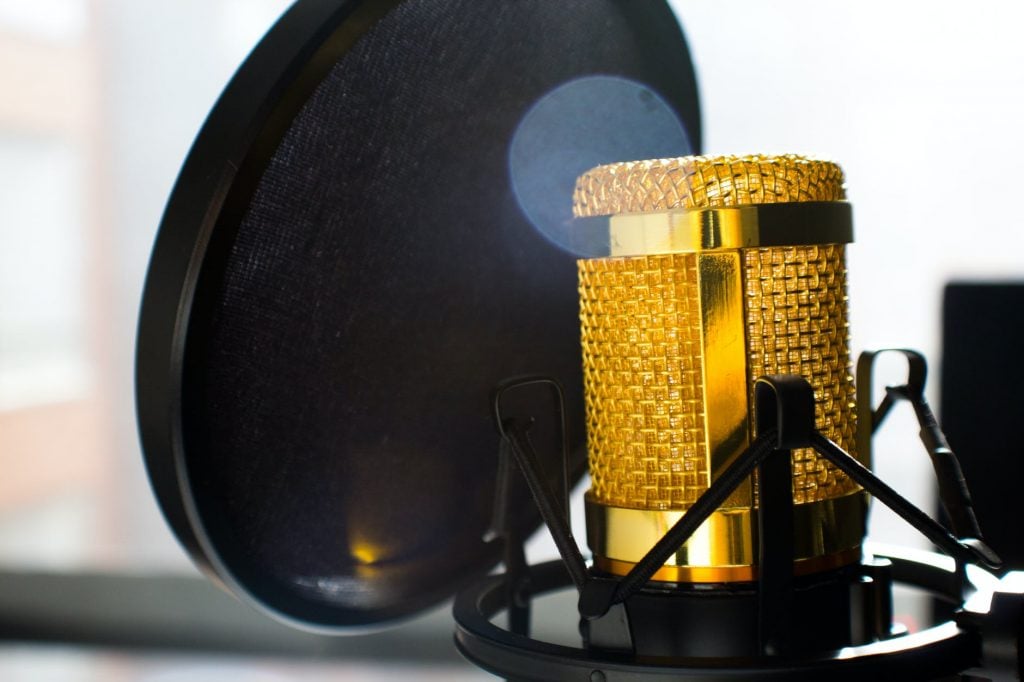
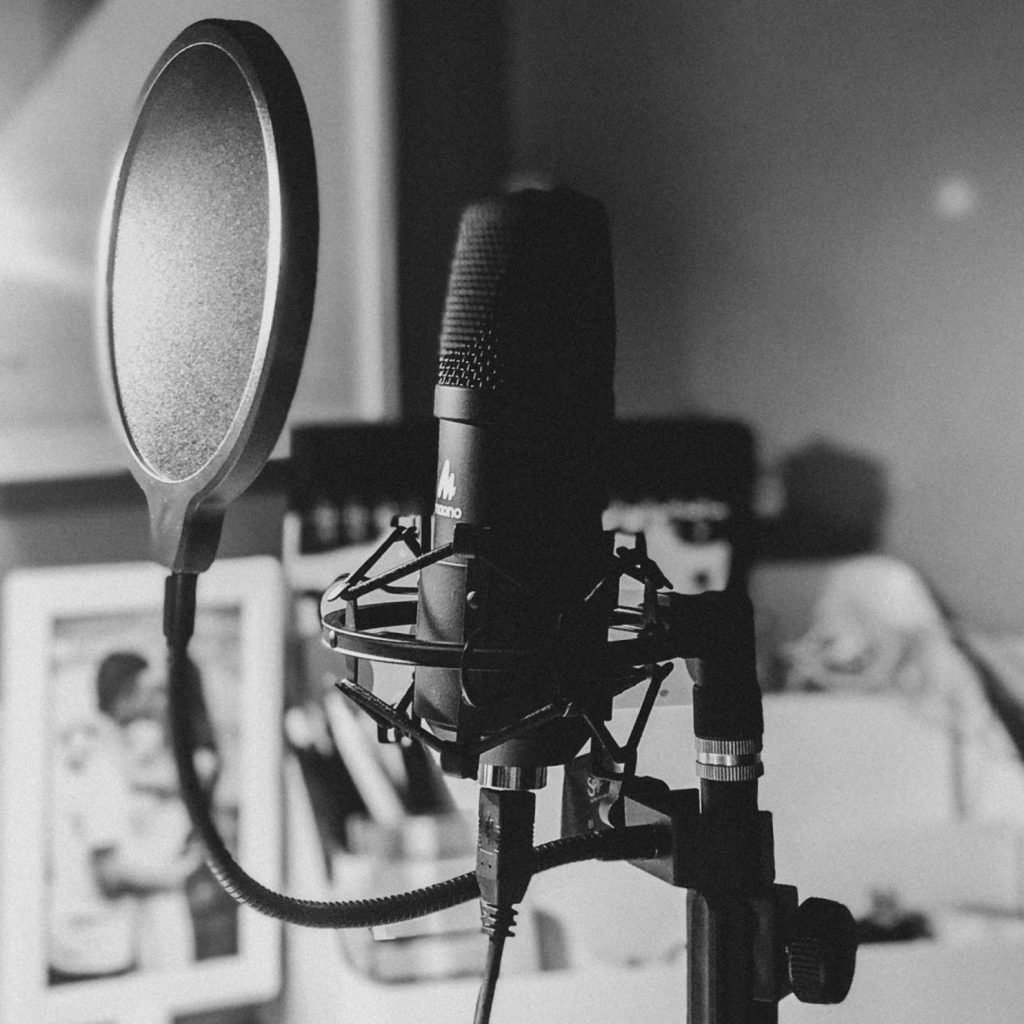
Every musician will know how a pop filter looks like in studio…and that’s because they are really an essential item for studio recording.
Pop filters guard against ‘plosive’ sounds when singing words starting with ‘P’ and ‘B’. This creates a ‘popping’ sound that leaves a large recording burst in the audio recording.
Here are some reasons why Pop Filters are essential:
- They filter out plosive sounds for audio.
- They eliminate popping sounds on the microphone.
- They make sound editing much easier.
While strictly not required, pop filters will almost certainly improve the quality of your audio recording and are a good addition to any beginner studio.
Some examples:
For a detailed list of the best pop filters, check out this post:
The key thing to note is that if you are using a high-end condenser microphone such as the AKG C214 condenser mic, a pop filter is almost certainly a must to block out annoying plosive sounds that may get into the recordings. This is because these microphones are more sensitive and have a cardioid pickup pattern which captures all the details in your voice. A pop filter can also help to reduce the amount of proximity effect that your microphone might pick up, although an easier way to do this is to increase the distance between your mouth and the microphone.
Nevertheless, we still recommend getting a pop filter for your condenser microphone to reduce the amount of plosive pickups.
There are many cost-effective pop filters that you can find on the market such as the Auphonix and InnoGear pop filters which work really well and come with multiple filter layers for effective sound reduction.
Next item…
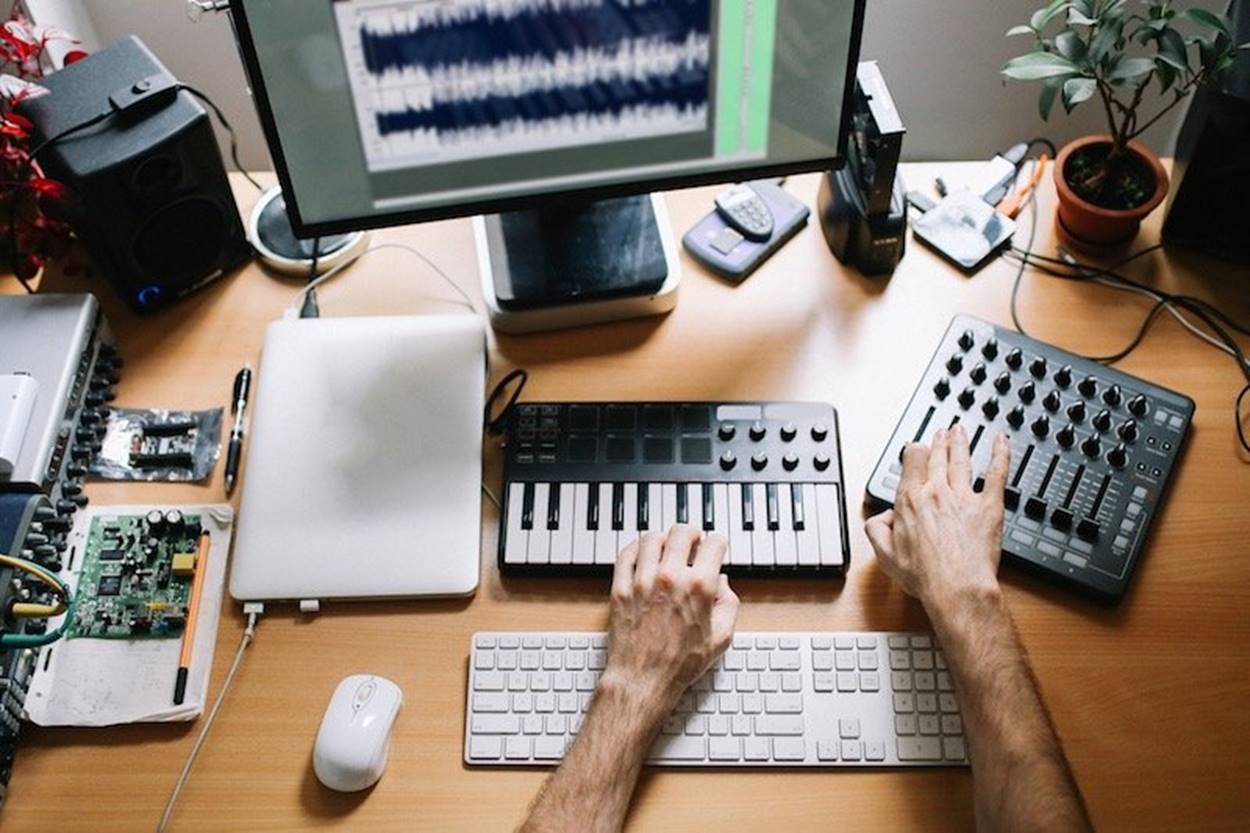
Essential Item 10: MIDI Controller
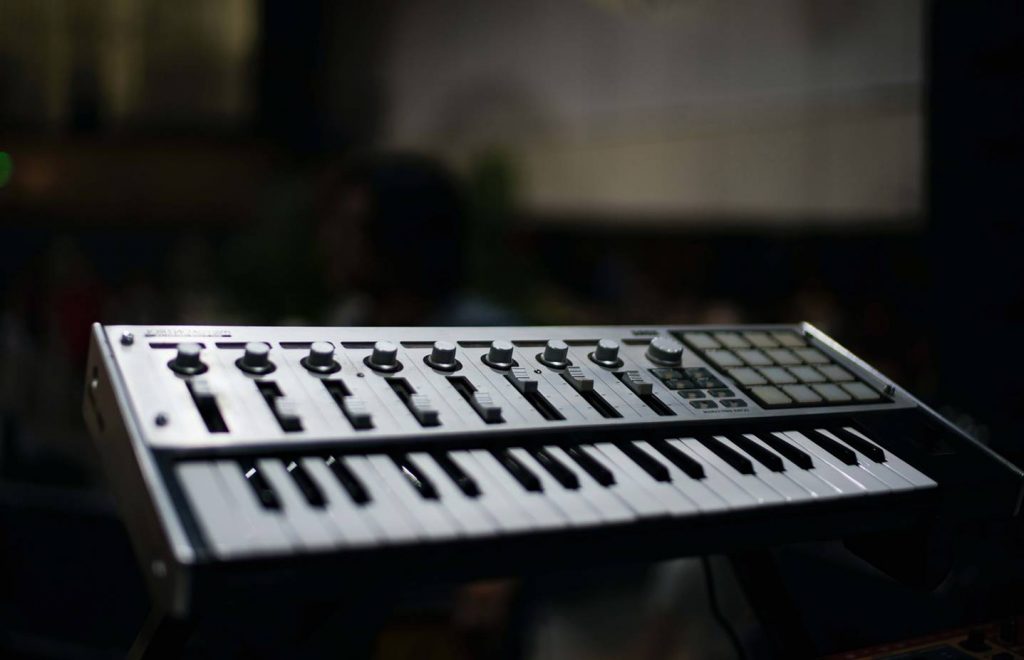
If you are recording at home, almost every musician will eventually need to use a MIDI to add sound effects, synths and virtual instrumental notes to the recording.
A MIDI electronic keyboard can be used to add virtual instruments into sound production.
These are especially useful for producing various types of sounds, including:
- Keyboard sounds
- Orchestral sounds
- Synthesizer sounds
- Drum sounds
Pro Tip: To connect your MIDI keyboard with your computer, you should get an audio interface with a MIDI I/O and a pair of MIDI leads to save costs.
Otherwise, check if your MIDI keyboard already comes with a USB port to connect directly with your PC or Mac.
The classic MIDI keyboards for home recording studios:
The M Audio Keystation and the Akai Professional MPK are some of the most widely used MIDI keyboards in the industry. These keyboards come with 61 full sized semi-weighted keys that are easy and intuitive to use, and come with a lot of built-in functionality. You can adjust the volume fader, use directional buttons to control your software, and use pitch and modulation wheels or octave up and down buttons for music recordings.
We liked the fact that these MIDI keyboards are essentially plug and play and connect directly to your Mac and PC device with no driver or power supply required. They are also compact enough to fit inside your studio desk without taking up too much storage space.
One thing we always look out for in choosing MIDI keyboards are semi-weighted keyboards. This is extremely useful because it provides enough resistance so that you know when you have pressed the keys (without using too much force), and makes recording music much more intuitive and enjoyable.
Now that you have a general idea of the essential items required to set up a home recording studio from scratch, here is a summary of the equipment that you need…
Home Recording Studio Essentials List
In summary, here is the list of all the essential items to set up a budget home recording studio.
1. Computer
Macbook Pro (2021) model – when it comes to raw processing power, nothing beats having the M1 Pro or M1 Max chip in Apple’s latest Macbook Pro models. This is especially true if you intend to use Logic Pro as your primary DAW to do multitracking and synths. Check them out here.
Macbook Air (2020) model – The Macbook Air (2020) model is a great choice if you want to take advantage of Apple’s latest M1 chip. The Macbook Air has enough processing power to run Logic Pro, albeit slower than the Macbook Pro, but still works well for solo home studio recording. If you are running on a tight budget, the Macbook Air (2020) model is a very decent option. Check out the Macbook Air here.
Microsoft Surface Laptop 4 (2021) model – if you are looking for a Windows-based laptop that’s highly portable, with plenty of RAM and reasonable processing power, the Surface Laptop 4 is a good choice. The latest models come with minimum specs of Intel Core i5 chip, 8GB of RAM, and a 512GB SSD. The AMD versions of these laptops also come with the AMD 6-Core Ryzen 5 chips which deliver faster multicore processing. If you are going with a Windows based DAW and are running on a budget, the Surface Laptop 4 is a pretty decent choice.
2. Audio Interface
Focusrite Scarlett Solo – this is a class budget home recording studio audio interface that works with virtually any audio application that you can throw at it. It is a high performance amp that allows you to record and mix up to 24-bit/192kHz and also includes some free DAW software and plugins to help you get started. Check them out here.
PreSonus Audiobox USB Interface – This budget USB audio interface comes with 2 high-quality Class-A mic preamps and 2 high-headroom instrument inputs to record guitar, bass and other line-level devices. The built-in studio grade converters allow up to 24-bit/192kHz recording and playback. Check them out here.
3. Microphone
Shure SM58LC Dynamic Mic – these microphones are the classic staple of home recording studios and probably need no further introduction. The have a frequency response tailored specifically for vocals, with brightened midrange and nice bass rolloff. Check them out here.
Audio-Technica AT2020 Condenser – if you plan on recording alot of vocals, these microphones are a great budget alternative to the Shure SM58LCs. The AT2020 connects directly to your audio interface and has a very low noise level of 20db SPL. It also features a cardioid polar pattern which is great for recording frontal vocals and reducing side instrumental pickup. Check them out here.
4. DAW Software
Pro Tools – This is still the most widely used DAW in the professional recording studio industry, and comes with all the tools you need to multitrack, add sound effects and synths and mix your audio. That said, this DAW probably has the steepest learning curve out of all the other DAWs. You can’t really go wrong with Pro Tools, but bear in mind it takes time to fully master it. Check them out here.
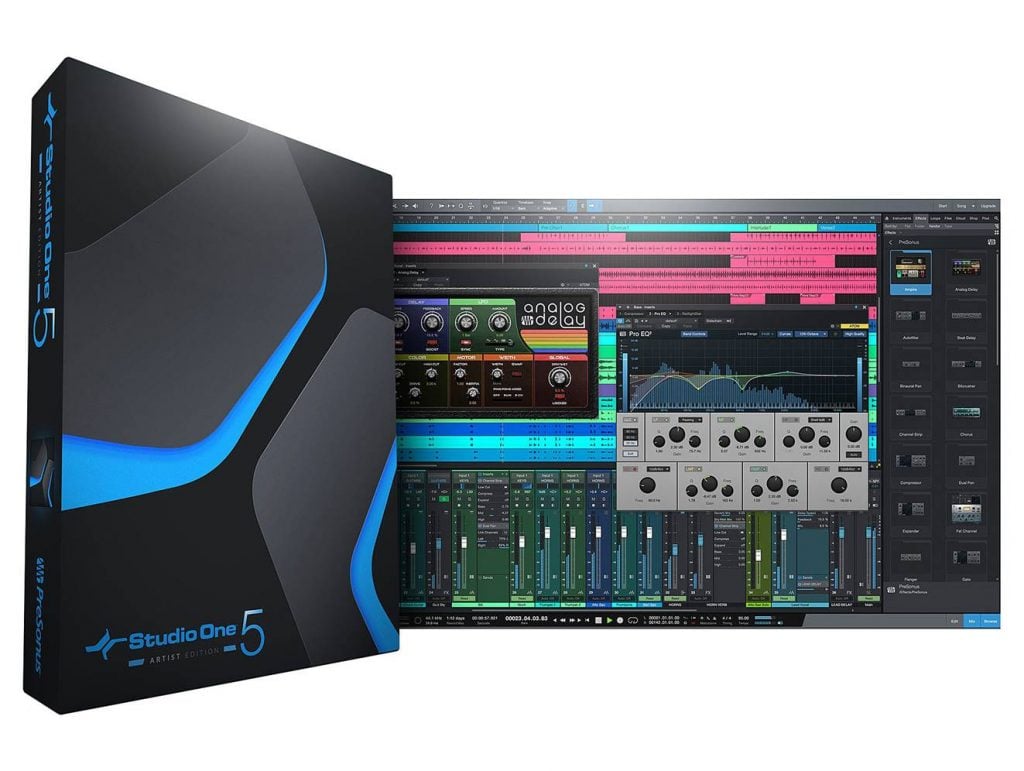
Image Line FL Studios – One of the best DAWs for home studio recording, FL Studios is great for those who prefer a simple patterned-based way of recording and multitracking, with plenty of stock sounds and synths to choose from straight out of the box. Check them out here.
Apple Logic Pro – Created by Apple, the Apple Logic Pro is the software you should use for Macbook as it is intuitive, seamless and very easy to operate. If you are already using a Macbook, Logic Pro is by far the most convenient and easy to use DAW designed for the Mac. Get Apple Logic Pro here.
Reaper – One of the more customizable and affordable DAW options. This is a great DAW to use if you are on a budget, and comes with plenty of customization options that rival that of Pro Tools. Although not all musicians use Reaper, it has started to gain alot of traction with EDM and pop artists in recent years. Get Reaper here.
For more information on the best DAWs for beginners, check out this post.
5. Studio Headphones
Sennheiser HD280PRO Headphone (New model) – Long considered the staple headphones for home studio recording, the HD280PROs are great for mixing and mastering music with their neutral frequency response and crystal clear vocal reproduction. Check them out here.
Audio-Technica ATH-50X – Although these headphones have slightly more bass and midrange, they are still widely regarded as the industry-standard for home studio recording and professional recording purposes. Check them out here.
6. Studio Monitors
Presonus Eris E3.5 – These are 3.5″ near field studio monitors and the classic favorite for home musicians on a budget – they deliver clean, flat and neutral frequency response and are ideal for solo recording. They are also easy to integrate with a basic audio interface like the PreSonus Audiobox. Check out the Presonus Eris monitors here.
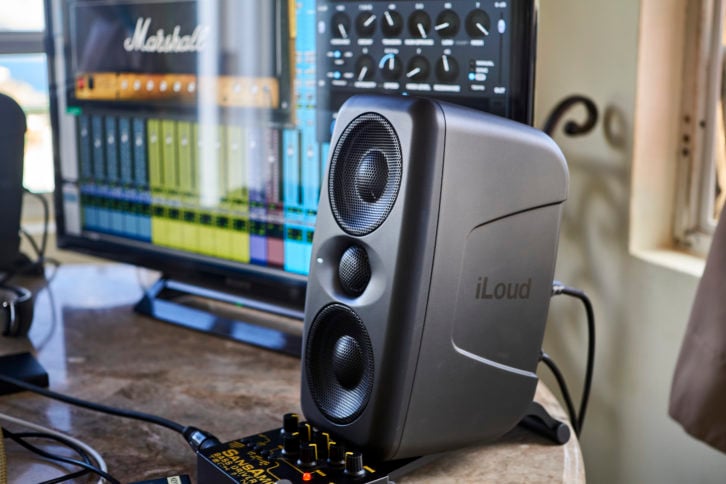
Mackie Studio Monitors (3 inches) – Personally we prefer the Mackie Studio Monitors because they deliver really clean and flat frequency response, and comes with more input options such as 1/4″, RCA inputs and wireless Bluetooth. The volume knob and power controls are located conveniently at the front, which makes it very easy to adjust the sound settings during recording sessions. Check them out here.
7. Cables
Cable Matters XLR to XLR Microphone Cable 10 Feet – These are 10ft quality mic cables with decent length for manoeuvrability. Quality cables actually do make a big difference when it comes to signal noise and feedback – and the cables from Cable Matters work nicely with any home recording studio setup with minimal feedback. Check them out here.
8. Mic stand
On-Stage MS7701B – You don’t really have to worry too much about mic stands in a home recording studio, but I recommend getting a boom mic stand which allows you to adjust both the height and position of the mic angle. Ideally, you should get a budget tripod microphone boom stand with flexible mounting options for different recording positions. Check out the On-Stage MS7701B here.
9. Pop Filter
Neewer Professional Microphone Pop Filter Shield – This is a decent pop filter you can get on a budget, although there are many other options available that does a decent job. Check them out here.
Auphonix Mic Pop Filter – This is a nice pop filter you can get on a budget with double layer mesh to reduce plosive sounds. Check them out here.
10. MIDI controller
AKAI Professional MPK Mini MK3 – The industry classic, the AKAI MK3 is one of the most widely used MIDI keyboards in home recording studios. It has a classic 25 MIDI keyboard layout and a 4-way thumb-stick for dynamic pitch and modulation control. Check them out here.
M Audio Keystation Mini 32 MK3 – This is another good budget MIDI keyboard with 32 expressive velocity sensitive keys with customizable response. They connect directly to your PC or Mac with no additional power supply required, and are great for budget home studio recording. Check them out here.
Both the AKAI MK3 and M-Audio Keystation MK3 are classic home recording studio setup keyboards that are widely used in the industry, so you can’t really go wrong with these.
For more on how to set up a budget recording studio step by step, check out this post:
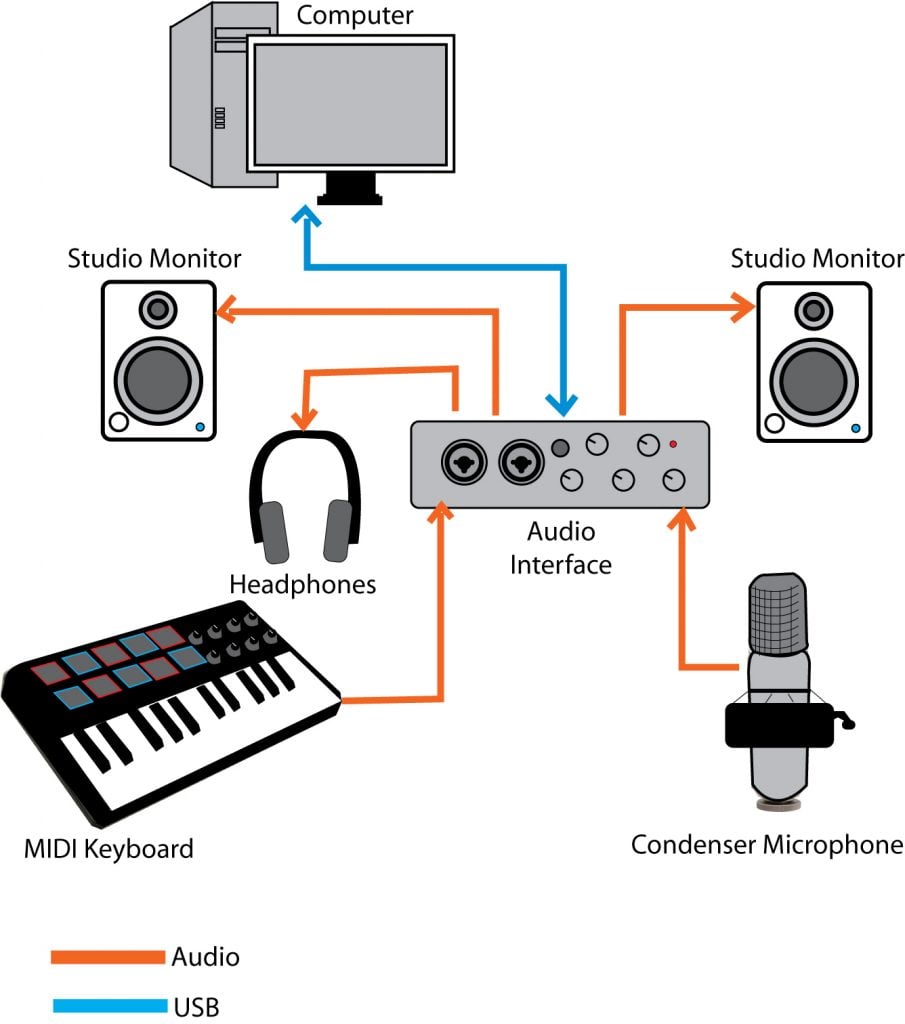
Wiring Diagram
Now that you have all the essential items you need, the next step is to connect them together with your audio interface and computer…
Set up everything together like this…
Once you are done…
Next Steps
You should apply acoustic treatment for your home recording studio!
To learn how to do this, check out these posts: