In this guide, we will discuss how to setup a home recording studio on a budget with a detailed step by step walkthrough for beginners.
While having high quality and expensive gear is great for making professional recordings, these items are not as important as having the actual skill to make a decent audio recording.
In fact, with advances in DAW technology and virtual instrument plugins, it’s possible to make decent audio recordings in a home setting with the bare minimum equipment and instruments.
What you will need
If you are setting up a budget home recording studio from scratch, you will need the following items:
- A computer (or use your existing computer)
- DAW
- Audio Interface
- Microphones
- Mic stands
- Studio Monitors
- Studio Headphones
- A pop filter
- Audio cables
To save money, I recommend that you do one or more of the following:
- Get your equipment in bundles (audio interface + mic + DAW comb) to save money
- For an affordable DAW, go with Reaper (otherwise Cakewalk by Bandland is an excellent free alternative)
- Use your existing PC / laptop computer as your digital audio workstation
- For acoustic treatment, treat the bass in the room first (using bass traps)
We’ll cover more on that below…
But first, the most crucial step before you buy recording gear is…
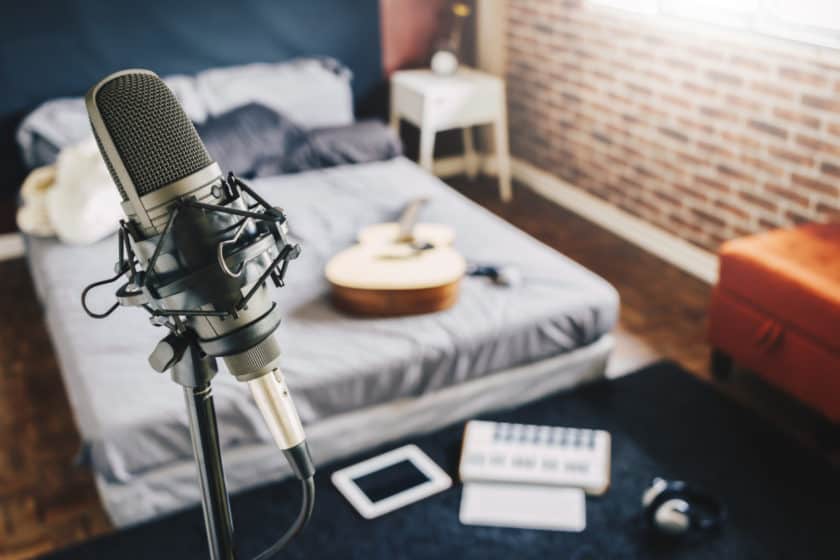
Step 1: Choose the best room
Before we talk about getting the best budget recording gear and DAWs, the first thing you REALLY need is a good room to record…
While this may sound like common sense, you should find a room that is quiet and spacious.
If you live in an apartment and ever done recording before, you would have experienced things like your neighbour’s footsteps getting recorded, or the sound of oncoming vehicles ruining one part of your recording, or even the sound of your AC conditioning filtering into the sound…
You can avoid all these noises from the start by choosing a room that isn’t facing the road, or even record in the basement if you have one.
After you have chosen a decent room to start recording, consider applying acoustic treatment to treat problematic sound areas in your room.
More on that in these posts:
Step 2: Budget Computer
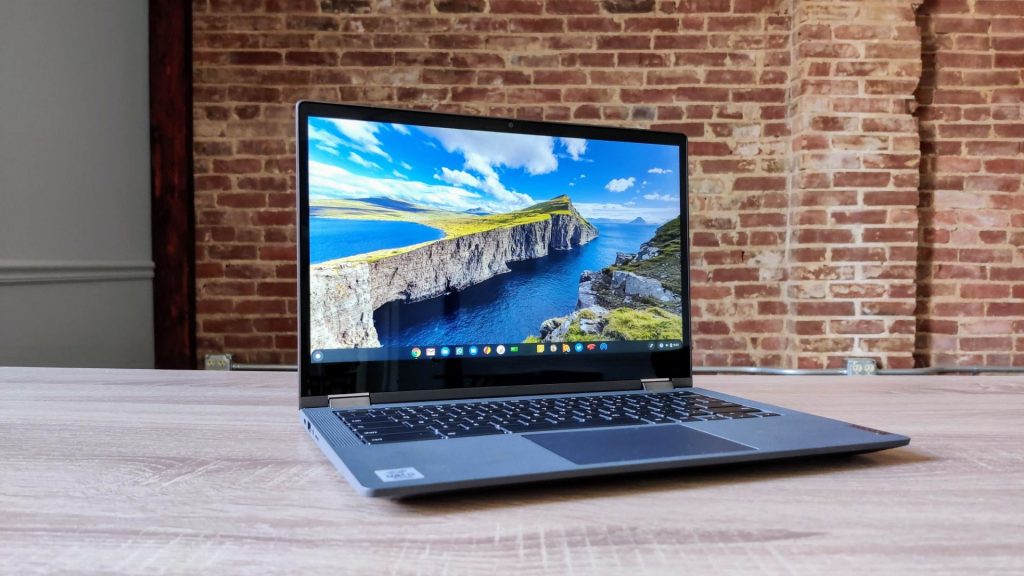
The best advice is to use your current existing computer, so you don’t need to spend any money buying a new computer to start recording.
In fact, most computers these days are powerful enough to run DAW recording software without any issues.
Unless you are using a PC straight out of the early 2000s, you shouldn’t be fussing about getting a new PC or laptop or Mac.
However, there is ONE caveat…
If you are working with other musicians, you should consider what type of DAWs they are using and whether these are compatible with your computer operating system.
For example, if most of your musicians friends are using Apple Pro Logic, you may wish to use a MacBook instead of running a Windows based DAW.
Generally speaking, these are the more popular DAWs and their OS compatibility:
- Pro Tools (both Windows and Mac OS compatible)
- Apple Logic Pro X (only Mac)
- Reaper (both Windows and Mac)
- PreSonus Studio One (both Windows and Mac)
- Cakewalk by Bandlab (Windows only)
You should choose a PC / laptop with the operating system that suits your needs.
If you absolutely need to get a new budget laptop or PC, here are some good budget options:
Assuming that you are not going to require professional studio-grade processing capabilities, anyone of the above will suffice.
Up next…
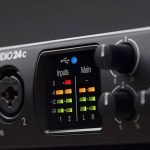
Step 3: Budget Audio Interface
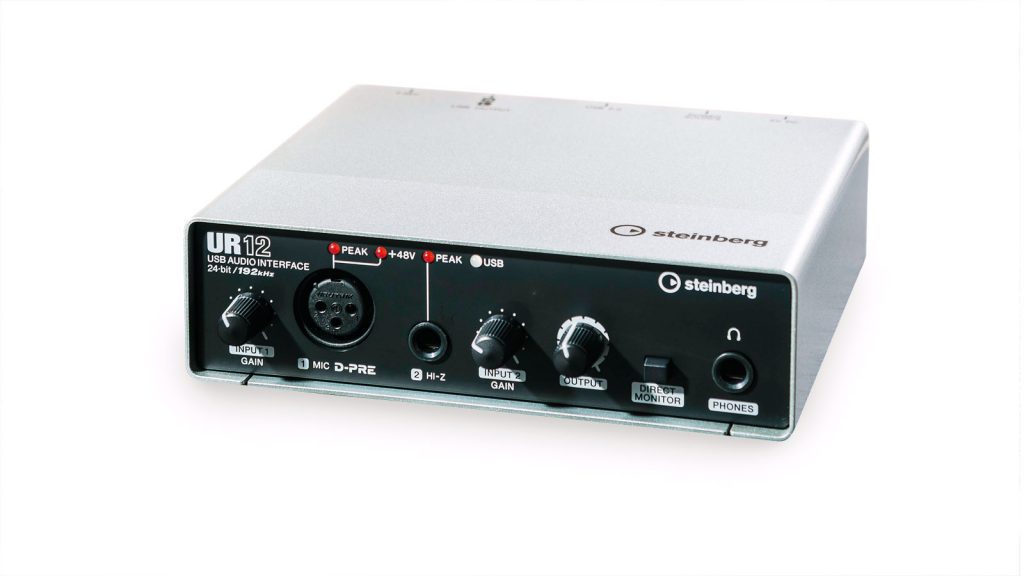
The next step to recording at home is to get an audio interface.
There are plenty of budget audio interfaces out there, but I would recommend these three for beginner home studio recordists:
- Steinberg UR12 USB Audio Interface
- PreSonus AudioBox USB 96
- Focusrite Scarlett 2i2 USB Audio Interface
With that said, if you want to save more money and time setting everything up…
I recommend going with audio interface bundles which can actually save you a lot of money and time.
An audio interface bundle comes with:
- Audio interface
- Microphone
- DAW software
- Studio headphones
Or some combination of the above…
There are a few advantages of getting an audio interface bundled together with your DAW and microphone, for example:
- You can save money getting everything bundled together
- You won’t run into compatibility issues with your DAW / interface
- You won’t need to buy items individually
That being said, while buying everything in a bundle can save you some money, it means that you are basically stuck with whatever DAW software that comes in the bundle.
This can be frustrating if you are thinking of using a specific DAW (or work with other musicians that use a specific DAW for your music genre).
The best advice here is to get whatever suits your needs best.
If you are going for the audio interface bundle options, here are some good picks:
- Focusrite Scarlett 2i2 Studio Interface Bundle with Pro Tools
- PreSonus AudioBox 96 Recording Bundle with Ableton Live
Up next…
Step 4: Budget DAW
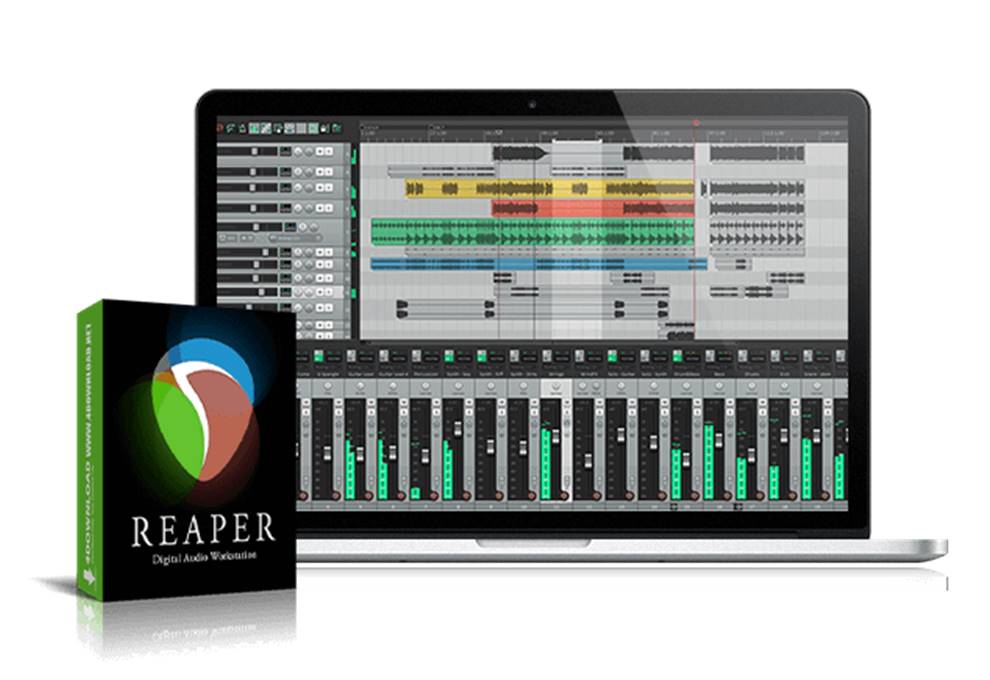
Assuming that you are not going to get your DAW bundled together with your audio interface, you have plenty of options to choose from.
However, if you are thinking of a budget DAW that has tonnes of customization options and versatility, I personally recommend Reaper.
Why?
Because Reaper is much cheaper than the other alternatives out there, including Pro Tools. Plus, Reaper gives you much more customization options with available plugins and VSTs.
It’s also one of the more well-known DAWs on the market next to Pro Tools, and is considerably much more affordable.
Of course, if you decide not to go with Reaper, you can always try out the ‘established’ DAWs on the market which include:
- Avid Pro Tools (more expensive, but is the leading industry standard)
- Apple Logic Pro X (great for Mac-only users, but not cross-platform compatible)
- Image-Line FL Studio (single purchase, free lifetime upgrades)
While I recommend getting a paid DAW like Reaper, you can also try out free ones.
The ONLY free DAW worth mentioning at this moment is Cakewalk by Bandland.
Bandlab used to be a paid DAW, until it was purchased by Sonar Platinum in 2018 and rebranded a Cakewalk by Bandlab. And now, Cakewalk by Bandlab is free to download.
This means that you get essentially getting all the core features of a paid DAW into a free downloadable DAW software.
With that said, Cakewalk by Bandlab is only available for Windows only users, and if you are working with other musicians to produce music, you are much better off with getting a paid professional DAW.
For the budget conscious musician, Reaper is still hands down the best choice in my opinion.
To learn more about what DAWs you can use, check out this post:
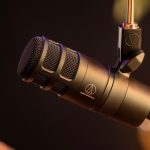
Step 5: Budget Microphone
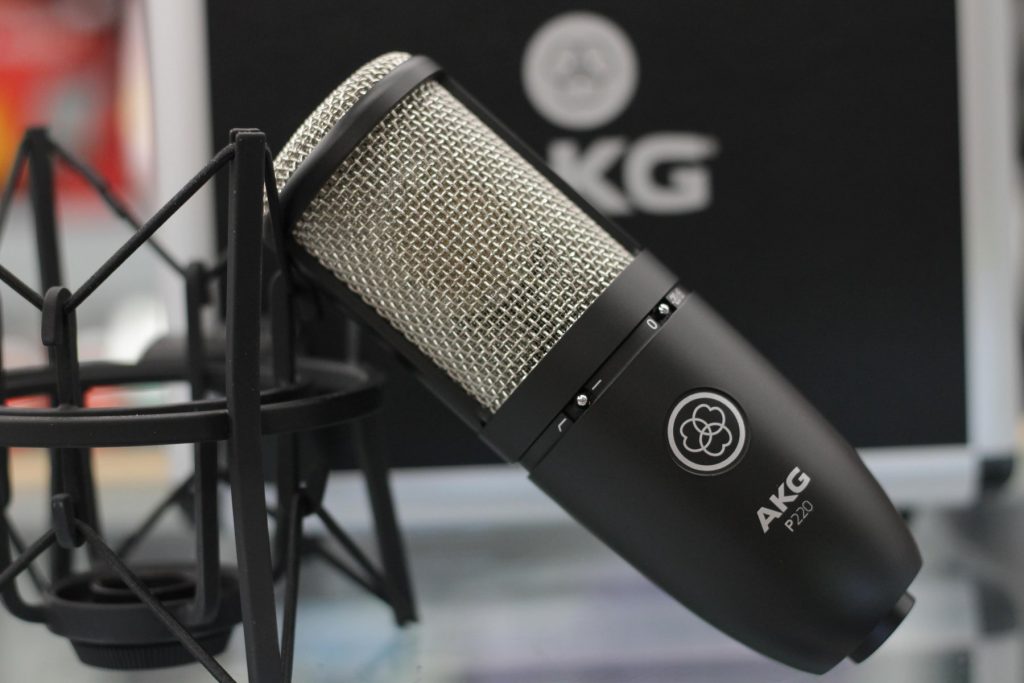
The next step is to choose a microphone to record your instruments / guitar / vocals.
If you are recording vocals, you should go for a large-diaphragm condenser mic.
A large-diaphragm condenser allows your vocals to shine and sound ‘larger-than-life’, with greater emphasis on the higher frequency ranges. The condenser mic can also capture the details and acoustic warmth of your guitar.
Dynamic mics are only used for recording loud sounds (such as drums, or screaming). Unless you intend to record loud music such as heavy metal, dynamics aren’t going to give you as much sound quality as a condenser.
Here are some good budget large-diaphragm condensers that you can get:
Bear in mind though, that you will need microphone stands to position the mic while recording at home. There are numerous stands out there but I recommend getting a boom mic stand for its versatility and agile positioning.
Some good budget mic stands:
To learn more about what kind of microphones you should use to record instruments and vocals, check out this post here:
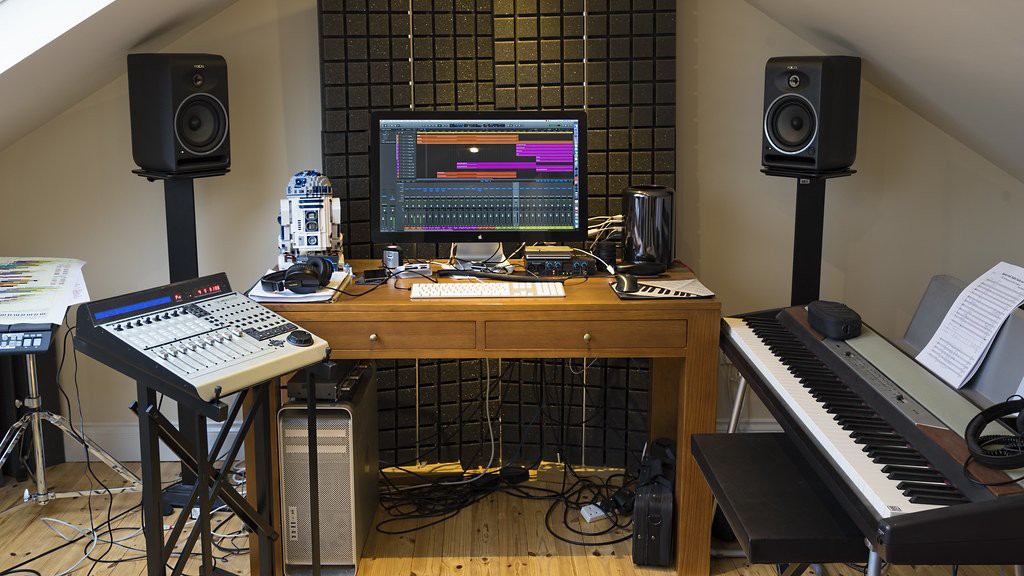
Step 6: Budget Studio Monitors
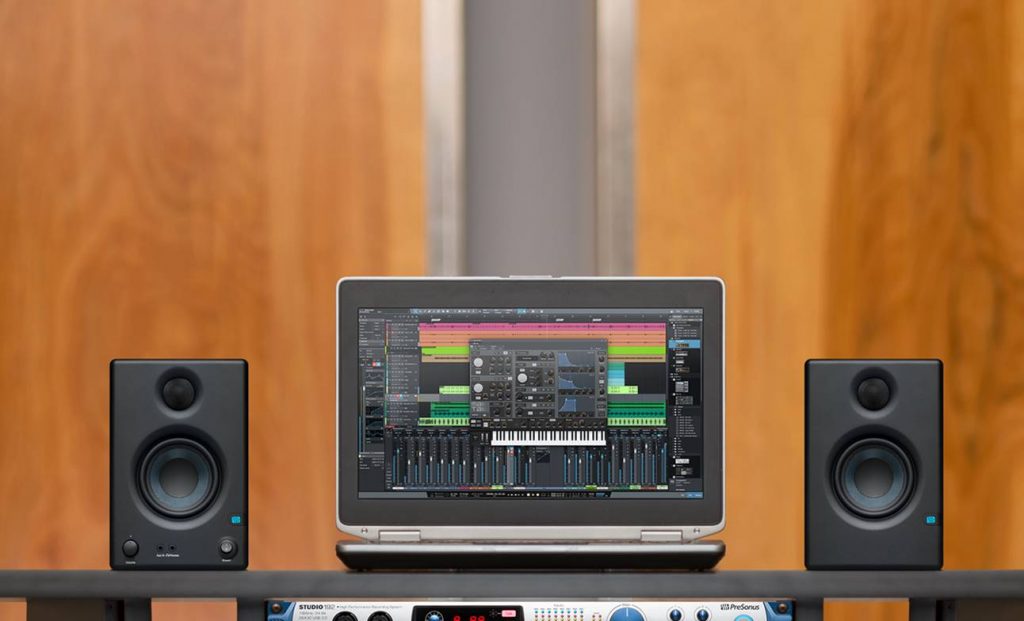
To make good mixing decisions, you’ll need some decent studio monitors.
And while the most expensive studio monitors can cost tens of thousands of dollars…
You really just need studio monitors that can produce clean and neutral sound so that you can mix your music accurately.
Right now, I only recommend these two budget studio monitors:
If you are mixing by yourself, you’d probably be the only person listening to your mixes in your mixing / recording room.
It’s a good idea to get a cheap Bluetooth speaker so that you can reference your music as well – to learn how it sounds on other speakers.
Step 7: Budget Studio Headphones
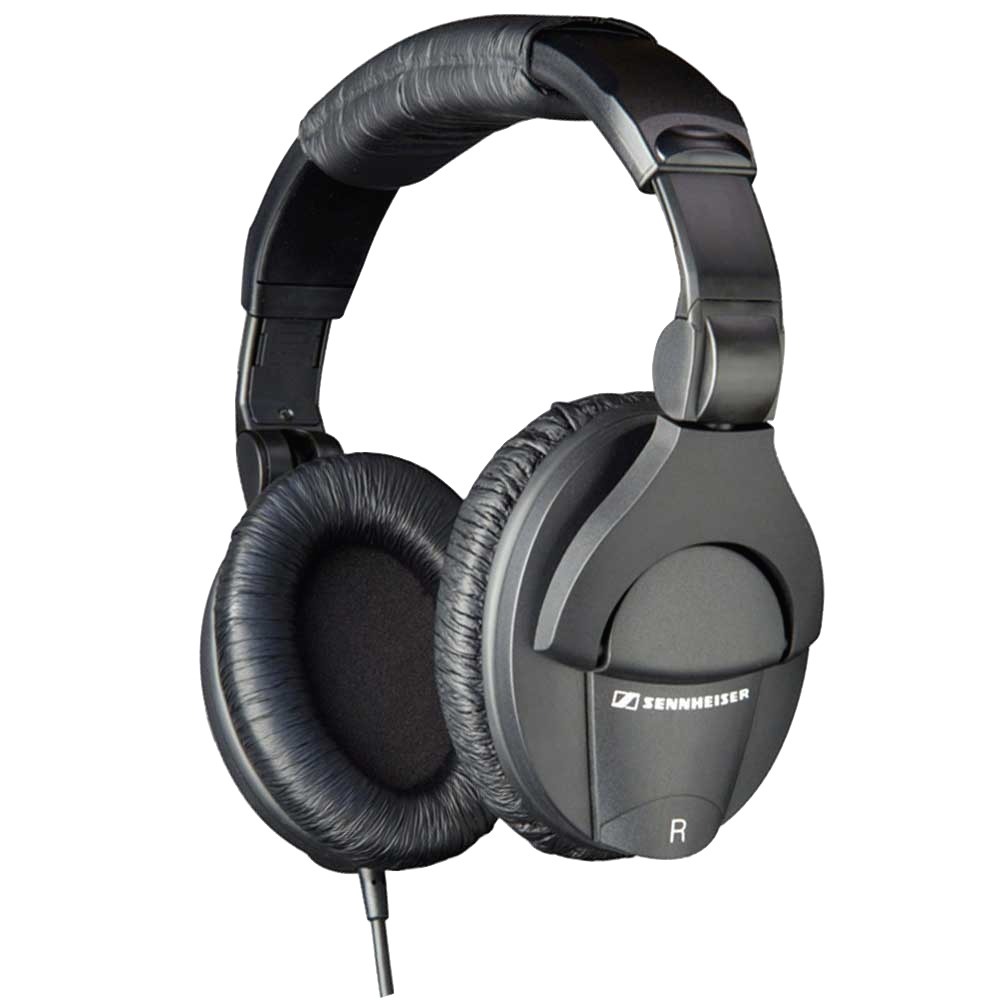
To listen to your mix accurately, you will need good studio headphones.
For beginners on a budget, I really just recommend the all-time classic: Sennheiser HD280 Pro
These headphones are designed as closed-back headphones to isolate sound, and get you pretty good reference range sound with very little distortion.
The HD280 Pros are some of the most neutral sounding headphones that a lot of musicians use to mix their music and you really can’t go wrong with these.
Another great budget alternative to the HD280s is the Audio-Technica ATH-50x headphones.
However, I would prefer the HD280s because they are more comfortable for longer periods of listening. Since you are going to spend a lot of time mixing your music, I would really go with something more comfortable like the HD280s.
Step 8: Audio Cables
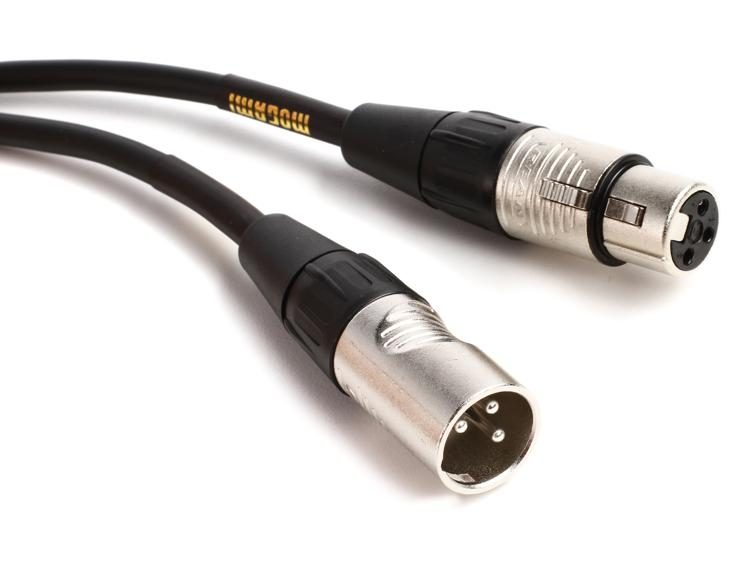
Audio cables are the one thing that you shouldn’t try to save money on.
This is because poor quality audio cables can ABSOLUTELY ruin a good recording with static, noise and interruptions!
If possible, get an audio interface bundle that comes with audio cables together.
For microphone XLR cables, you want to get OFC cables with at least 10 feet length in your room so that you can walk around freely without accidently pulling your equipment off the table.
So for home recording studios, I recommend going with these two:
Up next…
Step 9: Acoustic Treatment
While most budget home recording studios will usually skip this step, it’s still important that you apply at least some acoustic treatment to treat the bass.
The main problem with any home recording studio is low-frequency build-up which usually occurs around the corners of the wall.
This can cause your audio mix to sound ‘muddy’ and provide a less accurate representation of what your recording actually sounds like.
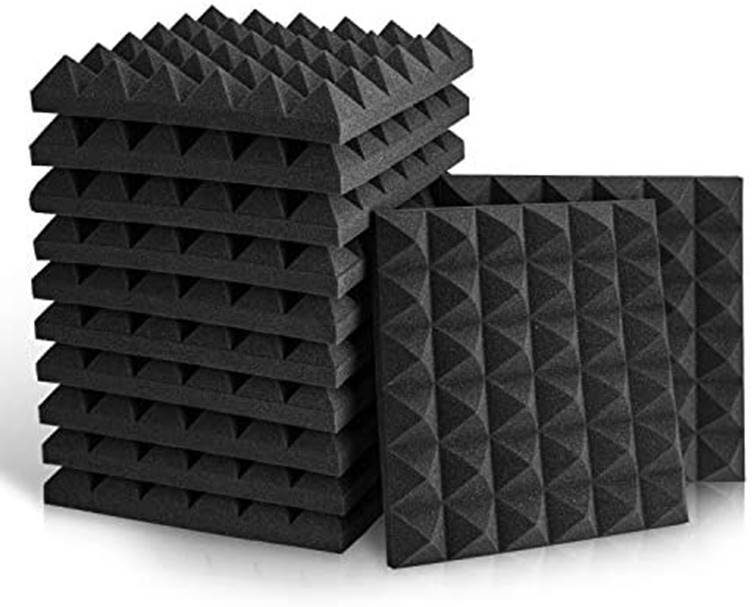
If you have some budget to spare, you should treat the four corners of your room with bass traps to absorb this low-frequency build-up.
Bear in mind that bass traps aren’t the same thing as acoustic panels or foam – bass traps are made of fiberglass or thick density material with a thick inner core.
For example:
Foam does NOT absorb low-frequency bass. Avoid the acoustic foam marketing at all costs!
To learn more about how to apply acoustic treatment to your room, check out this post:
And that’s it!