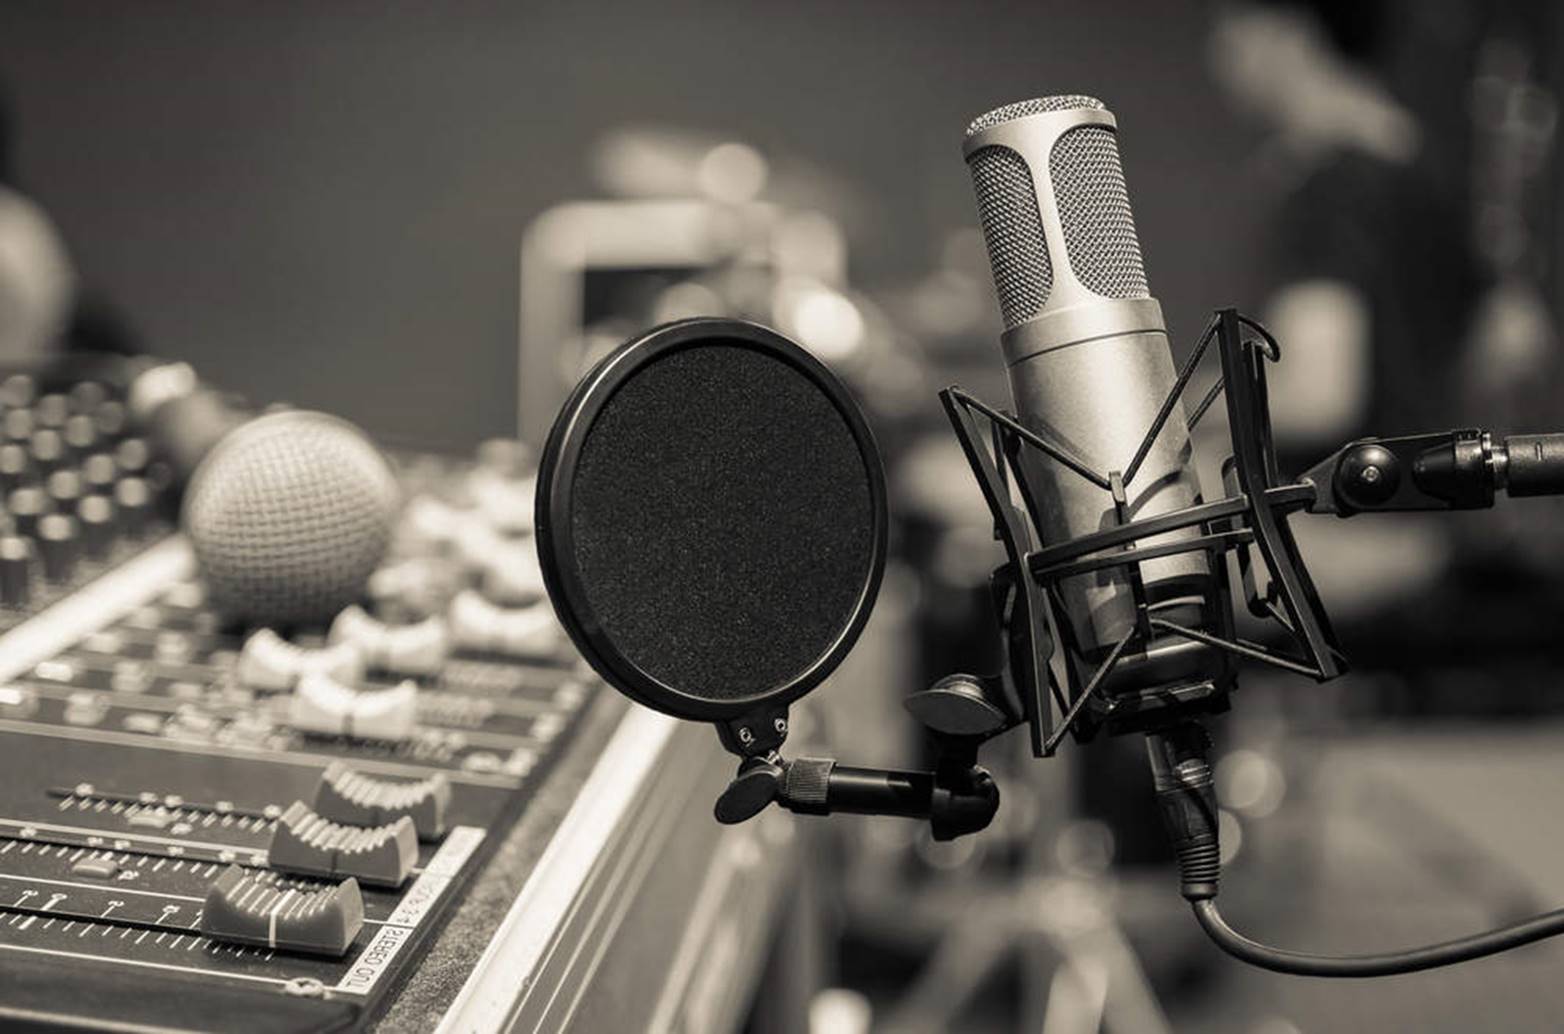
In this chapter, we will cover the different types of microphones and their uses, as well as which microphone you should use for recording vocals and different instruments.
Getting not just the right microphone but the right type of microphone is undoubtedly one of the most critical decisions you’ll make for your home recording studio.
Whether you are recording vocals or instruments, the type of microphone you use can make a big difference in the recording quality.
Let’s go through the essential microphones for home recording…
Microphone Types
1. Condenser Mics
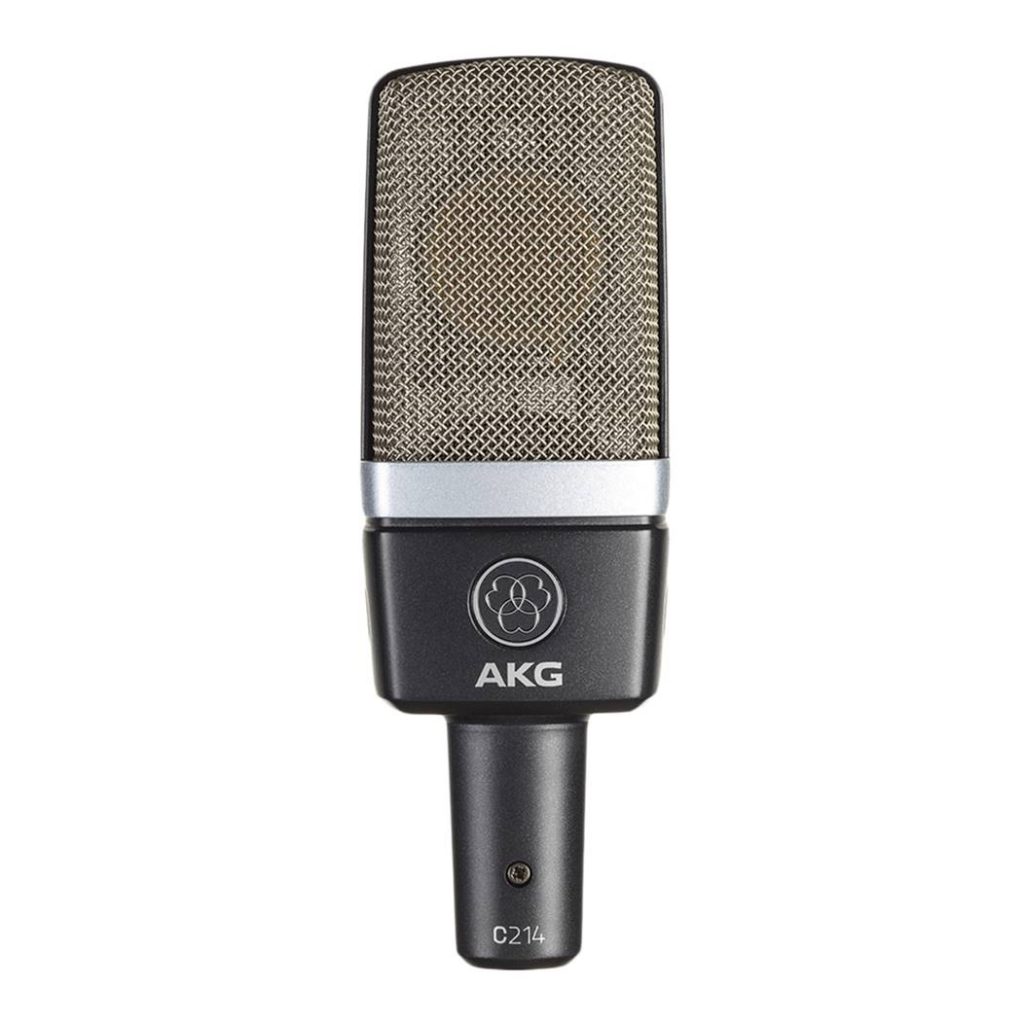
The condenser microphone has a well-rounded frequency response and fast response, allowing it to pick up high-frequency material. They are great for capturing vocals due to their natural sound quality, but can sound harsh if placed too close to a loud music source.
A condenser microphone has an extremely thin metal diaphragm that is suspended in front of a metal plate. When the diaphragm picks up a sound, it vibrates into the field between it and the backplate which produces a signal that can be amplified.
When choosing condenser mics, you have to consider two things:
- Tube vs solid-state mic? Condenser mics can be made with solid-state transistors or vacuum tubes. Both types have different sound characteristics – tube condenser mics have a softer high-end and a warmer tone, while solid-state mics sound more transparent with less coloration.
- Large vs small diaphragm? Large diaphragm condenser mics have a very high sensitivity and sound warmer around the low frequencies, while small diaphragm condensers preserve the natural sound without additional coloring. Because large diaphragm condensers are more sensitive, they have a louder output signal than a small diaphragm mic.
You might be wondering…
What is the difference between a large vs small diaphragm condenser microphone?
The main difference between these two types of mics is the sound:
- Small diaphragm condenser mics provide an uncolored, neutral and detailed sound image. They are used to capture sound in its purest form without additional flavour. It records the sound exactly as how it is.
- Large diaphragm condensers, by contrast, make the source sound feel bigger, warmer and more engaging. They produce the kind of sound that feels like a professional recording. This is why most musicians use them for recording vocals.
For home recording studios, large diaphragm condensers can be used for both vocals and solo instruments to make them appear vibrant, rich and “engaging”.
Small diaphragm condenser mics are typically used for piano, acoustic guitar and stringed instruments such as violins because of their consistent pickup patterns and natural sound quality.
If you intend to record vocals and acoustic guitar, you should start with large diaphragm condenser mics as they are time-tested classic favorites for home musicians.
2. Dynamic Mics
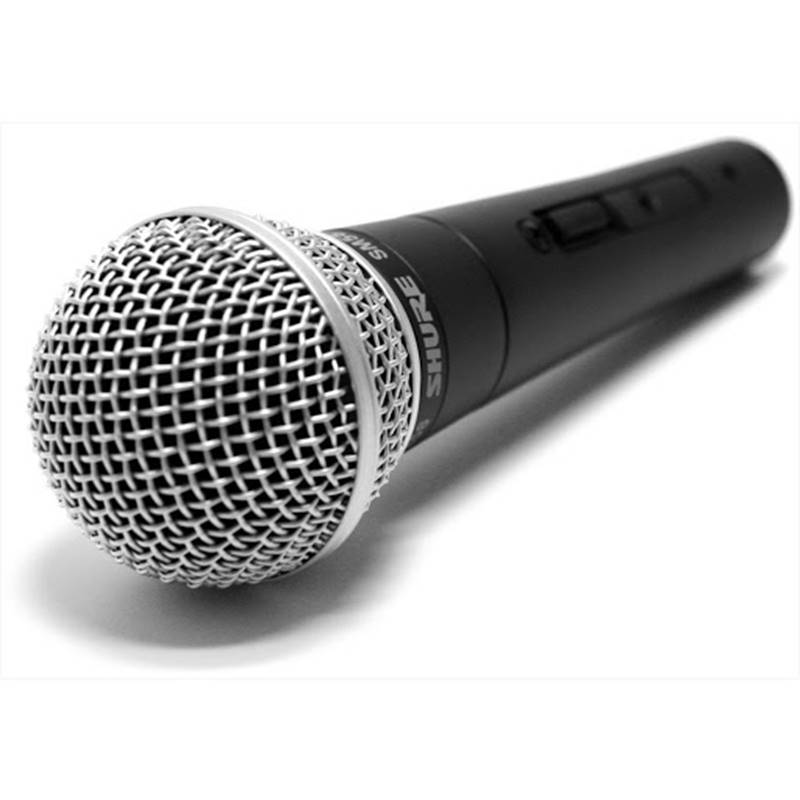
Dynamic mics tend to accentuate the middle frequency spectrum because they have thicker diaphragms which take longer to respond. They tend to sound better when recording louder sounds such as drum beats and electric guitars due to their comparably reduced sensitivity to a condenser.
When should you use a dynamic mic?
Here are a few things to consider:
- Dynamic mics can handle more volume (or SPL “sound pressure level”) which makes them great for loud sounds such as drums and amplifiers.
- Dynamic mics aren’t as transparent or clear as LDC condensers, so they may sound rather “gritty” as they don’t capture the same level of detail as condenser mics
- Dynamic mics sound somewhat ‘boxy’, meaning that they don’t capture the highest or lowests frequencies in the audio spectrum.
If you play rock or pop music, you should generally start with dynamic mics because they are relatively inexpensive and are more suited for ‘loud’ music where you don’t exactly need to capture the intricate details in the music.
On the other hand, vocals, percussions and acoustic guitars tend to shine better with large-diaphragm condenser mics.
One thing to consider about dynamic mics is that they are more durable than condensers or ribbon mics due to the way the diaphragm is constructed.
They are often inexpensive to buy and maintain – so you could get a couple of these for your home studio if you are recording loud instruments, or if you want to minimize pickup of ambient sounds (for example, if you are recording in a room with poorer acoustics).
3. Ribbon Mics
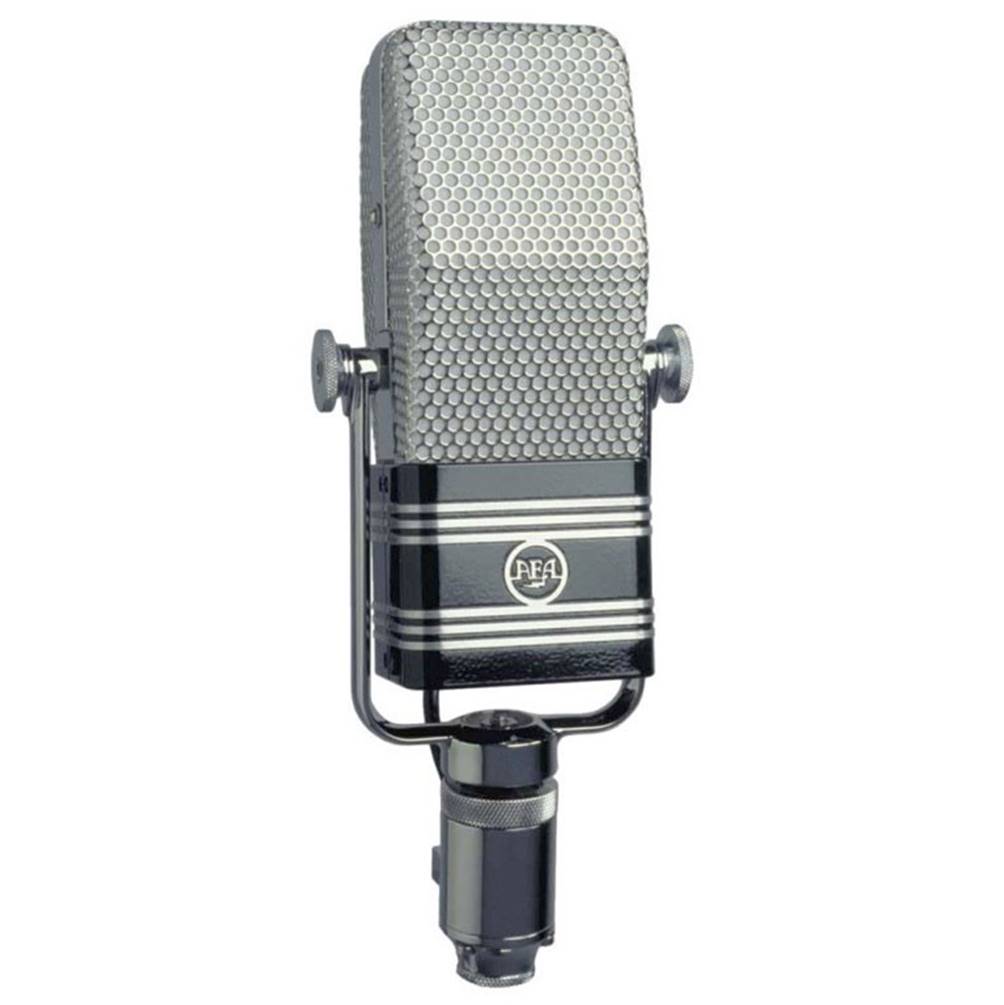
The ribbon microphone is essentially a type of dynamic microphone that uses a thin metallic (often aluminium) ribbon suspended in a strong magnetic field.
Due to their figure-of-8 polar pattern and low-pick up with natural high-frequency roll-off, these mics sound the most natural out of all 3 types of mics. They can capture the sound of an instrument, voice or ambience of the room.
The ribbon mic differs from a dynamic mic in that it uses a thin ribbon of aluminium instead of plastic or Mylar material. This gives it a unique sound quality, but makes these mics much more fragile than a dynamic mic.
Ribbon mics were popular back in the 1930s and 1940s, but have now been replaced by condenser mics in most studios. This is because ribbon mics are fragile and expensive and don’t have that transparent sound quality that a condenser mic has.
That being said, there are still musicians who use them for their old vintage sound quality. They have a unique sound that is silky and smooth, with higher-frequency roll-off.
If you like the smooth sound signature of a ribbon mic, here are some good options:
Next…
What Are the Best Types of Microphones for Home Studio Recording?
When choosing the type of microphone to use for home recording, it is vital to think about what kind of frequency spectrum the mic works best for.
For example, a condenser mic would be more appropriate for capturing vocals and high-frequency instruments, while a dynamic mic works better for drums and louder percussions.
Here are some suggestions on what mic to use for your home studio.
Vocals
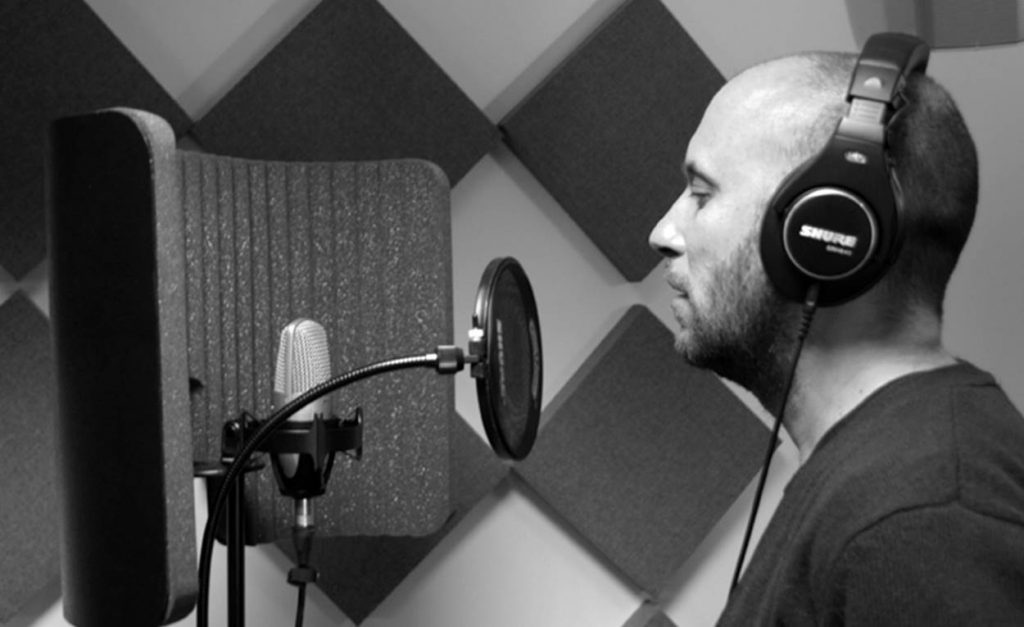
For recording vocals, I recommend going with a large-diaphragm condenser mic. These type of mics are better are capturing high-frequency detail and the natural tone of your voice.
I wouldn’t go for dynamic mics unless you want to capture ‘dirty’ or ‘raw’ sound or if you intend to scream into the mic. Small-diaphragm condensers aren’t exactly the best choice unless you want a constant bright high-frequency sound.
Some good choices for home recording studios:
Up next…
Acoustic Guitar and Violins
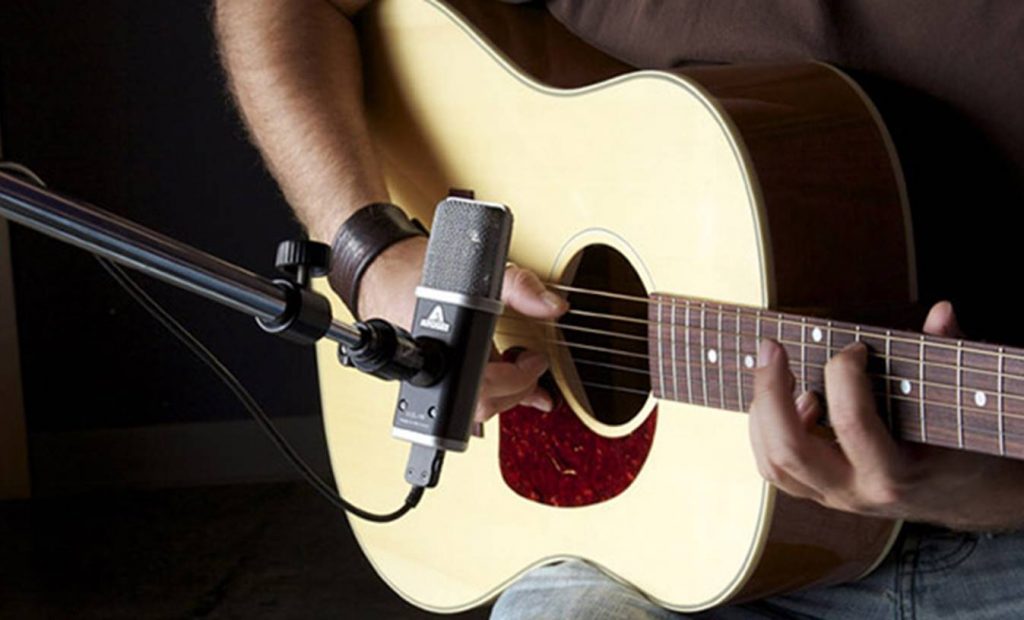
For recording acoustic guitars, large-diaphragm condensers or small-diaphragm condensers will work well, but there are some subtle differences. Ultimately, you’d want to choose a mic that can capture the overall frequency spectrum of your instrument.
To capture the depth of the guitar’s tone, go for a large diaphragm condenser mic. These mics are more sensitive to tonal depth and capture more detail due to their polarity patterns.
For instruments such as violins or other high-frequency stringed instruments, a small-diaphragm mic will capture a higher register.
Small-diaphragm mics don’t have the low-end bump that you get with large diaphragm condenser, so that can provide a little more clarity for violin instruments.
Some good choices include:
Piano
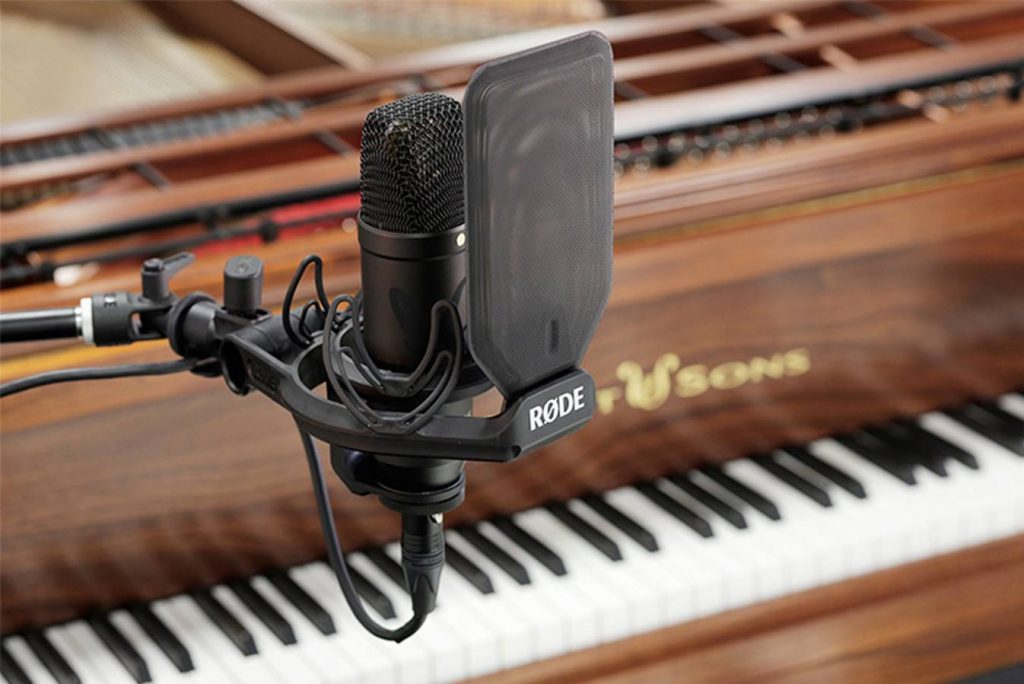
Both large diagram and small diaphragm condenser mics are good for piano. Your choice will boil down to ultimately how your room sounds and which mic can capture the subtle nuances in your piano notes.
I have personally used both types of condenser mics with relative success when it comes to recording piano.
Some good options for piano include:
Drum Set

Drum sets including snare drums and bass drums sound better with dynamic mics because they don’t capture higher frequencies.
I personally wouldn’t use condenser mics for drum sets because they can sound harsh. Don’t place condenser mics too close to the drum set as you may hit them by accident and permanently damage them!
If possible, go for a cardioid dynamic mic as they can capture sound only from the drums and not from other instruments around it.
Some good options for drums:
Cymbals

For cymbals within a drum set, small-diaphragm condensers work well because they capture higher-frequencies without the low-end bump. They can also be aimed at the cymbals to capture their high-frequency reverb.
A ribbon mic can be a good choice if you want to take out some of the harshness of the cymbals when recording to your DAW.
Dynamic mics don’t have enough high-frequency pickup to make the cymbals shine through in a mix.
Some good options for cymbals:
Horns
For recording horns, I personally prefer a ribbon mic as they can provide a more toned down natural sound with a silky smooth tone if you mic closely. Large-diaphragm mics are also a good choice in a figure-8 or omni-directional pattern placed off to the side of the instrument.
Some good large-diaphragm condensers that have multiple polar patterns include the AKG C414B which are voiced for reproduction of acoustic treatments.
Up next…
Electric guitar amp
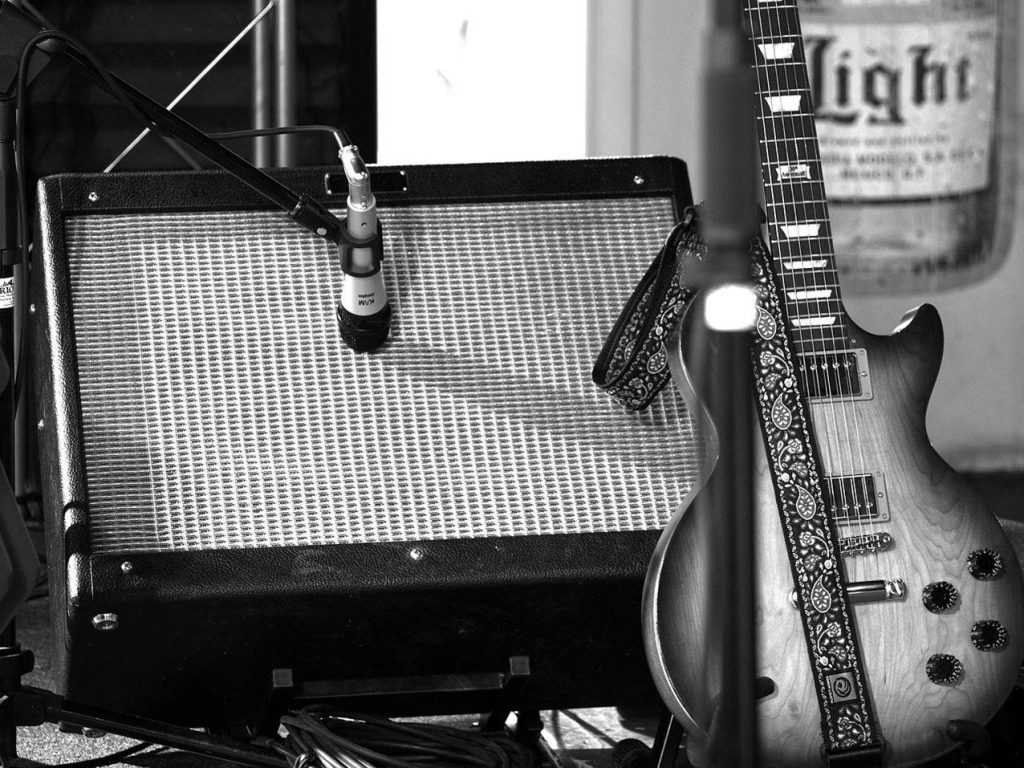
For electric guitar amps, I would use a dynamic mic as they tend to record better with louder sounds. Some musicians prefer to use large condenser mics to add some low-end frequencies to the recording, which is fine as well.
Ribbon mics can work as well due to their natural sounding tone, but be careful not to place them too close to the amp or you might damage the ribbon.
Some good dynamic mics for electric guitar / bass include:
Up next…
bass amp
For miking amplified electric bass, you can use either a dynamic mic or large-diaphragm condenser mic. Both are good choices as they can capture the frequency spectrum of the bass guitar, but I’d personally go for a dynamic mic as they are cheaper.
Small-diaprahm condenser mics aren’t suitable because of their sensitivity to high-end frequencies.
Ribbon mics can also be a good option for recording electric bass amp, although they can be rather expensive.
Some good dynamic mics that I recommend for recording bass:
Both are great options, but I personally prefer the SM7B due to its bass rolloff and mid-range emphasis.
Up next…
Microphone polarity patterns explained
Microphones pick up sounds according to their polarity patterns. Each microphone will have its own distinct polarity pattern and can be used for different recording purposes and instruments.
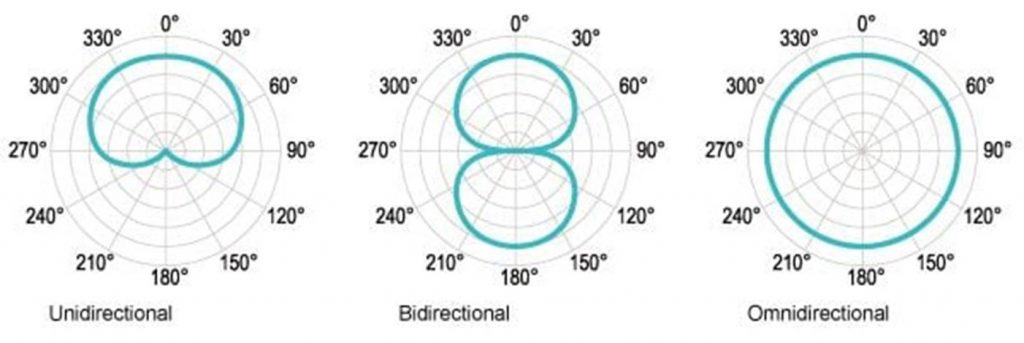
Generally speaking, there are 3 types of microphone polarity patterns:
- Omnidirectional mics captures sound all around the mic
- Cardioid mics captures sound right in front of the mic (unidirectional)
- Figure-8 mics capture sound in front and behind the mic
Here is a figure of how these polar patterns look like:
1. Omnidirectional
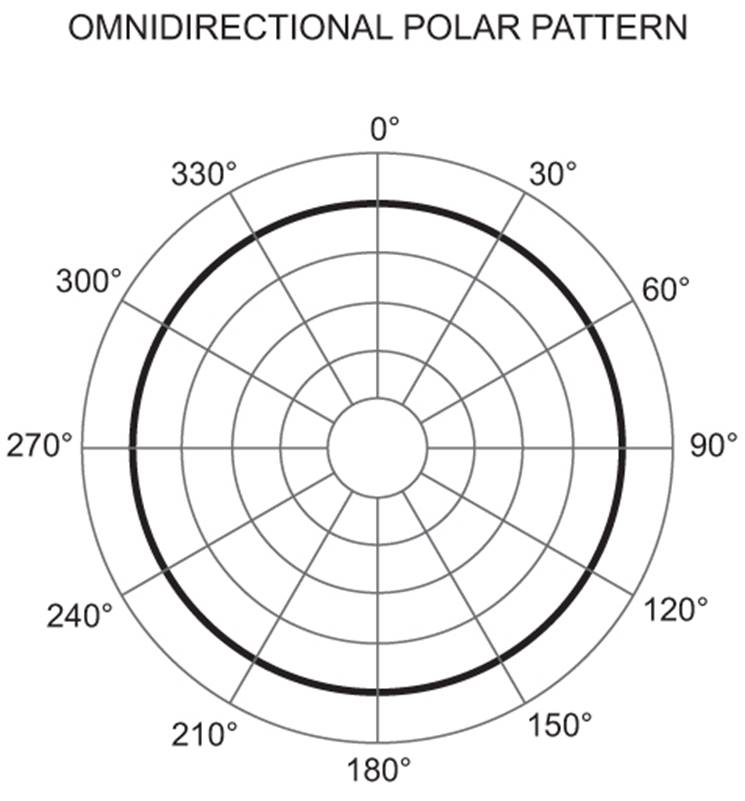
An omnidirectional mic picks up sound coming from anywhere around the microphone.
This is especially useful if you want to capture not only the music source but your room acoustics as well (for example, to create spatial imaging and sound effects).
Omnidirectional mics are commonly used in stereo pairs for drum overheads and for recording multiple acoustic instruments at a time.
If you intend to do close miking, an omnidirectional mic isn’t exactly ideal because it also captures background noises and sounds coming from all directions.
See the polar pattern for an omnidirectional mic.
2. Cardioid
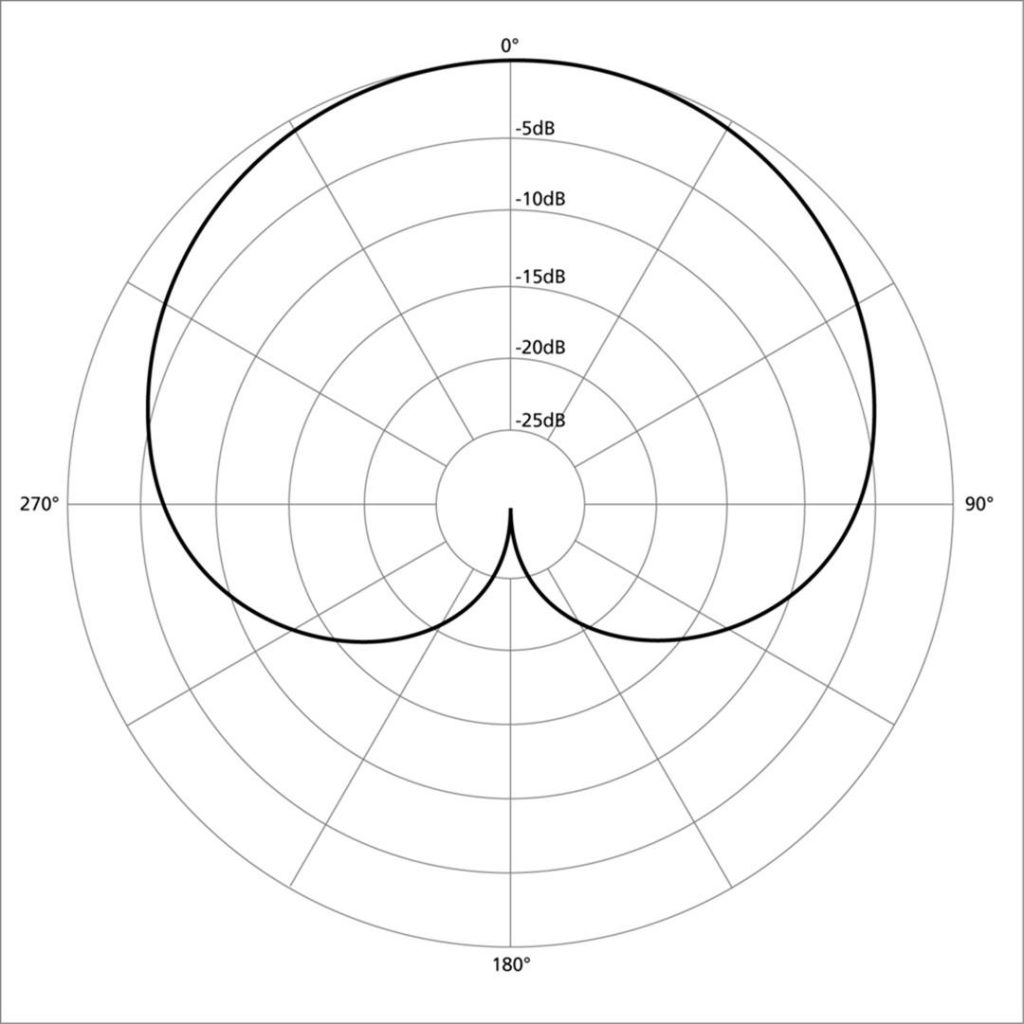
Cardioid microphones are designed to pick up sounds in the front and not any sounds coming from behind. This allows you greater control over the sound that they pick up – for example – if you have a cardioid mic for a tom-tom drum set, it only picks up sound from the drums and not from any other instrument.
There are also three types of cardioid microphones with similar but slightly different cardioid patterns:
- Standard cardioid pick up sounds at the front but reject any sounds from behind
- Super-cardioid mics have a tighter pickup angle than a cardioid with more side rejection
- Hyper-cardioid mics have an even more directional polar pattern than a supercardioid (these are highly-directional mics which require accurate positioning)

For beginners, you don’t really need to worry about the polarity differences between the types of cardioid mics. In a home recording setting, these differences are more subtle than apparent.
One thing you should note about cardioid mics is that they produce more bass the closer they are to the sound source. This is known as the proximity effect – which means that the closer the microphone is to the sound source, the more bass it picks up.
Most cardioid condenser mics have a bass roll-off switch which allows you to eliminate excess bass frequency pick-up for a clearer sound signal.
3. Figure 8

As the name suggests, a figure-8 microphone (or bidirectional mic) picks up sound from both the front and back, but not at the sides. The microphone is so named because it has a polar pattern that resembles a “figure-8”.
These type of microphones are used to record two instruments simultaneously, while eliminating any sound coming from other instruments or musicians.
For example, you can place this microphone in between two horn players with the mic perpendicular to both players.
Most figure-8 microphones have the same frequency response for both the front and back, although some ribbon mics are known to produce very different responses depending on whether the sound is coming from the front and back.
You can use this to your advantage by adjusting the mic positioning depending on how much low/high frequency you wish to record.
4. Multiple-pattern mics
These types of condenser microphones allow you to switch between different pickup patterns. They come with a switch that allow you to change between omnidirectional, figure-8 and cardioid.
These microphones are able to do this because they have two sets of diaphragms and backplates which are positioned back to back.
It’s generally a good idea to have one of these in stock so that you can adjust the sound of your recording studio depending on your needs.
Some good choices:
Is there a difference between a cheap and expensive microphone?
If you are doing professional recordings, the truth is that your recordings will sound only as good as your microphone.
All the post-production equipment and DAW enhancements aren’t going to make a poor recording sound truly good.
But that doesn’t mean you should get the most expensive mics out there…they aren’t going to make a substantial difference from a (relatively) cheaper mic that does the job well.
I would look out for three things when choosing mics:
- Polar patterns – this affects how ‘well’ the microphone hears sound from different directions
- Dynamic range – Generally speaking, more expensive mics will have a greater dynamic range which means that they record more information (and produce more detailed sound)
- Frequency response – Usually, the better the mic, the wider the frequency range, but bear in mind that human hears can only hear between 20 Hz to 20 kHz
You should plan your microphone requirements accordingly for your home studio.
Microphone Preamps
If you intend to do any serious recording, you will need a microphone preamp – this device supplies power to the mic to boost its signal so that it can be recorded – otherwise your recording may sound noisy and distorted because a microphone on itself doesn’t have much power.
The best microphone in the world won’t sound any better than an average mic if you run it through a cheap preamp, and vice versa.
If your studio mixer or audio interface comes with XLR inputs, chances are they are already fitted with microphone preamps in the XLR channels. That said, these are generally lower quality that dedicated preamps but will work for most budget home recording studios.
When we talk about microphone preamps, there are generally 3 types:
1. Solid-state preamp
Solid-state preamps use transistors to boost the signal in a microphone. These preamps are great if you want to get a clear and detailed sound with a transparent sound signature.
I would generally go for these if you want to want as natural a sound as possible to your studio recordings. When you pair a solid-state preamp with a condenser or ribbon mic, you get warm and smooth sound performance.
On the other hand, there are other solid-state preamps designed to produce a ‘warmer’ sound signature which can add a little ‘grit’ to certain instruments. These types of preamps work well with dynamic or ribbon mics when recording drums with a nice low-end boost.
Here are some good budget options for home recording studios to pair with your mics:
2. Vacuum tube preamp
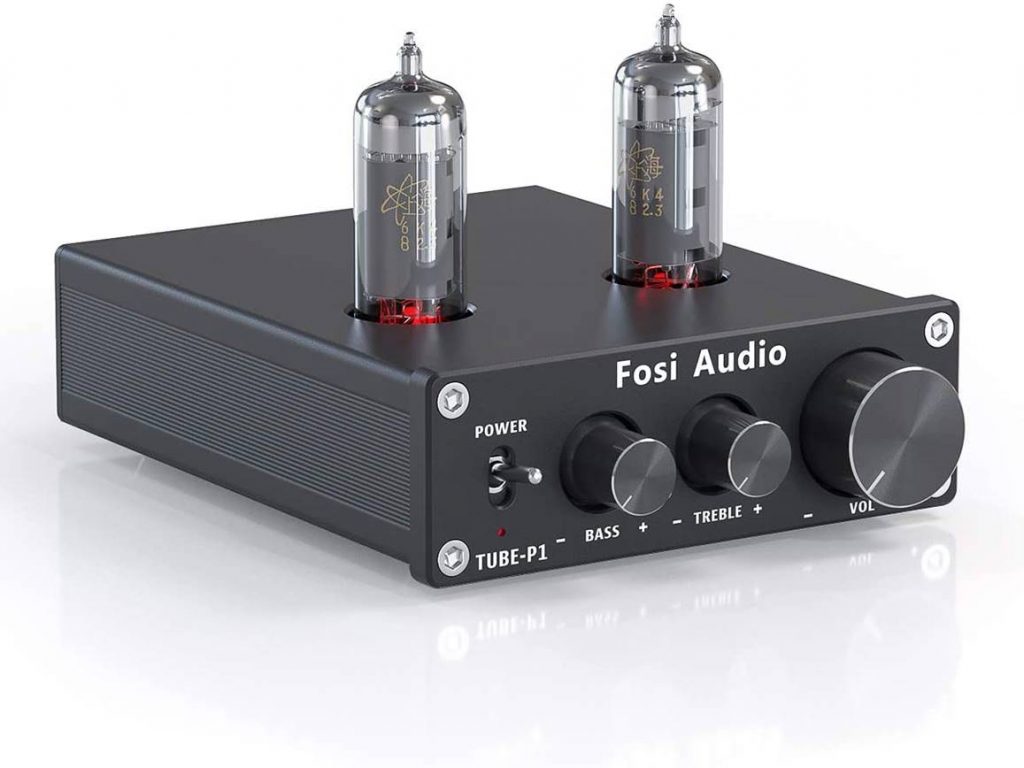
A vacuum tube preamp is used to process and amplify the microphone signal and adds some coloration and warmth to the microphone signal. Compared to a solid-state preamp, you get more colored sound with a tube preamp.
Tube preamps are known to soften higher-end frequencies and impart a subtle low-end to the microphone signal. This makes them great for recording rock, blues or acoustic jazz music.
Some musicians love the sound of a vacuum tube amp and spend thousands of dollars just to get the right one. That said, the disadvantage is that you can’t get rid of this colored sound and most tube-amps are expensive.
Most home musicians have multiple vacuum tube preamps in their home studio to give them multiple coloration options.
I highly recommend pairing vacuum tube amps with a large diaphragm condenser mic if you intend to record acoustic guitar and vocals.
Here are some good options:
3. Hybrid preamp
A hybrid preamp comes with both solid state and vacuum amplifiers to boost the microphone signal. One advantage of this type of preamps is that you can often adjust them to have varying degrees of warmth according to your preferences.
That said, most hybrid preamps don’t have as clear a sound signal as a true solid-state amp, and don’t have that refined sound signature of a pure vacuum tube amp. They are relatively less expensive than the pure amps that you can find on the market.
For home recordists, this type of preamp provides more flexibility and allows you to get an open and clear sound signature with the slight warmth and coloration of a tube preamp.
Microphone Accessories
Getting a good microphone isn’t the end of the story. You’ll need a few accessories to get the microphone setup properly and wired to your DAW.
1. Microphone Cables
For most beginner recording studios, getting a good pair of microphone cables can make quite a difference in your audio recording.
Here is generally some good advice:
- Avoid the cheapest microphone cables (those kinds that you find on ebay that are shipped from China and probably won’t last you a week)
- Avoid the most expensive cables (while they can provide minor improvements in sound performance, they aren’t usually worth the huge cost)
I will usually go for microphone cables with a higher strand count which increases the performance and durability of the cable, especially if you are doing a lot of handheld recording.
Here are some good options:
Up next…
2. Microphone Stands
A microphone stand is essential for your home studio. Mic stands are generally inexpensive and affordable, so you should definitely try to get a good one rather than a flimsy one.
For starters, I recommend a boom mic stand as it has much more flexible positioning options than a conventional mic stand.
You can get either a round cast iron base (for small spaces) or a tripod base. Either type works well for home recording applications.
Here are some good options:
Up next…
3. Pop Filters
A pop filter is a type of nylon screen that eliminates “plosive” sounds that singers make when singing. These kinds of sounds are created when singing words starting with ‘p’ or ‘Ts’. For recording vocals, pop filters are definitely very useful to make your recordings sound much cleaner.
Although you can DIY your own pop filter using cloth fabric, I recommend just getting one because they are relatively inexpensive.
Some good examples:
And that’s it!
Next Steps
Now that you know which type of microphone is best for you, the next step is to actually record your first song…
In the next chapter, we cover everything you need to know about recording a song at home. Check it out here: